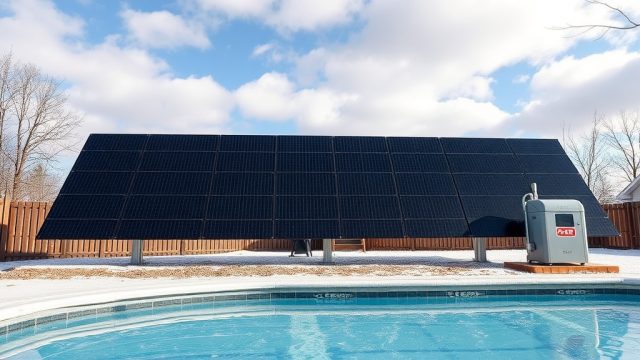
Heliocol solar pool heaters are built to last, but like any mechanical system exposed to sun, weather, and pool chemistry, they need periodic attention. A few hours of routine care each year will keep the panels operating at peak efficiency and prevent small problems from turning into expensive repairs. Below is a practical, step-by-step guide to cleaning and maintaining your Heliocol system, written from years of field experience.
How Often Should You Clean Heliocol Solar Pool Heater Panels?
The short answer is: at least once per season, and more often if you live in a dusty, pollen-heavy, or coastal area. Heliocol’s polypropylene panels are UV-stabilized, but dust, bird droppings, and tree debris can accumulate on the surface and block sunlight. Even a thin layer of grime can reduce heat transfer by 10–20 percent, meaning your pump runs longer and your pool takes longer to warm up.
For most pool owners in suburban settings, a thorough cleaning in early spring (before heavy heating demand) and a mid-summer rinse is sufficient. If you notice the panels look dull or you see a visible film when they’re wet, it’s time to clean. In coastal regions where salt spray settles, rinsing every 2–3 months is recommended to prevent mineral buildup that can etch the panel surface.
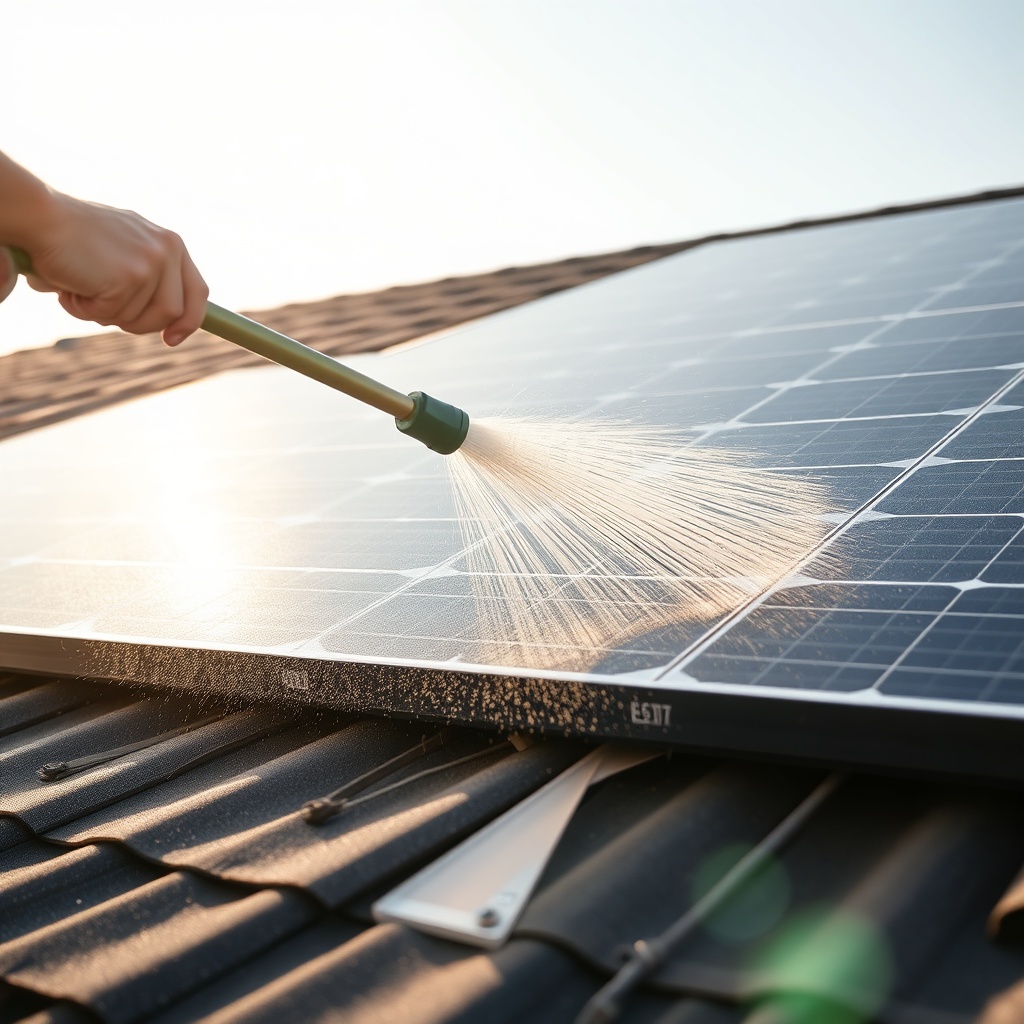
Note that pressure washing is generally not advised on Heliocol panels—the high pressure can damage the flow channels or loosen the header connections. A garden hose with a spray nozzle and a soft brush is the safest approach.
What Cleaning Solution Is Safe for Heliocol Panels?
Heliocol panels are made from UV-resistant polypropylene, which is durable but can be damaged by harsh chemicals. Avoid bleach, chlorine, muriatic acid, or any abrasive cleaners. These can weaken the polymer, cause discoloration, or degrade the UV stabilizer over time.
A safe, effective cleaning solution is a mixture of mild dish soap (like Dawn or a generic brand) and warm water—about 1 tablespoon per gallon. For tougher mineral deposits or bird droppings, a white vinegar solution (one part white vinegar to three parts water) works well. Vinegar is acidic enough to dissolve calcium and lime scale but gentle on the plastic.
Apply the solution with a soft sponge or cloth, let it sit for 5–10 minutes, then rinse thoroughly with clean water. For large arrays, a long-handled soft brush on a pole can save your back. Always rinse soap residue completely—dried soap can leave a hazy film that reduces solar absorption.
If you live in an area with hard water, consider using a commercial solar panel cleaning product labeled safe for polypropylene. Avoid products containing phosphates, as they can leave residue and may affect pool chemistry if overspray gets into the water.
How Do You Check for Clogs or Reduced Flow in Heliocol Panels?
Reduced flow is one of the most common issues with solar pool heaters, and it’s often caused by debris caught in the panels or a buildup of mineral scale inside the small flow channels. Heliocol panels have a header tube design that pushes water through the tubes fairly evenly, but clogs can still occur—especially if your pool water has a lot of fine particles or if you use diatomaceous earth (DE) filters that occasionally leak media.
A good diagnostic check: feel the outlet pipe from the solar array while the pump is running. It should be noticeably cooler than the inlet pipe when the sun is shining—if the panels aren’t heating, water flow may be restricted. You can also check the pressure gauge on your filter; a significant drop in pressure after the solar valve engages could indicate a blockage.
To clear a minor clog, you can try backflushing the system. Most Heliocol installations have a bypass valve or a three-way valve that lets you reverse flow. Close the normal return valve, open the bypass, and let the pump run for 5–10 minutes. This often dislodges loose debris. For stubborn scale buildup, a mild descaling solution (citric acid or a pool-safe descaler) can be circulated through the panels—but check your owner’s manual first, and flush with clean water afterward.
If you suspect a serious blockage in one panel, you can isolate it by closing its shut-off valves (if installed) and running water through each panel individually. Panels that still have poor flow may need to be removed and manually flushed with a hose. For detailed instructions on managing flow rates, refer to our article on Optimal Flow Rate for Heliocol Solar Pool Heater.
What Is the Best Way to Winterize Heliocol Solar Pool Heaters?
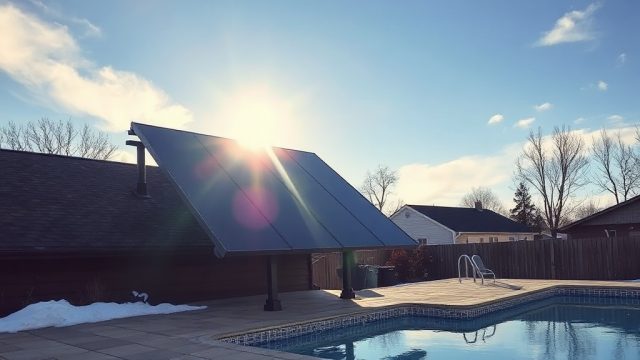
Proper winterization is critical for Heliocol owners in freezing climates. Water left to freeze inside the panels can expand, cracking the headers or splitting the tubes—a repair that often costs hundreds of dollars and may require panel replacement.
The golden rule: drain all water from the panels and supply/return lines before the first hard frost. Heliocol panels are typically sloped during installation to allow gravity drainage, but you should still follow these steps:
- Shut off the pump and close any valve that isolates the solar loop.
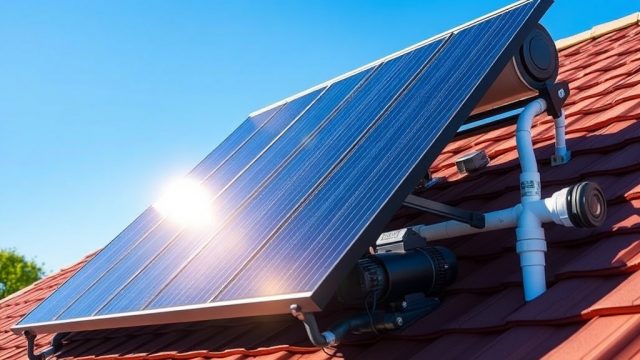
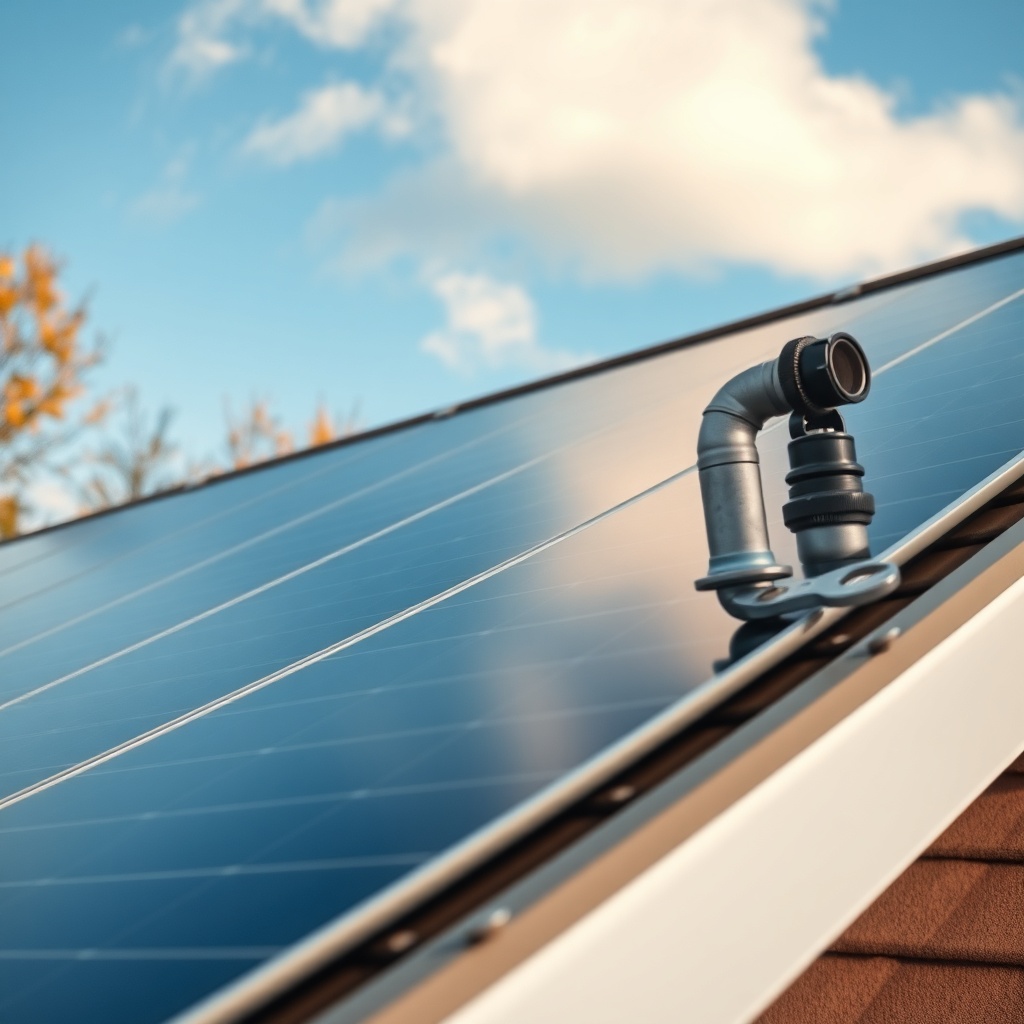
- Open all drain valves or plugs at the lowest points in the system. Many Heliocol headers have a threaded plug at one end—unscrew it to let water drain.
- If your system has automatic air vents, make sure they’re operational to prevent trapped air from holding water in the panels.
- On a flat roof, you may need to tilt the panels slightly (or blow out the lines with a shop vac or small air compressor set to under 20 PSI) to ensure complete drainage.
In warmer climates where freezing is rare (USDA zones 9 or higher), you can keep the system operational year-round. But if you expect a rare freeze event, simply circulate water through the system overnight—moving water rarely freezes solid. For detailed winterization steps specific to your installation, check our guide on Heliocol Solar Pool Heater Inlet/Outlet Installation Tips, which covers drain port locations.
How Do You Inspect Heliocol Panels for Damage or Leaks?
Visual inspection should be part of your monthly routine during the heating season. Start by looking at the panels from ground level on a sunny day—water leaks or drips will be easiest to spot when the system is under pressure and the sun highlights moisture.
Common problem areas include:
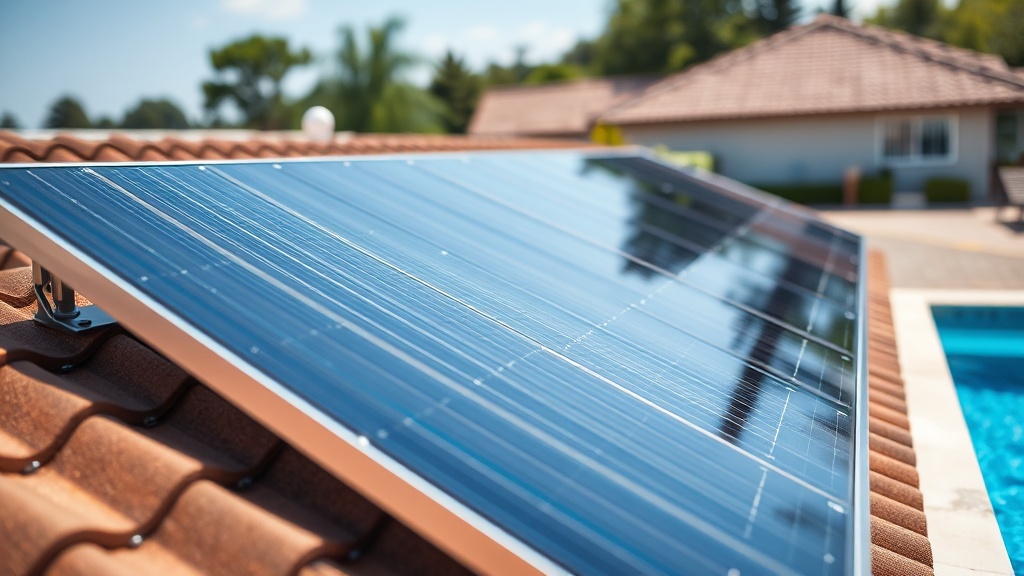
- Header connections: Check where the polypropylene header meets the tubes. Cracks here often appear as fine hairline lines.
- Tube ends: The small channels at the top and bottom of each panel can split from UV exposure over 10+ years.
- O-rings and seals: If your panels are connected with unions, the O-rings may dry out and crack after 3–5 years. A small leak here may simply need a new O-ring lubricated with silicone grease.
- Mounting hardware: Check that brackets, clamps, and rails are still tight and not corroded. Loose panels can rub against each other, causing abrasion.
For detecting pinhole leaks that aren’t obvious, you can use a soapy water solution (dish soap mixed with water, sprayed on the panel surface while the system is pressurized). Look for bubbles forming. Any leak that is not repaired can reduce system pressure and lead to pump airlock or premature pump wear.
Minor tube leaks can sometimes be patched with a pool-grade vinyl repair kit (made for above-ground pools) applied to a dry, clean surface. But if a header is cracked or multiple tubes are damaged, panel replacement is the only lasting fix. Heliocol panels are designed to be modular, so you can swap just the damaged one without affecting the rest of the array.
When Should You Replace Heliocol Panels vs. Repair?
This decision comes down to age, extent of damage, and cost. Below is a simple severity table to help you gauge whether a problem requires immediate attention or can be scheduled for later.
| Symptom | Usually Not Urgent | Needs Attention Soon |
|---|---|---|
| Minor surface scratches or light fading | ✓ Cosmetic only, no performance loss | |
| Dust or pollen film | ✓ Can wait 1–2 weeks | |
| One tube with a pinhole leak (less than 1mm) | ✓ Can worsen quickly; patch or monitor weekly | |
| Multiple tube leaks or header crack | ✓ Replace panel soon or risk system failure | |
| Reduced output vs. neighboring panels | ✓ Clean first; often resolves | |
| Water dripping from roof deck (significant leak) | ✓ Turn off pump and repair immediately | |
| Panels over 12–15 years old with multiple repairs | ✓ Cost of repair often exceeds replacement |
As a rule of thumb, replacing a single Heliocol panel (around 4×10 feet) costs about $300–$500 for the panel itself, plus installation labor. Repair kits run $20–$40 for a tube patch. If your array is more than half original panels and showing multiple leaks, it’s usually smarter to budget for a full replacement over the next year, rather than chasing repairs.
Also consider that newer Heliocol models have improved UV stabilizers and slightly higher efficiency. If your system is from 2010 or earlier, the upgrade in heating performance may justify the investment. For a comparison with other brands, see Heliocol vs Fafco Solar Bear: Which Solar Pool Heater Is Best?.
What Owners Say About Maintaining Heliocol Heaters
Pool owners who take the time to understand basic care consistently report fewer issues and longer panel life. Here are two common observations from real-world forums and conversations:
“I wish I had cleaned the panels before mid-summer.” Many owners note that after a dusty spring, their heater struggled to bring the pool above 80°F. After a simple rinse with a hose and a mild soap solution, output jumped noticeably within 24 hours. The lesson: don’t wait until you see a performance drop—clean proactively before the heating peak.
“The drain plugs are crucial—and easy to forget.” Several owners shared stories of leaving the panels full over a mild winter, only to have a surprise overnight freeze crack a header. They emphasize marking the winterization date on your calendar and actually checking that water runs out of each plug. A five-minute task saves a $400 panel.
Overall, owners treat Heliocol systems as low-maintenance but not zero-maintenance. The consensus: annual cleaning and a careful look-around every month is enough to get 12–15 years of reliable service.
Frequently Asked Questions
Can I use a pressure washer to clean Heliocol panels?
No. Pressure washers can damage the polypropylene, especially at close range or with a high-pressure nozzle. Stick to a garden hose with a standard spray nozzle and a soft brush.
Do I need to turn off the pump before cleaning the panels?
Yes, for safety and to prevent water from forcing debris into the headers. Turn off the pump, let the system depressurize for a minute, then proceed with cleaning or inspection.
How long should Heliocol solar pool heater panels last?
With proper maintenance, 12–15 years on average. Many owners get 18–20 years in moderate climates, but UV exposure eventually weakens the material. Performance usually declines gradually after year 12.
What causes a Heliocol panel to “blow” or bulge?
This is rare but can happen if the system is left with water inside and temperatures drop below freezing. The ice expansion forces the tubes to bulge outward, causing irreversible damage. Always drain before frost.
Can I repair a cracked header on a Heliocol panel myself?
Only temporarily. A plastic epoxy or pool patch can seal small cracks in the header for a season, but the pressure will eventually reopen the joint. Replacement of the affected panel is the reliable fix.
Should I cover my Heliocol panels during winter or severe weather?
Heliocol panels are designed to withstand hail up to 1 inch (25 mm) and winds up to 100 mph. Covering them isn’t necessary unless you have extreme conditions—and covers can actually trap moisture and promote mold. Proper drainage is more important than physical protection.