For homeowners looking to extend their swimming season without skyrocketing energy bills, a solar pool heat exchanger is a wise investment. However, the system’s efficiency hinges on one critical pairing: matching the heat exchanger’s size to your existing pump’s flow rate. An undersized exchanger creates backpressure that starves your pump, while an oversized unit fails to transfer heat effectively. This article walks through the calculations and considerations to ensure your solar pool heating system performs flawlessly, from filter to return jet.
What Does “Sizing a Heat Exchanger” Actually Mean for Your Pump Flow?
Sizing a solar pool heat exchanger is about matching the internal tube diameter and surface area to the gallons per minute (GPM) your pump delivers. The exchanger works by routing pool water through a series of small tubes; the water’s heat transfers to a propylene glycol solution that cycles to solar collectors. If the flow is too fast, heat doesn’t have time to transfer. If the flow is too slow, the pump labors and your filter pressure rises.
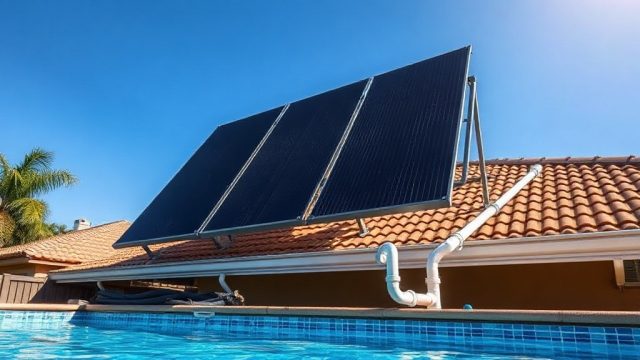
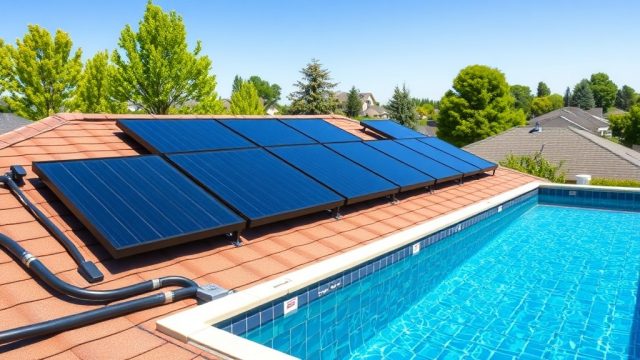
Standard residential pool pumps operate between 30 and 60 GPM. A heat exchanger for a 15,000-gallon pool, common in Mediterranean climates, typically needs a tube bundle that handles 40 GPM at 5–8 psi pressure drop. Manufacturers like Heliocol or SunHeater provide sizing charts based on collector area—roughly 1 square foot of heat exchanger per 10 square feet of collector. For a 4×20-foot collector array (80 sq ft), you’d pick an exchanger with an 8 sq ft internal surface area.
How Do You Calculate Your Pump’s Actual Flow Rate?
Before purchasing a heat exchanger, measure your pump’s real-world flow rate—don’t rely on the pump’s nameplate rating. Pump curves show theoretical output, but friction from pipes, filters, and fittings reduces it by 20–30 percent. Here’s a three-step method:
- Use a flow meter: Install a temporary or permanent flow meter on the return line. Digital meters with paddlewheel sensors cost about €70–€120 and give instant readings.
- Time the bucket test: With the pump running, divert return water into a 5-gallon bucket. Time how long it takes to fill. If it fills in 10 seconds, your flow is 30 GPM (5 gallons ÷ 10 seconds × 60 seconds = 30 GPM). Repeat three times for accuracy.
- Check filter pressure: A clean filter at 10 PSI with a 1.5 HP pump suggests roughly 40–50 GPM. High pressure (above 20 PSI) indicates restriction that lowers flow.
Once you have your GPM, consult the heat exchanger manufacturer’s pressure-drop chart. For example, a typical 40-plate brazed heat exchanger (like the Brazetek B40-30×6) will cause a 6 PSI drop at 40 GPM—acceptable for most pumps. If your pump runs at 50 GPM, that same exchanger jumps to 9 PSI drop, which may trip your pressure switch or reduce flow to the solar panels.
What Are the Consequences of an Undersized Heat Exchanger?
An undersized heat exchanger creates two immediate problems: high backpressure and poor heat transfer. The pump struggles to push water through narrow channels, often causing cavitation—tiny vapor bubbles that erode the impeller. Over a season, pump motor amperage can rise 15–20 percent, increasing electricity costs by €50–€80 per year in regions like Spain or Southern France.
The system also robs heat. With insufficient surface area, the water passes through too fast to exchange thermal energy with the solar fluid. Your pool might only gain 1–2°C per sunny day instead of the expected 3–4°C. Worse, the pump might cycle on and off due to high pressure, causing wear on the pressure switch and reducing the solar controller’s lifespan.
What Are the Consequences of an Oversized Heat Exchanger?
An oversized unit might seem like a safe bet, but it introduces its own set of inefficiencies. The water spreads out across too many tube channels, slowing velocity to the point where laminar flow replaces turbulent flow. Laminar flow forms a stagnant thermal boundary layer on the tube walls, cutting heat transfer by up to 40 percent. Instead of warming your pool, the exchanger becomes a bottleneck.
Additionally, oversizing adds unnecessary cost. A commercial-grade 80-plate titanium exchanger suitable for a 50,000-gallon pool costs €800–€1,200, while a residential 30-plate copper/nickel unit runs €250–€400. You’re paying for material and installation (heavier unit requires stronger brackets). And the added internal volume (2–3 gallons extra water) increases chemical demand slightly, as the system holds more water that needs chlorine or salt balancing.
How Does Collector Area and Climate Affect Sizing?
The size of your solar collector array directly dictates the heat exchanger’s required surface area. A rule of thumb: allocate 0.1 square meters of heat exchanger surface per square meter of collector. For a 30 m² collector array (typical for a 50 m² pool in cooler climates like Germany), you need a 3 m² exchanger. That’s roughly a 40-plate unit with 3/4-inch ports.
| Pool Volume (m³) | Collector Area (m²) | Recommended Exchanger Type | Port Size (inches) | Est. Cost (€) |
|---|---|---|---|---|
| 30–50 | 20–30 | 30-plate, copper/ni | 1.5 | €280–€350 |
| 50–80 | 30–40 | 40-plate, cu/ni | 2.0 | €380–€450 |
| 80–120 | 40–60 | 60-plate, titanium | 2.5 | €580–€750 |
| 120–200 | 60–90 | 80-plate, titanium | 3.0 | €900–€1,200 |
Climate also plays a role. In cooler regions (average winter low of 5°C), you need larger exchangers to compensate for slower heat transfer at lower temperature differentials. In warmer areas (Costa del Sol, southern California), a smaller exchanger works because the temperature difference between solar fluid and pool water is smaller—meaning less driving force for heat exchange.
What Is the Step-by-Step Installation Process for Matching Flow?
Once you’ve selected the right exchanger, proper installation ensures the flow match holds up. Follow these steps:
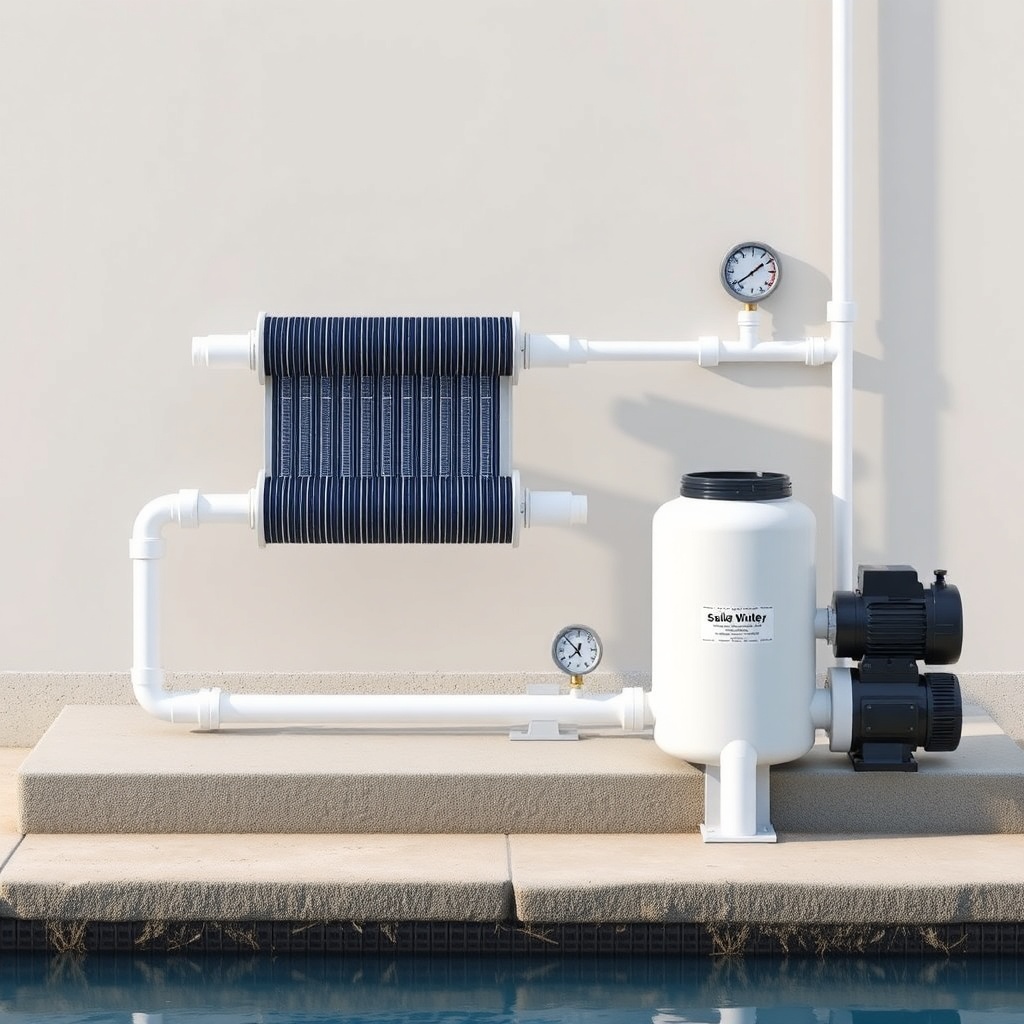
- Bypass valve setup: Install a three-way bypass valve to isolate the heat exchanger when not in use. This prevents unnecessary pressure drop and allows winterization without draining the exchanger.
- Pipe sizing: Use the same diameter pipe as the exchanger ports (typically 1.5 or 2 inches). Reducing or expanding diameter creates turbulence and added head loss. For long runs (over 15 meters), step up one pipe size to maintain velocity.
- Flow direction: Connect pool water to the “hot” side and solar fluid to the “cold” side, counter-flow. This maximizes heat transfer by maintaining a constant temperature difference along the tubes.
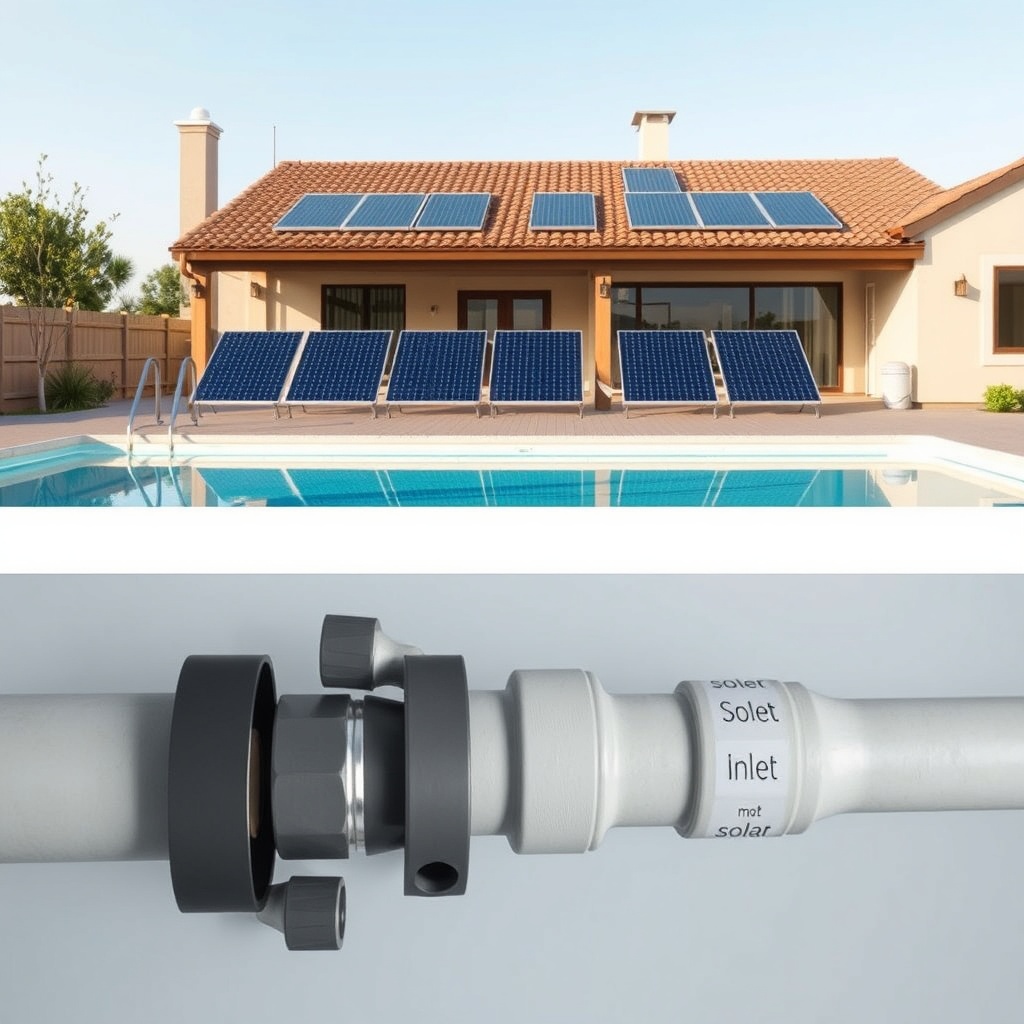
- Pressure gauge placement: Mount a pressure gauge before and after the exchanger. A quality stainless steel gauge costs €25–€40. You want a differential of 5–8 PSI at full flow; if it exceeds 12 PSI, you’re over-restricting the pump.
- Check valve addition: If your solar panels sit higher than the exchanger, install a check valve on the cold line to prevent natural circulation at night—this siphons heat away.
What Owners Say About Properly Matched Systems
Homeowners who matched their heat exchanger to pump flow report consistent temperature gains and lower energy bills. Mark from Mallorca shares: “I had a 40-plate exchanger with 30 GPM actual flow. Pool temperature stayed at 24°C even in October. My electric bill actually dropped €15/month because the pump ran smoother. Previous owner had a 60-plate unit—pump ran hot and pool only hit 21°C.”
Julia in Provence notes: “After installing a bypass valve, I can shut off the exchanger when the pool is warm enough. The pressure stays steady at 12 PSI. I’d recommend anyone measure their GPM before buying. I used a flow meter for €90 and avoided a costly mistake.”
Maintenance tip: owners with copper/ni exchangers flush with a 5% vinegar solution every two years to remove calcium scale. For titanium units, a simple backwash with pool water suffices. Most report 10–15 year service life with no corrosion.
Frequently Asked Questions
Can I use a heat exchanger rated for a higher GPM if my pump flow is lower?
Yes, but with trade-offs. A higher-rated exchanger will cause lower water velocity and slightly reduced heat transfer due to laminar flow. You might see 10–15% less temperature gain. It’s safer to size within 80–100% of your measured flow rate.
Do I need a separate pump for the solar loop?
For most residential systems with the heat exchanger near the pool equipment, no—the existing pool pump circulates both the pool and solar loop. If the solar panels are more than 15 meters away or higher than 5 meters above the pump, add a dedicated circulator pump (€150–€250).
How do I winterize a solar pool heat exchanger?
First, drain the pool water side by opening the bypass valve and removing drain plugs. For the glycol side, ensure the mix is at least 50% propylene glycol for freeze protection to -25°C. Most exchangers have threaded plugs; use Teflon tape to reinstall.
What material is best for saltwater pools—copper/nickel or titanium?
Titanium is essential for saltwater pools (chlorine generators). Copper/nickel corrodes in high-salinity environments, especially above 3,000 ppm salt. Titanium exchangers cost 30–50% more but last 20+ years without pitting.
Can my pump handle both solar panels and a heat exchanger?
Yes, but total head loss must stay below the pump’s rated total dynamic head (TDH). For a typical 1 HP pump with a TDH of 12 meters, add the exchanger’s 6 PSI drop (≈4 meters) plus filter, panels, and pipe losses. If total exceeds 11–12 meters, upgrade to a 1.5 HP pump or install a bypass.
How often should I clean the heat exchanger?
In hard water areas (calcium >300 ppm), flush every 12 months. In soft water areas, every 24 months is sufficient. Watch for a pressure differential increase of more than 3 PSI from clean baseline; that signals scaling or debris blockage.