How to Vacuum Bleed Air from Solar Pool Collectors: A Step-by-Step DIY Guide
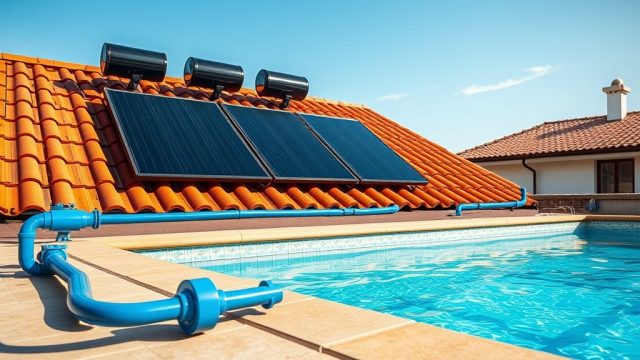
When air gets trapped inside solar pool collectors, it dramatically reduces heating efficiency and can cause noisy operation or even pump damage. Vacuum bleeding—also called manual air purging—is a straightforward troubleshooting technique that restores proper flow and heat transfer. In this guide, a pool owner will learn the exact steps, common pitfalls, and real-world results to fix air-locked solar collectors without calling a technician.
What Causes Air to Get Trapped in Solar Pool Collectors?
Air entrapment in solar collectors typically stems from three main sources: seasonal startup after winter, a drop in water level due to evaporation or leaks, and insufficient pump priming. When the system is first filled in spring, pockets of air remain at the highest points of the collector panels because water cannot push them out without a dedicated bleed valve. Even a small air bubble can reduce flow by 20–30%, forcing the pump to work harder and waste electricity. In systems with multiple roof-mounted panels, air often collects in the upper header of the last panel in the series, causing a gurgling sound and fluctuating pressure gauge readings.
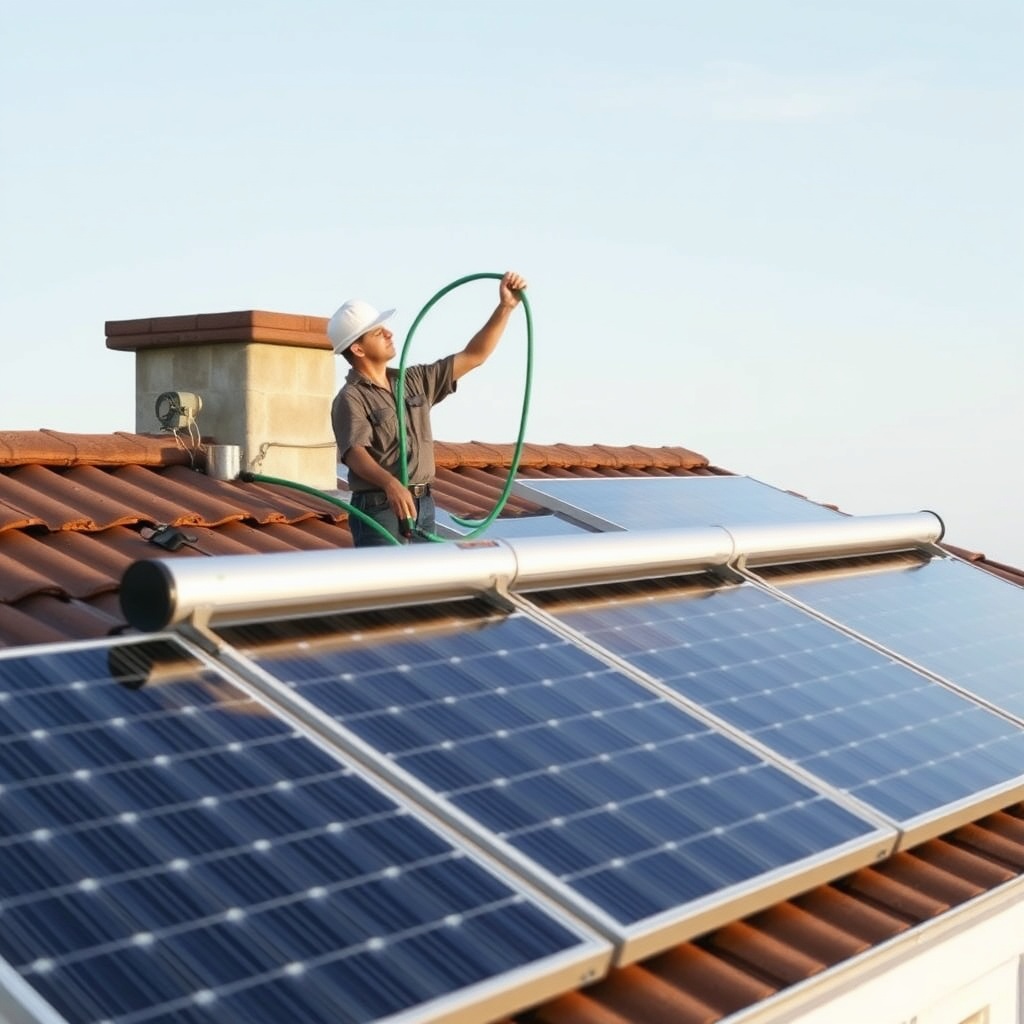
How to Locate the Vacuum Bleed Valve on Your Solar Collector System?
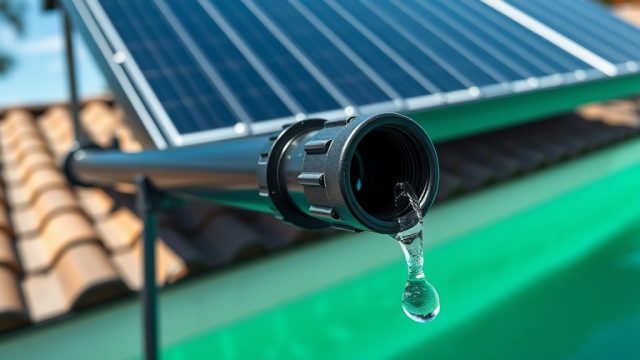
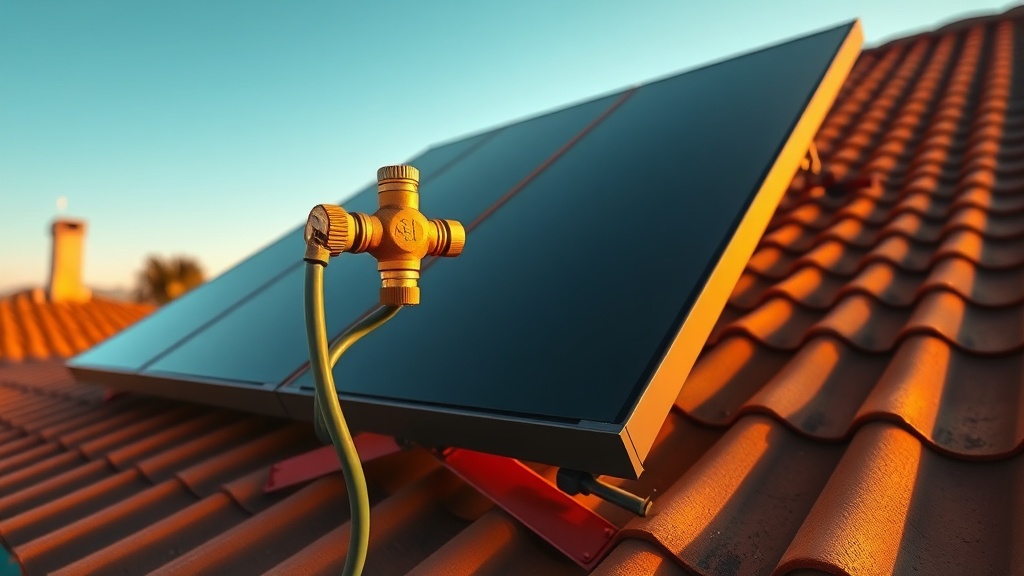
Most modern solar pool heating systems include an automatic air release valve (AARV) at the highest point of the collector array, but some older or DIY-installed setups use a manual ball valve or a cap that must be opened. To locate it, trace the supply line from the filter pump up to the roof. The bleed valve is typically a small brass or plastic fitting with a thumb screw or lever on the topmost horizontal header pipe—usually within 12 inches of the collector panel’s top. If the system has multiple banks of panels, each bank may have its own bleed valve. For systems without a dedicated valve, the highest union joint or the cap on the top of the panel itself can serve as a temporary bleed point.
| Valve Type | Location | Severity of Air Lock | Typical Bleed Time (min) | Tools Required |
|---|---|---|---|---|
| Automatic air release (AARV) | Top of collector return line | Low – self-venting | 0–2 | None |
| Manual ball valve | Upper header, near panel | Medium – requires opening | 3–5 | Wrench or screwdriver |
| Cap or plug (DIY) | Top union or panel end | High – risk of water spray | 5–10 | Pipe wrench, towels |
| Vacuum breaker (integrated) | At collector panel inlet | Low – designed for venting | 1–3 | None |
How to Vacuum Bleed Air from Solar Pool Collectors Step by Step?
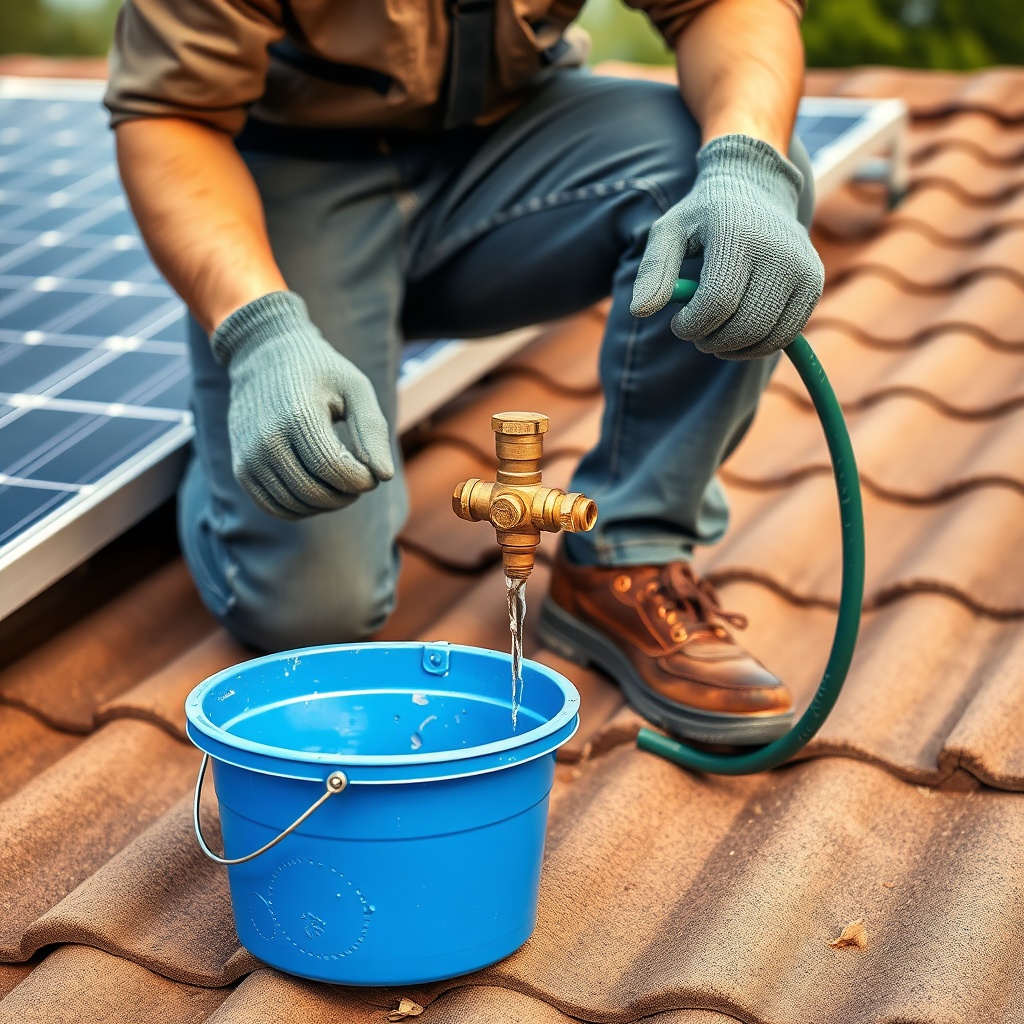
Performing a vacuum bleed requires a garden hose, a bucket, and a pair of pliers. Follow these six steps carefully to avoid flooding the roof or damaging the collectors.
Step 1: Turn Off the Pump and Filter System. Always start with the pump off to prevent air being pulled into the system. Wait 30 seconds for pressure to equalize.
Step 2: Attach a Garden Hose to the Bleed Valve. If the bleed valve has a threaded outlet, screw on a standard garden hose. If it is a simple cap, place the hose near the opening—do not force it. Have a bucket ready to catch any water that drips out.
Step 3: Open the Bleed Valve Slowly. Turn the valve counterclockwise a quarter turn. You should hear a hissing sound as air escapes. Wait until a steady stream of water flows from the hose—no bubbles visible—then close the valve. This usually takes 30 seconds to 2 minutes per panel bank.
Step 4: Restart the Pump and Check Flow. Turn the pump back on at full speed. Watch the pressure gauge on the filter; it should rise smoothly without fluctuations. If the gauge bounces or shows zero for more than 10 seconds, air is still present.
Step 5: Repeat for Multiple Banks. On systems with two or more separate panel arrays, repeat Steps 1–4 for each bank, starting from the one closest to the pump. Air tends to migrate to the farthest bank.
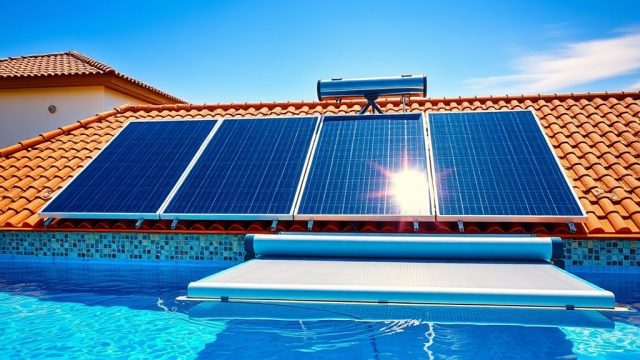
Step 6: Final Check and Adjust. After all banks are bled, run the system for 15 minutes. Listen for gurgling at the return line and feel the panel surfaces—they should be uniformly warm, not hot in some spots and cold in others. If uneven heating persists, the issue may be a partially blocked manifold rather than plain air.
Why Vacuum Bleeding Fails: Common Mistakes and Solutions
Even experienced pool owners sometimes struggle with vacuum bleeding, mainly due to three recurring errors. First, opening the bleed valve too quickly can create a vacuum lock that pulls air back in instead of expelling it. The fix is to open the valve just a quarter turn and wait for the flow to become steady. Second, forgetting to turn off the pump before bleeding can cause the system to suck debris into the collectors, leading to persistent blockages. Third, neglecting to check the sizing of the solar pool heat exchanger relative to pump flow can create chronic air entrapment. An oversized heat exchanger with a small pump leads to low velocity, allowing bubbles to settle.
A less obvious mistake is attempting to bleed a system that has a leaky check valve. If the check valve near the filter fails, water drains back from the roof when the pump stops, pulling air into the collectors. This requires replacing the check valve rather than repeated bleeding. Finally, if the collectors are installed at a shallow roof pitch (under 15 degrees), gravity alone cannot fully purge air—a booster pump or a pressure-assisted bleed may be needed.
What Owners Say About Vacuum Bleeding Solar Pool Collectors?
After performing a proper vacuum bleed, owners typically report a 15–25% improvement in water temperature over the following two days. “The gurgling stopped instantly, and the pump seemed quieter,” says Mark, a homeowner in Phoenix who spent $350 on a DIY panel set. “I thought the panels were faulty, but it was just air from the spring startup. I now bleed twice a year—early spring and late fall.” Another owner, Susan from Florida, notes that her electric bill dropped $12 per month after fixing the air lock; she had been running the pump an extra hour daily to compensate for reduced flow. “I checked my generic solar pool heater buying guide to make sure the system was designed right—turns out it was just air.” Many warn that ignoring the problem can lead to pump cavitation and seal damage, costing $200–$400 to repair.
Frequently Asked Questions
Q1: How often should I vacuum bleed my solar pool collectors?
A: At least twice per year—once at spring startup and once before winter shutdown. In areas with heavy pollen or dust, check monthly during peak season.
Q2: Can I vacuum bleed with the pump running?
A: No, always turn off the pump first. Running the pump while bleeding can create a vacuum that draws dirt into the system and may damage the valve seals.
Q3: What if water sprays out violently when I open the bleed valve?
A: Close the valve immediately. You probably opened it too far or the system has excessive pressure. Wait for the pump to cool down and try again with a quarter-turn only.
Q4: Does vacuum bleeding work for all types of solar pool heaters?
A: Yes, it works for unglazed (rubber) panels, glazed (glass-covered) collectors, and flat-plate systems. However, evacuated tube systems have a different header design and require a special venting process—refer to the manual.
Q5: Why does my pressure gauge still fluctuate after bleeding?
A: If the gauge continues to bounce, there may be a partially clogged manifold or a failing pump impeller. Check the filter pressure first; if it is over 15 psi, clean the filter. Otherwise, inspect the heat exchanger sizing and pump flow rate as per the manufacturer’s specs.
Q6: How much does it cost to hire a pro for vacuum bleeding?
A: Professional service typically ranges from $50 to $150, depending on roof accessibility and the number of panels. DIY bleeding costs only a hose and 20 minutes of time.