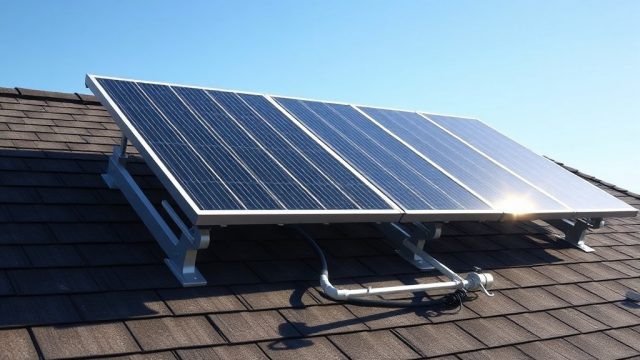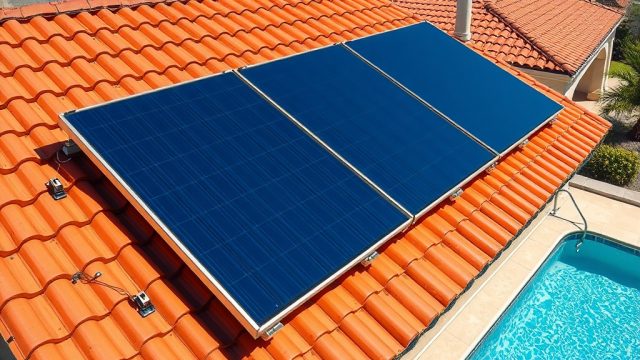

Why Does a SunStar Solar Pool Heater Need a Vacuum Break?
A SunStar solar pool heating system operates by circulating pool water through rooftop solar collectors. When the pump shuts off—whether by timer, controller command, or power failure—water trapped in the panels and supply lines can drain back down through gravity. Without a proper vacuum break, this drainage creates a siphon that can pull hundreds of gallons of water from the pool, potentially emptying it below the skimmer level or even causing structural damage. A vacuum break is a small, inexpensive valve installed at the highest point of the system’s return line, automatically admitting air to break the siphon. For SunStar systems, this valve is critical for protecting both the pool equipment and the collector panels from vacuum collapse and back-siphoning damage.
Installing a vacuum break correctly during mounting of the SunStar solar panels ensures the system operates safely and efficiently for years. This guide covers step-by-step instructions, common pitfalls, and maintenance tips to prevent siphon-related failures.
What Tools and Parts Do I Need for Vacuum Break Installation?
Before mounting the SunStar solar collectors, gather the following tools and components. Using the correct materials prevents leaks and ensures reliable siphon breakage.
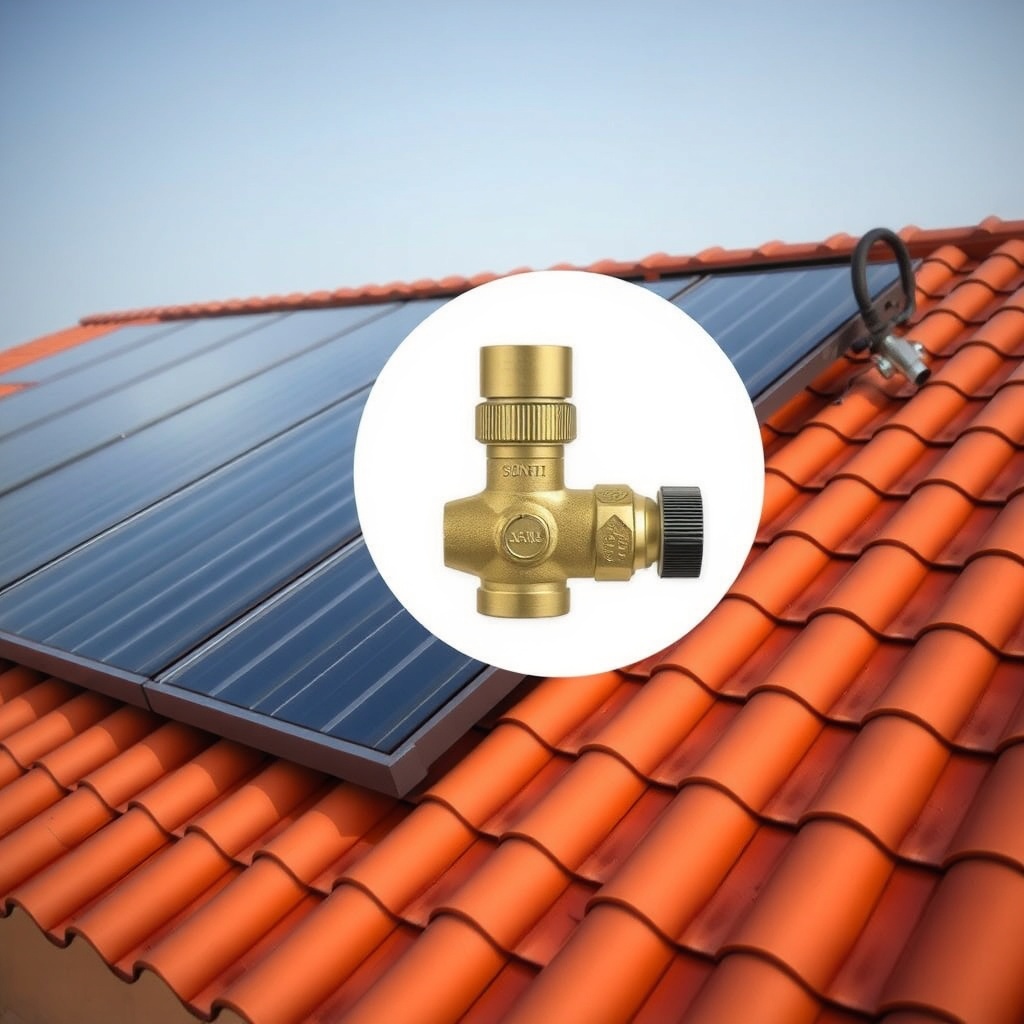
- Vacuum break valve (1/2-inch or 3/4-inch NPT, compatible with SunStar’s 2-inch headers)
- Teflon tape or pipe thread sealant (rated for potable water systems)
- Adjustable wrench or two wrenches for tightening fittings
- PVC primer and solvent cement (if connecting to PVC piping)
- PVC pipe cutter or hacksaw
- Drill with hole saw (if mounting the valve through a panel support)
- Mounting bracket or strap to secure the valve
- Check valve (optional but recommended for systems over 20 feet of vertical lift)
Typical cost for a SunStar-compatible vacuum break kit ranges from £25 to £45, depending on the material (brass vs. plastic) and whether it includes a check valve. Always verify that the valve’s pressure rating meets or exceeds the system’s operating pressure (usually 30–50 psi).
How Do I Determine the Correct Mounting Location for the Vacuum Break?
The vacuum break must be installed at the highest point of the system’s return line, downstream of the solar collectors but before the water re-enters the pool return plumbing. On a typical SunStar installation, this is the topmost fitting on the header pipe that connects to the collector bank. The valve’s inlet should face downward (toward the pool) so that gravity assists in draining trapped water.
Key location rules:
- The valve must be positioned above the highest collector panel—not on the supply line.
- It should be on the return side (the pipe that carries heated water back to the pool).
- Keep the valve at least 6 inches away from any 90-degree elbow or tee to avoid turbulence that could prevent proper seating.
- If the system has multiple banks of panels, install one vacuum break per bank, or a single large valve (1-inch) on the combined return header.
For a typical three-panel SunStar array on a single-story home, the vacuum break mounts on the return header approximately 12 inches from the last panel’s outlet. This placement ensures rapid air intake when the pump stops, breaking the siphon within seconds.
What Are the Step-by-Step Mounting Steps for SunStar Vacuum Break Installation?
Follow these instructions carefully when mounting the vacuum break during panel installation. Work safely on the roof with proper fall protection.
Step 1: Prepare the Return Header Pipe
Measure and mark the return header pipe at the highest accessible point. Using a PVC pipe cutter, cut a section out of the pipe that matches the length of the vacuum break’s body (typically 2–3 inches). Deburr the cut edges with sandpaper or a utility knife.
Step 2: Apply Thread Sealant
Wrap Teflon tape three to four times clockwise around the male threads of the vacuum break valve. For brass valves, use a pipe thread sealant instead of tape for a leak-proof seal. Do not overtighten—hand-tight plus a quarter turn with a wrench is sufficient.
Step 3: Install the Vacuum Break in the Pipe
If using PVC fittings, solvent-weld a female adapter onto each cut pipe end. Allow the cement to cure per manufacturer instructions (usually 15 minutes at 20°C). Screw the vacuum break valve into the adapter, ensuring the arrow on the valve body points toward the pool return direction.
Step 4: Secure the Valve
Mount the valve to a nearby roof bracket or collector frame using a stainless steel strap. This prevents movement from wind or thermal expansion. Avoid clamping directly onto the valve body; instead, secure the pipe fittings on either side.
Step 5: Test the System
Before connecting all panels, run the pump briefly. With the system fully primed, shut off the pump and watch for a rapid gurgle sound as air enters the vacuum break. If water spits from the valve, the orientation is reversed—turn it off and re-install with correct flow direction.
A final check: after pump shutdown, no water should drain from the collectors for more than 2–3 seconds. If water continues to flow, the vacuum break may be clogged or incorrectly sized.

SunStar Vacuum Break Installation Troubleshooting Table
Common issues during or after installation and their solutions are summarized below.
| Problem | Likely Cause | Severity | Solution |
|---|---|---|---|
| Water leaks from vacuum break during operation | Valve installed backward or incorrect thread sealant | High (leak can damage roof) | Remove valve, apply new Teflon tape, re-install with arrow pointing toward pool |
| No gurgling sound when pump shuts off | Valve is not at highest point; siphon not breaking | Critical (risk of panel implosion) | Relocate valve to highest possible return header position above all panels |
| Water drains from collectors for more than 5 seconds | Vacuum break is clogged with debris or scale | Moderate (inefficient operation) | Disassemble and clean valve with vinegar solution or replace |
| Valve chatters or vibrates during pump run | Flow rate too high for valve size | Low (noise annoyance) | Install a 3/4-inch valve instead of 1/2-inch; check pump GPM |
| Vacuum break freezes in winter | Not properly drained before freeze | High (cracked valve) | Install freeze protection or manually drain valve before cold weather |
What Do Owners Say About SunStar Vacuum Break Installation?
Feedback from SunStar pool owners highlights a few consistent themes. Many praise the simple, effective design of the vacuum break, noting that it cured persistent air-locking issues they had with previous generic valves. One owner in Florida reported that after installing the recommended 3/4-inch vacuum break on a three-panel system, the pool temperature stabilized faster because the pump no longer had to re-prime after each cycle. Another UK user mentioned that the brass variant lasted six years without corrosion in a coastal environment, though they advised wrapping the threads with additional sealant for peace of mind.
Criticism is rare but centers on installation errors. Several owners found that mounting the valve too close to a pipe bend caused the valve to leak intermittently. A solution shared in online forums is to add a 2-inch straight length of pipe between the tee and the vacuum break. Overall, owners rate the vacuum break as a “must-have” for any SunStar system, calling it “inexpensive insurance” against catastrophic water loss. For those who need precise pump settings to match the installation, refer to SunStar Solar Pool Heater Pump Requirements: GPM Guide for fine-tuning the flow rate.
Frequently Asked Questions
Does every SunStar solar pool heater require a vacuum break?
Yes, any system where the solar collectors are mounted at a higher elevation than the pool water level must have a vacuum break. This is standard for roof-mounted systems. In the rare case of ground-level panels below the pool waterline, a vacuum break is not needed, but a check valve is required.
Can I install the vacuum break indoors near the pump?
No. The vacuum break must be at the highest point of the return line on the roof. Placing it indoors nullifies its purpose because the siphon will already have started. The valve must be exposed to roof-level air to break the siphon instantly.
How often should I inspect or replace the vacuum break?
Inspect the valve visually every spring when you winterize your SunStar solar pool heater for freeze protection. Clean any debris from the valve seat. Replace the valve every 3–5 years or sooner if you notice leaks or reduced siphon-breaking performance.
What size vacuum break should I use for my SunStar system?
For most residential SunStar systems with 2-inch headers, a 1/2-inch NPT vacuum break works well. Larger systems (four panels or more) benefit from a 3/4-inch valve to allow quicker air entry. Check your system’s flow rate; if it exceeds 20 GPM, use the larger size. For guidance on panel count, see Sizing a SunStar Solar Pool Heater for Your Pool.
Will a vacuum break cause water loss from the collectors?
No. The valve only opens when the pump stops, allowing air in and preventing water from being siphoned out. During pump operation, the internal spring or float mechanism keeps the valve closed, so no water escapes. Minimal pooling (a few milliliters) may occur immediately after shutdown, which is normal.
Can I install a vacuum break after the SunStar panels are already mounted?
Yes, but it is more difficult. You may need to disassemble part of the return header to insert the valve. If the panels are already in place, consult a professional unless you are comfortable cutting and re-gluing PVC pipe on the roof. For new installations, always include the vacuum break during the mounting phase. Also ensure your controller programming supports the correct pump-off timing—review SunStar Solar Pool Heater Controller Programming Instructions for details.