Introduction
When mounting a Heliocol solar pool heater on a residential roof, bracket spacing and load calculations are among the most critical factors affecting system longevity and structural safety. Incorrect spacing can lead to panel sagging, roof penetration leaks, or even structural failure under wind uplift or snow loads. This article provides precise, code-compliant guidelines for Heliocol roof mount bracket spacing and load calculations, helping installers and homeowners avoid costly mistakes.
What Is the Standard Bracket Spacing for Heliocol Solar Pool Heaters on a Roof?
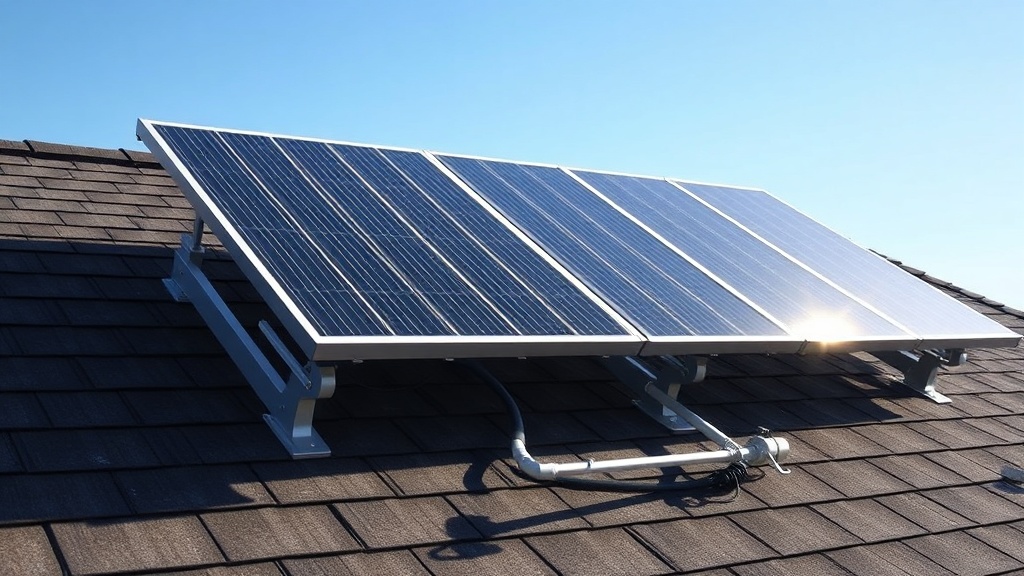
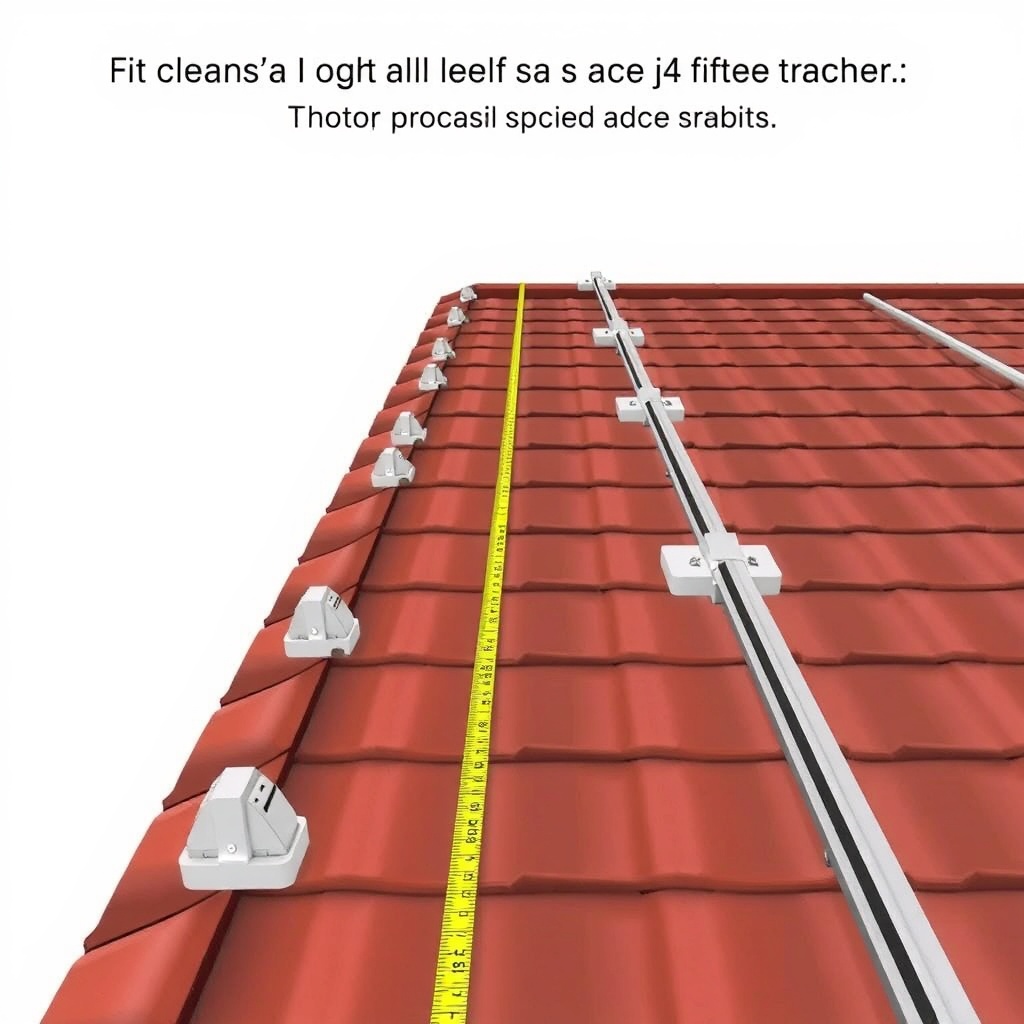
Heliocol solar pool heaters are typically mounted using aluminum brackets spaced at specific intervals to distribute the weight of the water-filled panels evenly. For most residential installations, the manufacturer recommends a maximum bracket spacing of 4 feet (1.22 m) along the length of each panel. This spacing ensures that the collector rails do not deflect under the combined weight of the water (about 2.5–3.0 lb/ft per panel) and the absorber plate. For panels longer than 12 feet, add an intermediate bracket at the midpoint to reduce stress on the frame. Always refer to the local building code, as some jurisdictions in high-wind or snow-load areas require tighter spacing, such as 3 feet (0.91 m) on center.
Bracket spacing directly influences the load path from the panel to the roof structure. When brackets are too far apart, the panel can bow, causing the absorber plate to contact the glazing and leading to premature wear or absorber plate delamination. Additionally, brackets must be aligned with roof trusses or rafters to transfer loads properly. If a bracket falls between rafters, use a structural blocking kit rated for the expected load—never rely on sheathing alone to support the weight.
How Do You Calculate Roof Load for a Heliocol Solar Pool Heater?
Calculating the roof load for a Heliocol system involves summing the dead load (panels, brackets, water) and live load (wind, snow, rain). A typical Heliocol panel weighs approximately 12 lb empty and holds about 1.5 gallons of water per linear foot, adding roughly 12.5 lb/ft when filled. For a standard 4 ft × 10 ft panel, the total weight is near 125 lb. Multiply this by the number of panels to get the total system weight. For example, a 6-panel system covering 240 sq ft would add approximately 750 lb to the roof—plus bracket and rail hardware (about 50 lb).
This dead load must be added to the existing roof dead load (usually 10–15 psf for asphalt shingles and plywood) and compared to the roof’s design live load (typically 20–40 psf for residential roofs, depending on region). Use a simple formula: Total Load (psf) = (Panel Weight + Water Weight + Hardware) / Area Covered. For the 6-panel example, that’s 800 lb / 240 sq ft = 3.33 psf. Most asphalt roofs can handle this extra load, but in high-snow areas, the combined snow load plus panel load may exceed the roof’s capacity. Consult a structural engineer if the total exceeds 75% of the roof’s rated capacity.
Wind uplift is another critical factor. Heliocol panels act like sails, and brackets must resist uplift forces calculated per ASCE 7 standards. In a 100 mph wind zone, uplift pressure on a 4 ft × 10 ft panel can exceed 200 lb. Ensure bracket anchorage to rafters with ⅜” stainless steel lag bolts, and use the manufacturer’s included wind clips. For roof mount attachment methods, rails and clips distribute uplift loads better than individual brackets, especially on tile or metal roofs.
What Are the Specific Bracket Spacing Requirements for Different Roof Types?
Heliocol bracket spacing must be adapted to the roof material because different surfaces provide varying pull-out resistance and load distribution. The table below summarizes recommended spacing and attachment methods for common roof types.
| Roof Type | Max Bracket Spacing (ft) | Recommended Attachment | Pull-Out Load (lb) per Lag Bolt | Notes |
|---|---|---|---|---|
| Asphalt Shingle | 4 ft (1.22 m) | ¼” lag bolt into rafter, with sealant | 300–400 lb | Use 2× blocking if rafter spacing > 24” |
| Clay or Concrete Tile | 3 ft (0.91 m) | Tile hook + ⅜” lag bolt | 250–350 lb | Remove tile, install flashings, replace tile with seal |
| Metal Standing Seam | 4 ft (1.22 m) | S-5! color-matched clamp, no penetration | 500+ lb | No roof penetrations; verify clamp compatibility with seam profile |
| Flat Roof (Modified Bitumen) | 3.5 ft (1.07 m) | Ballast or mechanical anchor through membrane | 200–300 lb | Use load-distribution pads; ballast needs structural OK |
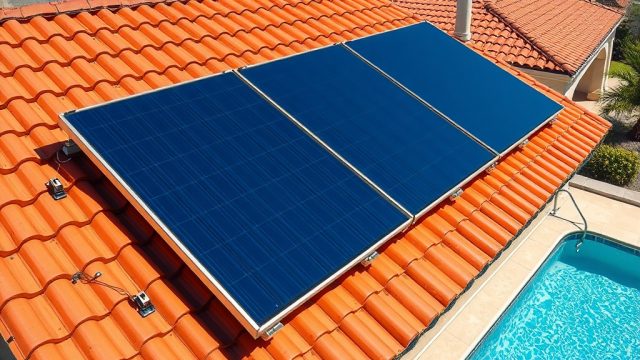
For tile roofs, bracket spacing must be tighter because the tile itself cannot support point loads. The bracket must be anchored directly to the structural deck or rafter below the tile. On metal roofs, S-5! clamps eliminate roof penetrations but require a minimum seam thickness of 0.5 inches. Always test pull-out strength on-site with a torque wrench to confirm the attachment meets the required 300 lb minimum. If you’re considering ground mount systems, spacing rules differ slightly due to lower wind exposure and easier access.
How Do Wind and Snow Loads Affect Bracket Spacing for Heliocol Panels?
Bracket spacing must be recalculated when wind or snow loads exceed basic residential thresholds. For every 10 mph increase above 90 mph basic wind speed, reduce bracket spacing by 6 inches. In a 120 mph zone, spacing should be no more than 3 ft on center for all roof types. Snow load adds vertical weight that can cause bracket bending if spaced too far apart. In regions with ground snow loads over 30 psf (e.g., northern US or mountain areas), use 3 ft spacing and verify that the roof trusses can handle the additional 5–10 psf from the wet panels and snow accumulation.
Heliocol panels have a snow-shedding design with a smooth glazing surface, but snow can still bridge between panels. To prevent this, install panels with a minimum tilt of 15° from horizontal. For flat roofs, consider a tilt frame rated for snow loads. In extreme cases, use intermediate brackets every 2 ft along the panel length to distribute shear forces from sliding snow. Always check the ground mount tilt angle optimization article for seasonal adjustments that also reduce snow load on roofs.
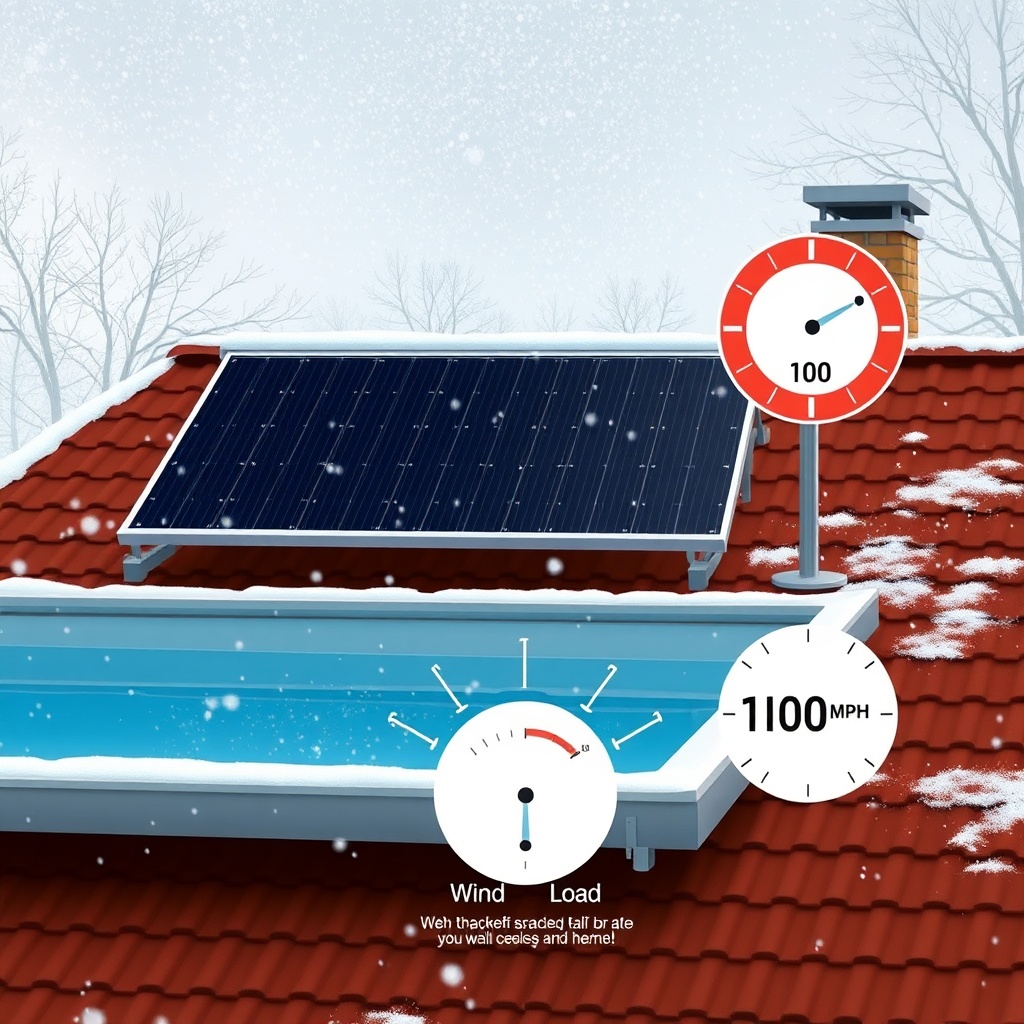
Wind uplift forces are particularly dangerous for solar pool heaters because the panels are large and lightweight. A 4 ft × 10 ft panel at 15° tilt in a 100 mph gust experiences about 180 lb of uplift. With brackets at 4 ft spacing, each bracket must resist 90 lb of pull-out. Lag bolts in wood rafters typically handle 300–400 lb, so safety factor is adequate. However, in hurricane-prone areas, use ⅜” diameter bolts and install wind clips on every bracket. Never rely on friction-only attachments (e.g., clips without bolts) for roof mounts.
What Are the Consequences of Incorrect Bracket Spacing on a Heliocol Roof Mount?
Incorrect bracket spacing can lead to several performance and structural issues. The most common problem is panel sagging between brackets, which causes the absorber plate to contact the glazing and trap heat, leading to thermal fatigue and absorber plate crack formation. Sagging also reduces water flow and heating efficiency by creating low spots where air pockets form. In extreme cases, the panel frame can bend, requiring full replacement. Roof penetration leaks are another risk: brackets spaced too far apart place more force on each fastener, eventually stripping the lag bolt or pulling it out of the rafter, creating a hole for water intrusion.
Load calculations that ignore snow accumulation can cause the roof structure to deflect, leading to interior ceiling cracks or even collapse. Homeowners who skimp on brackets to save money often face repair bills that dwarf the initial installation cost. For example, a typical roof leak repair from a failed bracket can cost $500–$1,200, while adding a few extra brackets during installation costs less than $50 each. Always follow manufacturer guidelines and local codes—not just for warranty compliance but for safety. If you’re experiencing delamination or cracks, check the step-by-step guide for crack repair before replacing panels.
What Owners Say About Heliocol Roof Mount Bracket Spacing
Many Heliocol owners report that proper bracket spacing is the single most important factor in system performance. John from Phoenix, AZ, shares: “I installed the panels myself using 4 ft spacing on a shingle roof—no issues in three years, even with 110 mph monsoon winds. I made sure every bracket hit a rafter, and I used the manufacturer’s wind clips.” In contrast, a homeowner in Denver, CO, regretted using 5 ft spacing: “The panels sagged after the first heavy snow, and two brackets pulled loose. The repair cost $800 plus a new panel because the absorber cracked.”
Another owner on a Florida tile roof reported that using 3 ft spacing with tile hooks prevented any leaks during Hurricane Ian. “The brackets held firm—no movement at all. The inspector was very impressed with the load calculations we did upfront.” These experiences underscore that investing in correct spacing and load analysis pays off long-term. For DIYers, professional installation is recommended if the roof is complex (e.g., multiple hips or valleys). Several owners also advise checking the controller WiFi setup once the panels are secured, as stable mounts prevent controller errors from vibration.
Frequently Asked Questions
1. What is the minimum bracket spacing for Heliocol solar pool heaters on a roof?
The minimum recommended bracket spacing is 4 feet on center for asphalt shingle roofs, but this may decrease to 3 feet for tile roofs, high-wind zones, or heavy snow load areas. Always consult local building codes and the Heliocol installation manual for your specific region.
2. Can I mount Heliocol panels on a roof with a pitch less than 15°?
Yes, but you must use a tilt frame to achieve at least 15° for proper water drainage and snow shedding. On low-pitch roofs, bracket spacing should be reduced to 3 feet to account for potential water pooling and increased static load from rain or debris.
3. How do I calculate the total weight of a Heliocol system for roof load?
Multiply the number of panels by the panel weight (approximately 12 lb empty plus 1.5 gallons of water per linear foot at 8.34 lb/gal). For a 4 ft × 10 ft panel, total weight is roughly 125 lb. Add hardware weight (about 50 lb for a 6-panel system) and divide by the total square footage to get pounds per square foot (psf).
4. Do I need a structural engineer for Heliocol roof mount load calculations?
If your roof already has a complex load configuration—such as multiple layers of shingles, attic storage, or high snow loads—a structural engineer is recommended. For standard residential roofs with clear rafter access and moderate climate, a homeowner can use the simple formula above, but always verify with local building department requirements.
5. What happens if a bracket is installed between rafters?
If a bracket falls between rafters, you must install a structural blocking kit (typically 2×6 lumber) between the rafters to provide a solid nailing surface. Never attach brackets solely to roof sheathing, as it cannot support the pull-out load and will fail, causing the panel to shift or fall.
6. How often should I inspect bracket spacing and load condition on an existing installation?
Inspect annually, preferably before winter and after major storms. Check for signs of bracket rust, loose lag bolts, or panel sag. Also look for roof shingle curling near brackets, which indicates leakage. Tighten bolts to 20–25 ft-lb torque during each inspection, and replace any weather seals that are cracked.