Introduction
Installing a Heliocol solar pool heater on the ground might seem intimidating, but with proper planning and the right approach, it becomes a highly rewarding DIY project that can drastically reduce your pool heating costs. This guide breaks down the entire ground mount installation process into manageable steps, focusing on the unique needs of the Heliocol panel system and common Australian backyards. By the end, you’ll understand how to position, secure, and connect your heater for maximum performance, ensuring your swimming season stretches well into the cooler months.
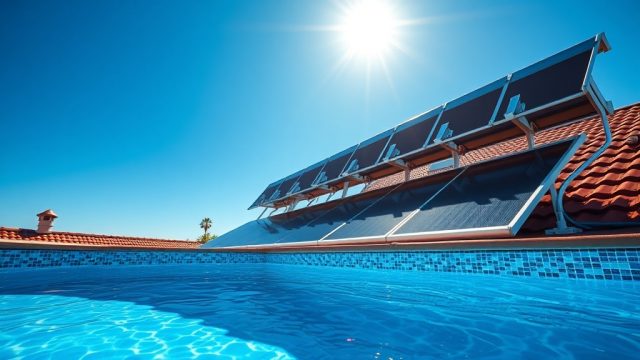
Why Choose a Ground Mount for Heliocol Solar Pool Heaters?
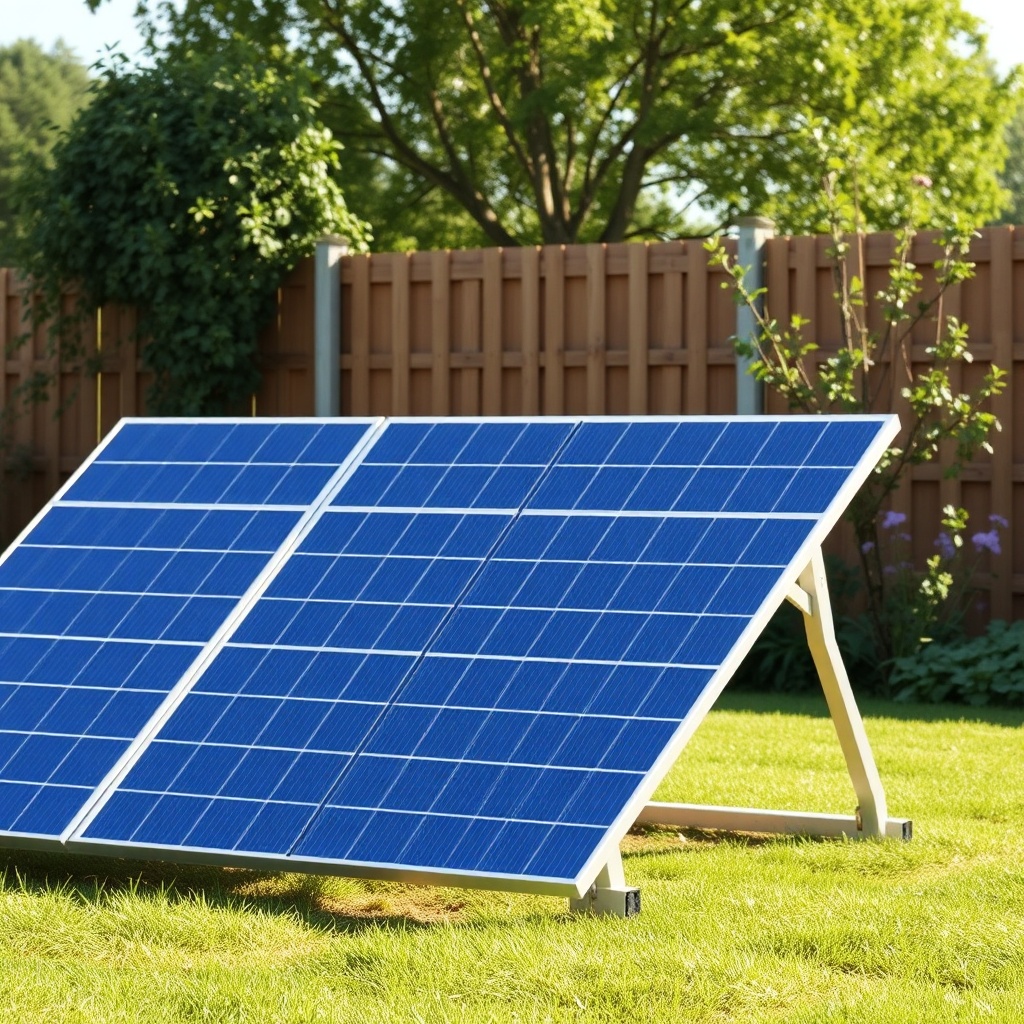
Not every home has an ideal north-facing roof, and structural or shading issues can make roof mounting impractical. A ground mount for your Heliocol solar pool heater offers several distinct advantages that make it a popular alternative across Australia. First, ground-level installation provides easy access for cleaning and maintenance, which is critical for the long-term efficiency of the panels—details covered in our How to Clean and Maintain Heliocol Solar Pool Heaters guide. Second, you can optimise the tilt angle without the constraints of roof pitch, and seasonal tilt adjustments are straightforward with a simple frame. Finally, ground mounts can be placed wherever the sun hits hardest, such as a sunny patch in the backyard, avoiding shade from trees or neighbouring buildings.
However, ground mounts do require extra care for structural stability. You’ll need to consider wind loads, foundation type, and the potential for ground movement. In typical Australian conditions, a sturdy galvanised steel or aluminium frame anchored in concrete footings is recommended. The Heliocol panels themselves are lightweight but have a large surface area, so they must be securely fastened to prevent vibration or lifting in strong gusts.
What Site Preparation Do I Need Before Starting?
Before you unbox a single panel, site preparation is the foundation of a successful installation. Begin by selecting a location that receives unobstructed sunlight from 10 am to 4 pm during peak swimming season—typically spring and summer in Australia. Avoid spots where shadows from trees, fences, or the house fall across the panels, as a small shadow can disproportionately reduce output. The ground should be relatively flat, well-drained, and free from large rocks or tree roots. If you’re placing the mount on a sloped area, you’ll need to level it with compacted fill or a concrete pad.
Next, check local council regulations. Some areas require permits for ground-mounted solar structures, especially if they exceed a certain height or are near property boundaries. You’ll also need to plan for plumbing runs: the ground mount should be within 15 metres of the pool pump and filter to avoid excessive pressure drop. This distance directly affects the flow rate, and as discussed in Optimal Flow Rate for Heliocol Solar Pool Heater, maintaining the right flow ensures even heating and prevents panel damage. Mark out the footprint with stakes and string, allowing for at least 50 cm clearance on all sides for air circulation and panel access.
What Tools and Materials Are Required for Heliocol Ground Mount Installation?
Having everything on hand before you begin will save time and trips to the hardware store. Below is a comprehensive list, with costs estimated in Australian dollars (AUD).
| Item | Specification | Estimated Cost (AUD) |
|---|---|---|
| Heliocol solar panels | 2.6 m x 0.9 m each; number varies by pool size | $400–$600 each |
| Ground mount frame kit | Galvanised steel or aluminium, pre-drilled for Heliocol | $300–$700 |
| Concrete mix | 20 kg bags for footings (4–6 bags per post) | $8–$12 per bag |
| PVC piping (25 mm or 32 mm) | Schedule 40 for headers and return lines | $1.50–$3 per metre |
| Pool pump union connectors | Stainless steel or brass, 1.5 inch | $15–$25 each |
| Pipe insulation foam | 1.5 m lengths, for outdoor runs | $10–$15 per pack |
| Tools: shovel, level, drill, wrench set, post hole digger | Standard DIY toolkit | $50–$150 (if not already owned) |
Note that frame kits vary: some come as rail systems, others as post-and-beam setups. For Heliocol panels, aluminium rails are preferred to prevent galvanic corrosion. If you’re also plumbing new lines, review our Heliocol Solar Pool Heater Inlet/Outlet Installation Tips for connector placements.
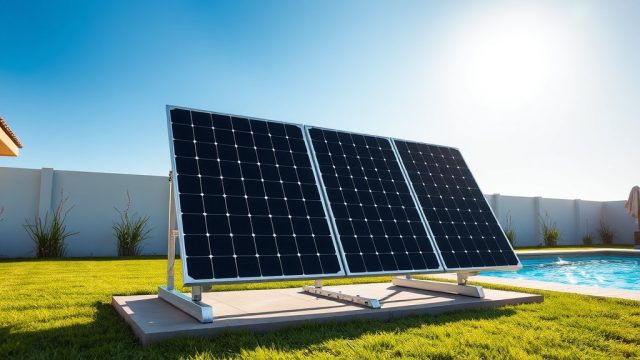
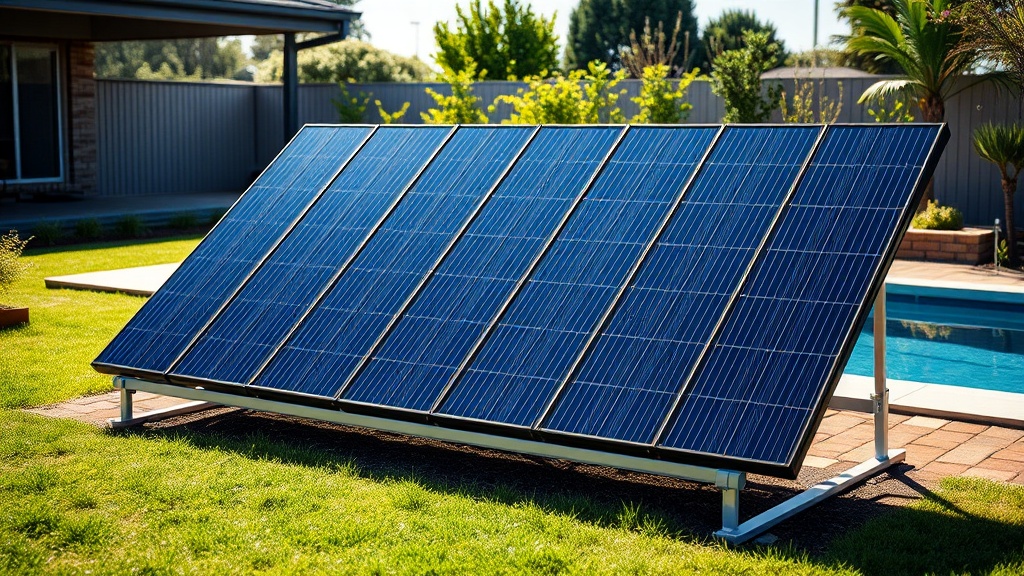
How Do I Build and Secure the Ground Mount Frame?
The frame must be robust enough to hold the panels at the correct tilt angle—usually between 15° and 25° for year-round use in Australia. For seasonal optimisation, see the Adjusting Heliocol Solar Pool Heater Tilt Angle: Seasonal Efficiency Guide. Start by digging post holes to a depth of 500–600 mm, depending on your soil type—sandier soil needs deeper footings. Place the posts in the holes, check they’re plumb with a spirit level, and pour concrete around them. Allow at least 24 hours for the concrete to cure.
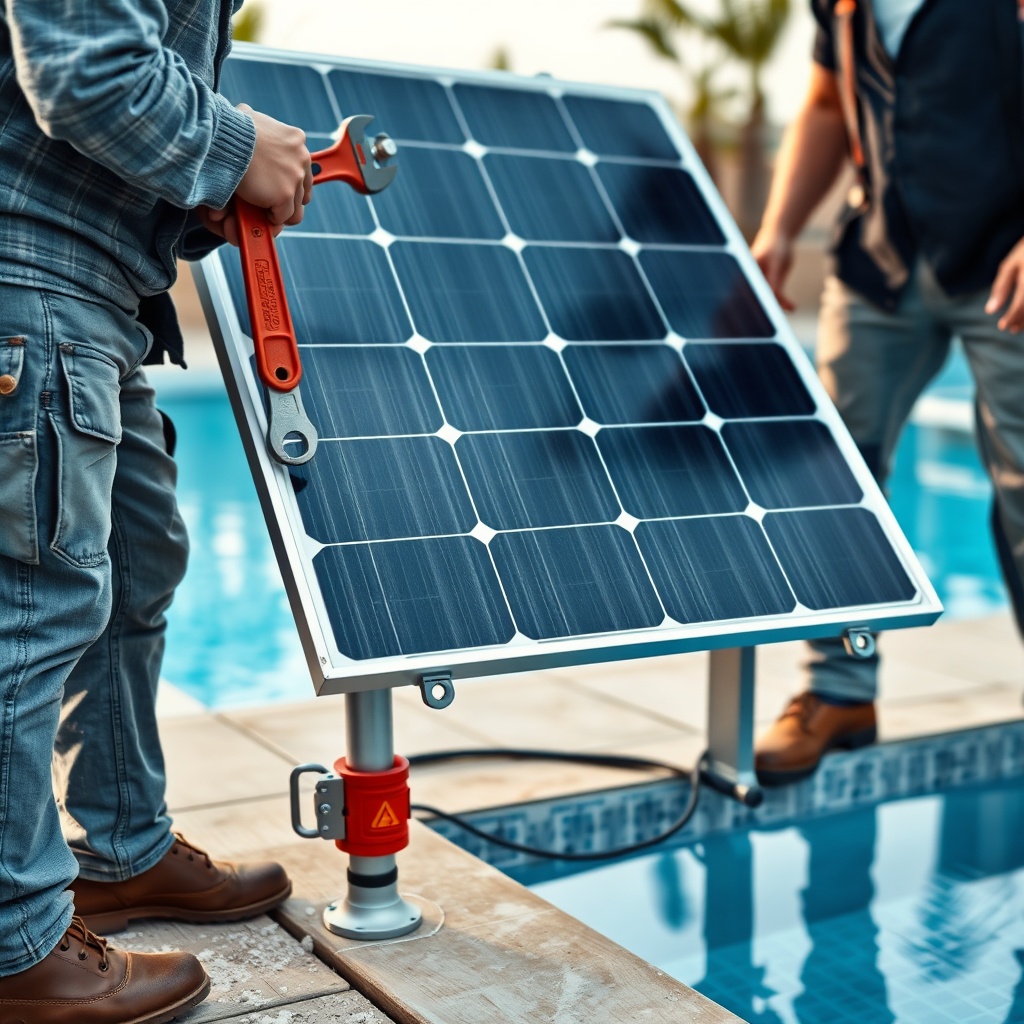
Once cured, attach the horizontal rails to the posts using stainless steel bolts. The rails should be parallel and spaced to match the panel width (typically 0.9 m apart). Heliocol panels have mounting holes on their side channels, so you’ll line these up with pre-drilled slots on the rails. Secure the panels with the supplied clips and bolts, tightening evenly to avoid warping. If your frame includes tilt-adjustment brackets, set them to your desired angle at this stage. Finally, add a cross-brace or diagonal support to the frame to prevent twisting in high winds—this is especially important in coastal or open areas.
How Do I Connect the Plumbing and Ensure Proper Flow?
Plumbing is the critical link between your Heliocol ground mount and your pool’s circulation system. Start by installing the header pipe at the bottom of the panel array—this is the inlet that connects to the pump’s discharge side via a diverter valve. The diverter valve allows you to bypass the heater when needed, such as during summer or when running the pump for filtration only. Use PVC primer and cement on all joints to prevent leaks, and install a check valve after the pump to prevent backflow through the panels when the pump is off.
Run the return header from the top of the panels back to the pool’s return line. The Heliocol system works best with a flow rate of 1.5–3 L/min per panel, so calculate your total flow based on the pump’s capacity. If your pump undershoots, you may need to add a booster pump, but this is rare for average-sized pools. Pressure drop is a real concern with Heliocol, as covered in Heliocol Solar Pool Heater Pressure Drop Analysis: Understanding System Restrictions. A simple rule: keep all pipe runs as straight as possible and avoid sharp bends to minimise friction loss.
Once connected, test the system by running the pump and checking for leaks at every joint. Bleed air from the panels by opening the air vent (usually a small valve at the highest point) until a steady stream of water flows out. The final step is to insulate all above-ground PVC pipes to reduce heat loss and protect against UV damage. Wrapping foam insulation around the exposed sections will maintain water temperature and extend the pipe’s life.
What Owners Say About Their Heliocol Ground Mount Installation
Pool owners across Australia have shared overwhelmingly positive feedback regarding ground-mounted Heliocol systems. Many highlight the flexibility in panel placement. “Our backyard had a perfect sunny spot that the roofline couldn’t use,” says Mark from Sydney. “Ground mounting made it possible to orient the panels exactly where the sun hits from late morning.” Others note the ease of maintenance—being able to walk around the panels for cleaning without crawling on a roof is a major plus.
Common challenges include ensuring the frame is truly level and accounting for strong winds. “We had a storm last year, and this system didn’t budge,” reports Lisa from Melbourne. “I made sure to concrete the posts deep and add extra bracing, which paid off.” Some owners emphasise the importance of correct tilt angle for winter heating. “In Brisbane, I used the tilt adjustment guide to set the panels steeper in winter,” adds James. “My pool temp gained an extra 2°C compared to the previous year with a fixed mount.” Overall, the ground mount approach is praised for its DIY-friendliness, though hiring a structural engineer for windy areas is occasionally recommended.
Frequently Asked Questions
Here are answers to six common questions about ground mounting a Heliocol solar pool heater.
1. Can I use a wooden frame for the ground mount?
It is not recommended. Wood rots over time and can warp under the weight of panels and wind load. Galvanised steel or aluminium frames are far more durable and resistant to corrosion, especially in Australia’s humid coastal areas.
2. What is the minimum distance from a fence or building for a ground mount?
Allow at least 1 metre from any fence or structure for easy panel access and to prevent shading. Some councils require 1.5 metres, so always check local regulations before digging.
3. How many Heliocol panels do I need for a 50,000-litre pool?
A general rule is the panel area should be 50–70% of the pool surface area. For a 50,000-litre pool (about 40 m² surface area), you would need 8–12 panels depending on sun exposure and desired temperature gain.
4. Do I need a separate pump for a ground-mounted solar heater?
Not usually. Your existing pool pump should suffice if it generates adequate flow. If the pump is undersized or the panels are far from the pool, a booster pump may help. Check the flow rate first using the guidelines in the article linked earlier.
5. How much does a complete ground mount Heliocol installation cost in Australia?
For a typical 8-panel system, expect $3,500–$6,000 including materials, frame kit, and plumbing. DIY installation saves labour costs, which can add $1,000–$2,000 for professional installation.
6. How does a ground mount compare to a roof mount for Heliocol panels?
Ground mounts offer easier maintenance, tilt adjustment, and no roof penetrations. Roof mounts save yard space and are often more aesthetic with less structural cost. The better choice depends on your home’s roof orientation, shading, and personal preference for access.