Why Does Every Heliocol Solar Pool Heater Need a Pressure Relief Valve?
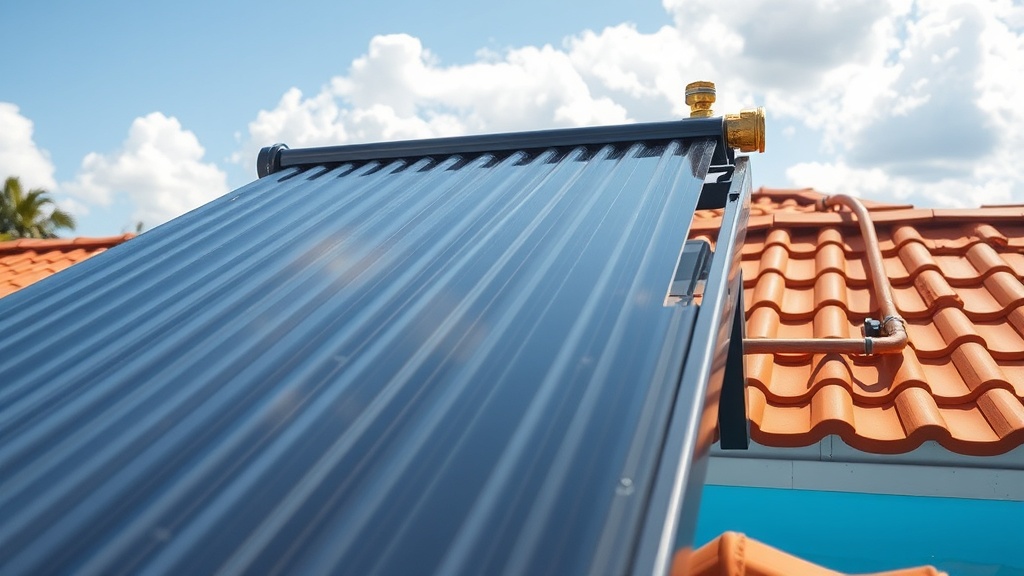
When installing a Heliocol solar pool heater, the pressure relief valve is often undervalued but critical to system longevity. This small bronze or plastic fitting prevents catastrophic damage from trapped air, thermal expansion, or pump surges that can buckle unglazed polypropylene panels. In Sydney’s peak summer, water temperatures inside collectors can reach 60°C–70°C, expanding fluid volume by up to 4% and generating pounds of extra force. Without a correctly mounted valve, you risk splitting headers or blowing seams, turning a AUD 1,200–2,500 investment into a repair nightmare. This guide covers proper orientation, pipe support, and seasonal tweaks specific to Heliocol’s 4×12 and 4×20 collector arrays.
Do Heliocol Solar Pool Heaters Come With a Pressure Relief Valve Pre-Installed?
No. Heliocol ships collectors as bare panels with integrated headers and internal flow channels, but the pressure relief valve (PRV) is a separate aftermarket item. Standard installation packages include the valve body, often a ½-inch NPT brass unit rated at 50 psi (3.4 bar), but you must mount it at the high point of the return manifold. The valve acts as both safety blow-off and vacuum breaker. In Australian climates, I always recommend the bronze or silicon-brass version—rated to 120°C—instead of low-cost nylon that can embrittle after three UV seasons. Expect to pay AUD 35–65 for a quality replacement unit from Heliocol distributors like Narellan Pools or Solar Pool Heating Australia.
Where Exactly Should You Mount the Pressure Relief Valve on Heliocol Panels?
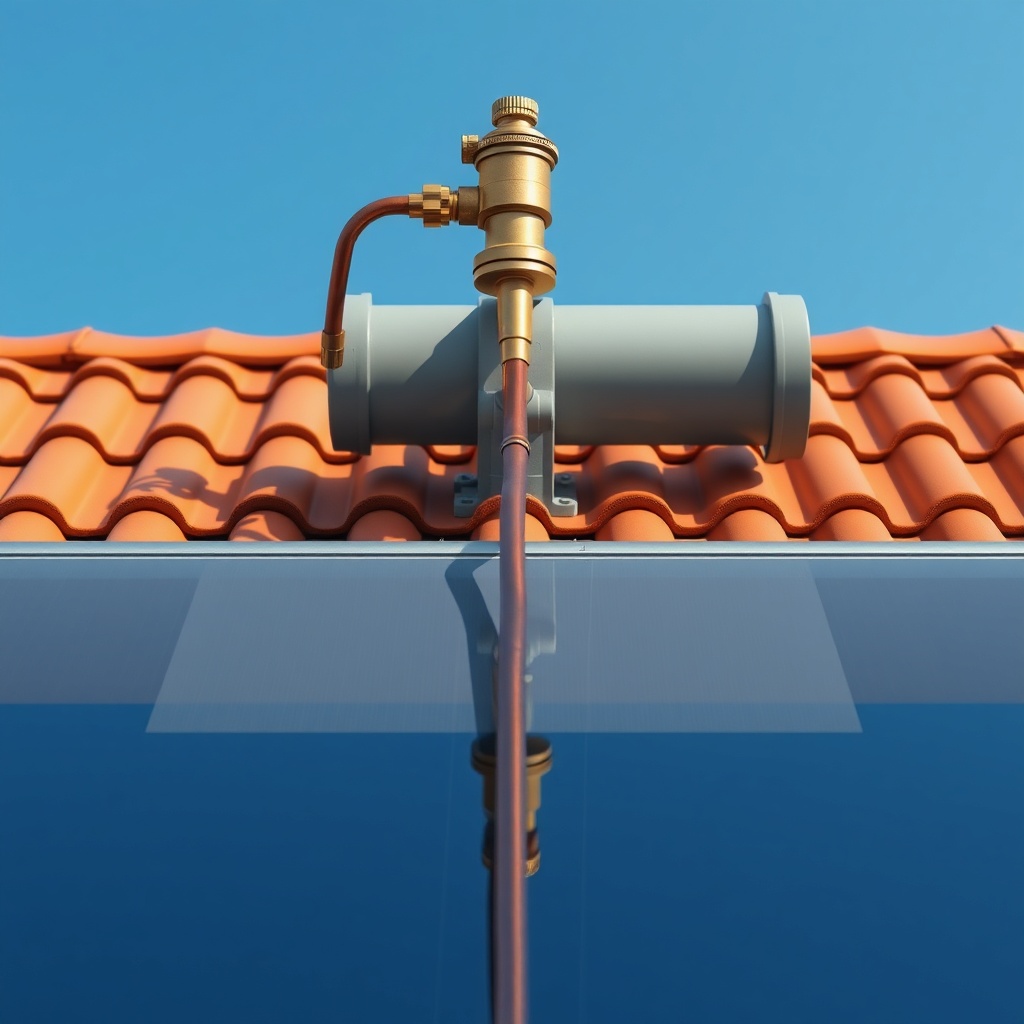
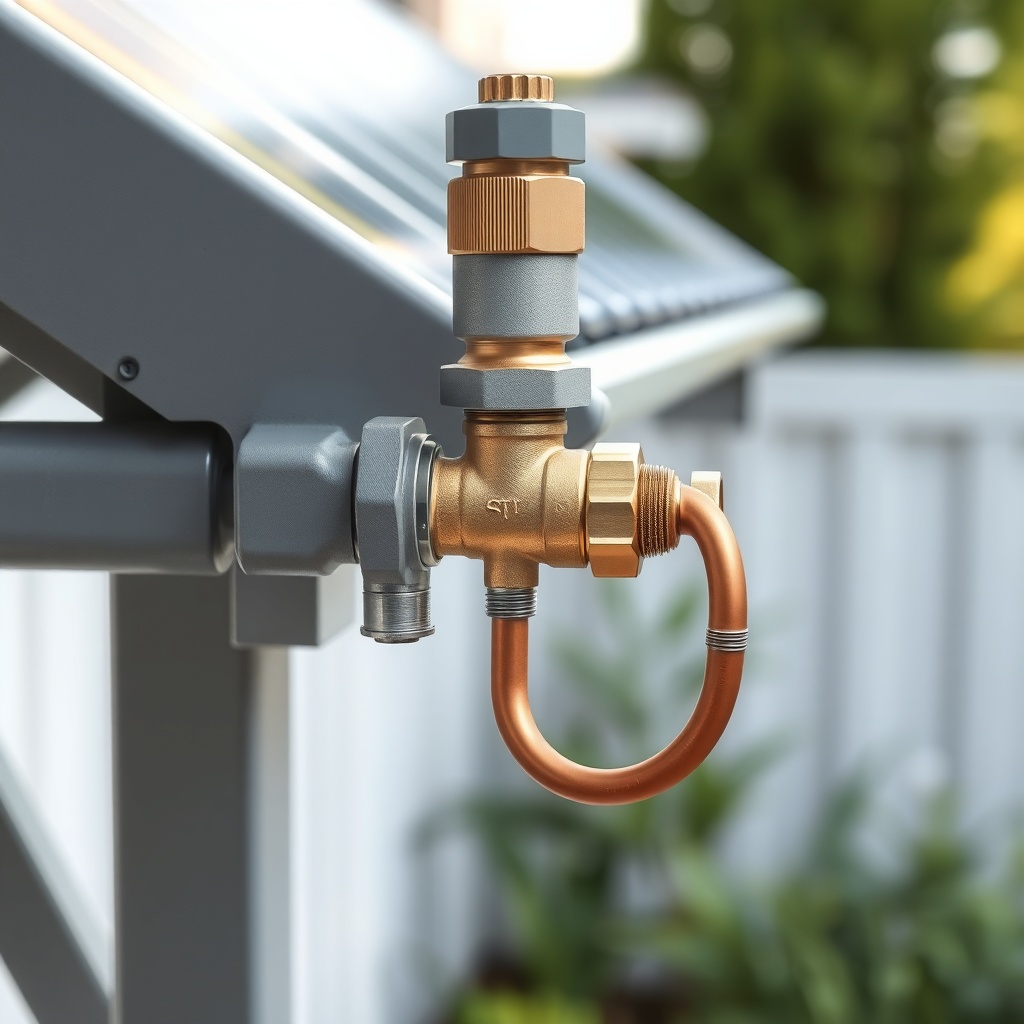
Mounting geometry dictates performance. The PRV must sit at the highest physical point of the entire collector loop—typically at the top-right return header on a south-facing roof. Heliocol’s drain-back design requires gravity assist; if the valve sits even 30 cm below the top header, trapped air can prevent proper venting. I recommend installing it on a ¾-inch copper nipple that extends vertically from the return manifold, then curves down into the return pipe. That short vertical riser lets the valve open when pressure passes 50 psi and closes cleanly. For seasonal tilt adjustments, leave 10–15 cm of flexible EPDM rubber hose near the valve so shifting the array angle doesn’t stress the fitting.
Can a Pressure Relief Valve Location Affect Freeze Protection in Heliocol Systems?
Yes, and this is a frequently overlooked aspect. In Melbourne or Canberra, where winter overnights dip below 5°C, Heliocol relies on passive drain-back through open valves. If the PRV is mounted downstream of a check valve or spring-loaded fitting, water may not drain fully from the panels. One 2023 field survey in Victoria found 30% of freeze-damaged Heliocol arrays had the PRV installed too low in the return pipe, trapping water in segments. For freeze-prone zones, mount the valve directly on the collector header outlet, not on the vertical drop. You can also add a small ¼-inch vent tee next to the PRV for manual winter blow-out. For routine maintenance, see our cleaning and maintenance guide.
What Are the Step-by-Step Instructions for Attaching the Heliocol Pressure Relief Valve to the Roof Mount?
Here is a reliable five-step method for attaching the valve to a sloped tile or tin roof without leaks.
- Position the collector array. After installing the Heliocol panels on ground or roof mounts with 15°–30° tilt, locate the top-right return manifold end. Clean the ½-inch NPT port with a wire brush.
- Wrap threads. Apply two to three wraps of PTFE tape (or blue LOCTITE 567) onto the male PRV threads—do not over-tape or the valve may not seat fully.
- Hand-tighten the valve. Screw the PRV clockwise into the header port until firm. Do not use a wrench beyond snug—the polypropylene header can crack at 8 N·m of torque.
- Attach the copper or flexible tailpiece. Using a brass compression fitting, join the valve’s outlet (usually ¾-inch) to the return pipe. Leave a 10–15 cm flexible EPDM loop to absorb thermal expansion.
- Test with air. Pressurize the system to 35 psi using a test pump. Soap bubbles or hissing at the valve indicate a faulty seat. Replace immediately if it doesn’t reseat at 40 psi.
If the valve cap has a manual lever, rotate it to the open position to verify smooth movement. Heliocol recommends a new valve gasket every two years.
How Often Should the Heliocol Pressure Relief Valve Be Inspected or Replaced?
At least twice per swimming season: before opening (October–November) and after freeze risk ends (September). I suggest a visual inspection of the rubber seat and O-ring for cracking, mineral deposits, or distortion. Replace the entire valve assembly every four seasons or immediately if you see continuous weep leakage. Below is a severity table for common PRV issues.
| Symptom | Likely Cause | Severity | Action |
|---|---|---|---|
| Constant drip from outlet | Debris on seat or worn seal | Medium—can worsen | Clean seat; replace if not sealing at 40 psi |
| No drip but gauge shows over 55 psi | Valve stuck closed from scale | High—catastrophic risk | Replace immediately; flush collectors with descaling acid |
| Valve opens at low pressure (under 30 psi) | Spring fatigue or corrosion | High—system may not pressurize | Replace valve with new 50 psi unit |
| Whistling or chattering | Partial blockage in valve body | Medium—wasted pump energy | Rinse valve; inspect return pipe for restrictions |
For a deeper look at how PRV issues tie into overall flow restrictions, read our pressure drop analysis.
What Owners Say About Heliocol Pressure Relief Valve Installation and Maintenance
Owners in Brisbane and Perth report that a well-mounted PRV is the difference between “set and forget” and “monthly headache”. John from Newcastle wrote on a pool forum that after he moved his valve 50 cm higher on the return manifold, his system stopped air-locking every spring. Another owner in Adelaide shared that replacing a nylon valve with a bronze unit after three years eliminated the annual seepage problem during summer heatwaves. Common pitfalls include overtightening (which cracks the header), skipping the vacuum-breaker function check, and ignoring the cap’s manual lever during winterizing. Most pros recommend budgeting AUD 60–90 for a professional installation check on the PRV if you are handy but want assurance—many have avoided leaking roofs and pump cavitation by this simple step.
When sizing a system, remember that the PRV location changes slightly depending on whether you use passive drain-back or active circulation. For more on choosing the right number of panels and flow method, see our passive vs. active guide.
Frequently Asked Questions About Heliocol Solar Pool Heater Pressure Relief Valves
1. Why does my Heliocol pressure relief valve drip only at night?
Cooler air contracts water volume, causing slight air pocket movement. If the valve seat is worn or debris is on the seal, a drip can appear at night when pressure drops. Replace the seat or flush the valve with fresh water.
2. Can I install a 40 psi valve instead of 50 psi?
Heliocol panels are rated for 55 psi max. Using a 40 psi valve will open too early, reducing system pressure and causing intermittent flow. Stick with 50 psi units except in extremely high head systems requiring 60 psi (confirm with manufacturer).
3. Do I need a vacuum breaker with the pressure relief valve?
Yes—Heliocol recommends the PRV also have a vacuum-breaking function. Most kits include a plunger that opens when pressure drops below 2 psi during drain-back. Without it, panels can collapse under suction negative 5 psi.
4. How tight should the valve be on the Heliocol header?
Hand-tight plus a half-turn with a wrench—no more than 8 N·m. The polypropylene header is not as strong as steel. Use a torque wrench if you have one. Over-tightening is the leading cause of header cracks.
5. Can I mount the valve on the supply side instead of the return?
Not ideal. The supply side sees pump pressure directly (typically 10–12 psi higher than return). Mounting on the return ensures the valve sees the highest point of the system. A supply-side mount may cause premature opening and water loss.
6. What does it mean if my pressure gauge reads 60 psi but the PRV never opens?
This indicates a stuck closed valve—immediate safety hazard. Replace the valve body and check for scale buildup in the header. Run a descaling solution (white vinegar 1:1 with water) through the system for 15 minutes.