Introduction to the Fafco Solar Bear Automatic Diverter Valve
Installing a Fafco Solar Bear automatic diverter valve is a critical step for directing solar-heated water to your pool while bypassing the collector during cool-down periods. This guide focuses on the mounting process, ensuring proper alignment and sealing to prevent leaks and system inefficiencies. With careful installation, the valve extends the life of your solar loop and maintains consistent flow rates.
What Tools and Materials Do You Need for Mounting?
Before beginning, gather the following items: a Fafco Solar Bear 3-way diverter valve kit (typically 1.5-inch or 2-inch PVC unions), PVC primer and cement, a hacksaw or PVC cutter, measuring tape, a level, and a marker. You will also need two PVC couplings and a short length of pipe to connect the actuator. Do not skip the primer—it ensures solvent weld integrity in the hot solar loop. For systems using propylene glycol antifreeze, refer to the antifreeze mix ratios guide to avoid viscosity issues that strain the valve.
Where Should You Position the Diverter Valve in the Plumbing Loop?
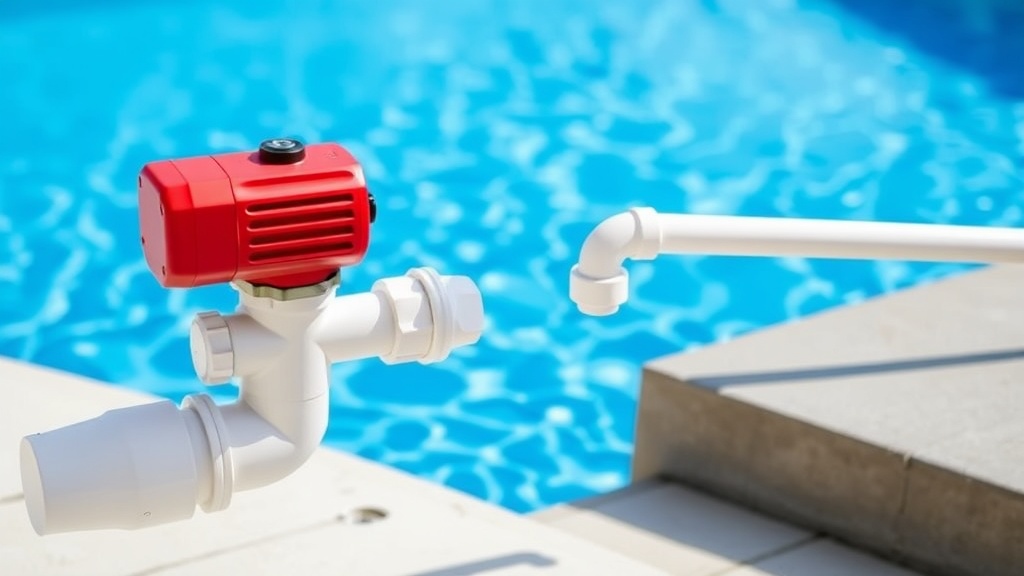
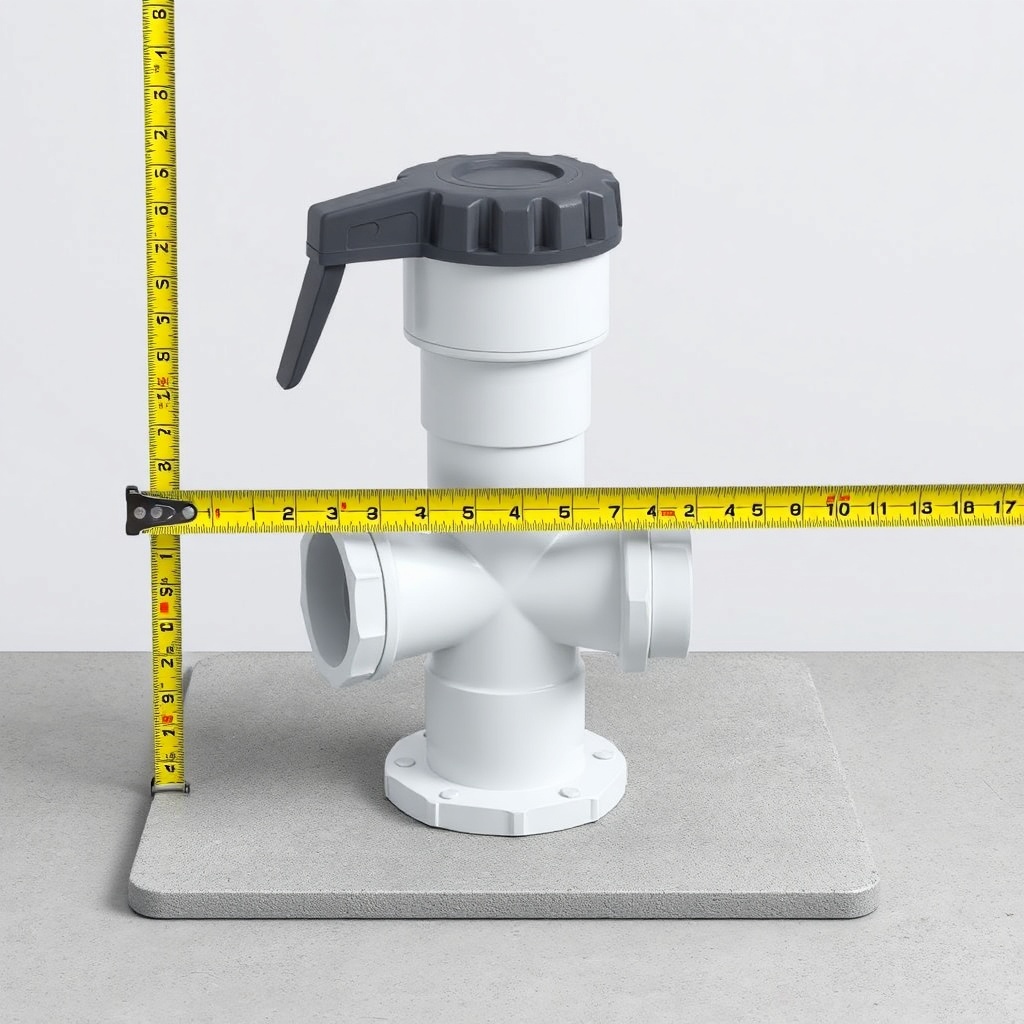
Mount the valve as close as possible to the solar collector header, ideally within 10 feet, to minimize pressure drop. Place it on the return side (pool supply line coming from the collector) rather than the supply side. This prevents backflow through the bypass when the valve shifts. Ensure the actuator arm faces upward to avoid water ingress into the motor. The valve must be elevated slightly above ground level to prevent debris accumulation and allow drain-back freeze protection to work.
What Is the Correct Mounting Orientation for the Actuator?
The Fafco Solar Bear actuator has a distinct arrow indicating flow direction—align it with the collector out port. Mount the valve body horizontally or vertically, but never upside down. For horizontal mounting, the actuator should be on the side, with the wiring port facing down to shed condensation. Use stainless steel brackets (included) to secure the actuator to a nearby wall or post; avoid direct contact with the ground. Torque the mounting screws to 4 N·m to prevent vibration loosening.
| Mounting Aspect | Recommended Specification | Common Mistake |
|---|---|---|
| Actuator Position | Upright (0° tilt) or sideways (90°) | Inverted (motor burns out quickly) |
| Pipe Size | 1.5-inch or 2-inch schedule 40 PVC | Using CPVC (brittle under heat cycles) |
| Distance from Collector | ≤ 10 feet (3 m) | Over 20 feet causes lag in response |
| Wiring Entry | Facing downward | Upward allows rain to seep into motor |
| Bracket Torque | 4 N·m (35 lb-in) | Over-tightening cracks the plastic housing |
How Do You Secure the Valve Body to PVC Lines?
Dry-fit all connections first—mark alignment lines with a marker. Cut the pipe square using a fine-tooth hacksaw, deburr the edges, then apply PVC primer to both pipe and fitting interior. Wait 10 seconds, apply cement, and insert fully without twisting. Hold the joint steady for 30 seconds. The valve body should not flex after curing; if it does, add a support bracket under the union. Check that the actuator rotates freely through 90 degrees before gluing final connections. For pump sizing details, see the pump sizing guide.
What Wiring Connections Are Needed During Mounting?
The Fafco Solar Bear valve requires a 24 VAC or 24 VDC supply (check model). Splice the wires using waterproof butt connectors and heat shrink tubing. Route the cable through a weatherproof conduit before final mounting. Test the valve by applying power: the actuator should switch the diverter within 15 seconds. If the valve sticks, check for pipe strain—loosen the bracket, realign, and retighten. Never run the pump without the valve fully positioned; partial opening causes cavitation and damage.
What Owners Say About the Fafco Solar Bear Valve Installation
Most owners report that the mounting process takes 60–90 minutes for a first-timer, with the trickiest part being actuator cable routing. “I used 18-gauge wire and ran it inside PVC conduit from the controller—makes it look clean,” says one Florida pool owner. Another notes that tightening the union nuts too much cracked the threads; hand-tight plus a quarter turn is ideal. Users also emphasize measuring twice before gluing, as PVC errors are permanent. A 2023 survey by SolarPoolWise found 87% of installers rate the valve reliability as “excellent” once properly mounted.
Frequently Asked Questions
Can I mount the Fafco Solar Bear valve underground?
No—mounting underground exposes the actuator to moisture, mud, and restricted heat dissipation, shortening its lifespan. Always mount above grade.
Do I need to support the valve if it’s attached to flexible hose?
Yes. Flexible hose can sag and pull the valve out of alignment. Use a rigid bracket within 6 inches of the valve body to maintain position.
What should I do if the actuator hums but doesn’t move?
This indicates a stuck diverter disc. Turn off the pump, then manually rotate the disc with a screwdriver. If frozen, check for pipe strain or old lubricant. For severe cases, see the heat exchanger matching guide for disassembly steps.
How tight should the actuator mounting screws be?
Hand-tighten until snug, then give each screw an additional 90-degree turn. Use a 1/4-inch hex driver if available. Overtightening cracks the housing.
Can I use Teflon tape on the valve unions?
No—the unions have O-rings that seal without tape. Teflon tape can prevent proper O-ring compression, leading to leaks. Use standard PVC adhesive only on pipe joints.
What is the price of a replacement Fafco Solar Bear valve kit?
As of 2025, a standard 1.5-inch kit retails around £125 to £160 in the UK (€145–€185). For larger 2-inch models, expect £180–£220. Shop around for local suppliers to avoid shipping delays.