Fafco Solar Bear Roof Mounting Kit: Step-by-Step Installation
Installing a Fafco Solar Bear solar pool heating system yourself can save hundreds in labor costs, but only if the roof mounting is done correctly. The Fafco Solar Bear Roof Mounting Kit is specifically designed to secure the unglazed rubber mats directly to asphalt shingles, tile, or metal roofs without compromising the integrity of the roof. This guide walks you through a practical, weather-tight installation you can complete in a weekend with basic tools.
What Tools Will You Need for the Fafco Solar Bear Roof Mounting Kit?
Before climbing the ladder, gather all necessary items. The Fafco Roof Mounting Kit (part number 20-10007) includes aluminum mounting rails, stainless steel hardware, and rubber gaskets. You will also need:
- Cordless drill with 3/8-inch and 7/16-inch nut drivers
- Caulk gun with a tube of Fafco-approved mastic or a common roof-compatible sealant like Lexel or Sikaflex
- Tape measure and chalk line
- Ratchet wrench set (10mm and 13mm sockets)
- Safety harness and rope (mandatory for any sloped roof work)
- Rubber mallet
Do not use standard silicone caulk—it breaks down under UV within a season. Stick with marine-grade sealant or the proprietary Fafco mastic if included.
How Do You Prepare the Roof Surface and Locate Rafters?
The success of the Fafco Solar Bear mounting depends on driving lag screws into solid roof rafters, not just the decking. Use a stud finder or a trim nailer to locate rafters on an asphalt shingle roof. For tile roofs, you must lift the tiles and mount directly to the wood underneath.
Mark a straight line from the ridge down to the eave using a chalk line. The rails must run parallel to the rafters. Fafco recommends spacing the two mounting rails between 24 and 36 inches apart—closer spacing provides better support for the collector mats, especially in snow load areas. Typical spacing is 32 inches on center for the Fafco Solar Bear panels.
Pre-drill each mounting hole with a 3/16-inch bit slightly larger than the screw shank to prevent splits. Clean the roof area thoroughly—any debris trapped under the gasket can cause leaks years down the road.

What Is the Correct Procedure for Mounting the Rails?
Your Fafco Solar Bear Roof Mounting Kit contains extruded aluminum rails with pre-drilled slots. Follow these steps precisely:
- Position the first rail on the chalk line. Hold it so the slots face upward and inward toward each other.
- Place the thick rubber gasket under the rail system; then insert the lag screw through the rail slot, through the gasket, and into the pre-drilled pilot hole in the rafter.
- Torque each lag screw to hand-tight plus a quarter turn—overtightening can crush the gasket and cause leaks. Fafco recommends 25 in-lbs maximum.
- Install the second rail parallel to the first at the measured spacing. Use a carpenter’s level to ensure both rails are level along the whole run. Shim under the rail if the roof has dips (use Fafco’s shim packs available from dealers).
- Recheck every fastener after 24 hours because thermal expansion can slightly loosen screws.
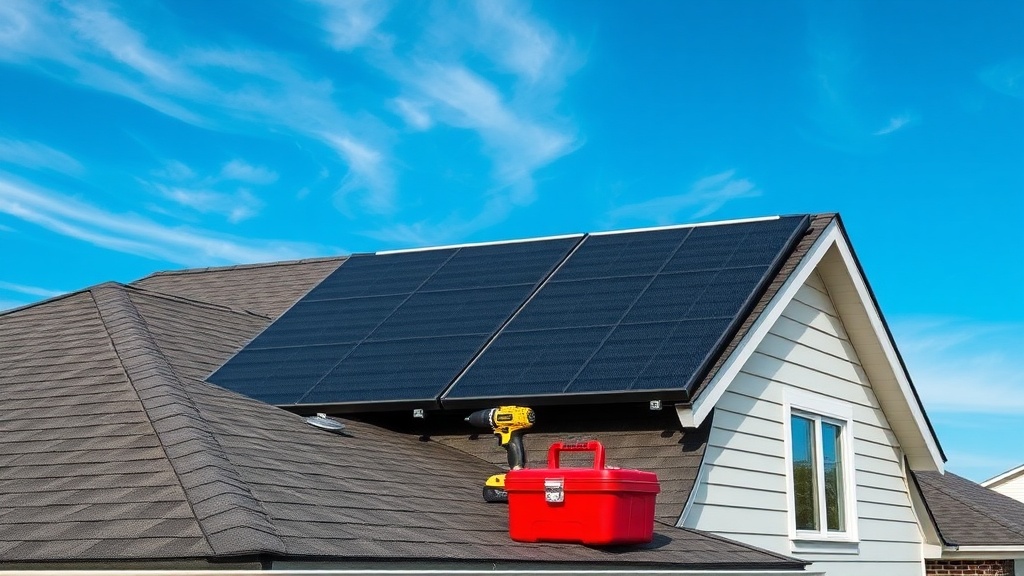
The rails should extend from about 2 inches below the ridge to at least 6 inches past the lower edge of the collector mats. If you have multiple mats side-by-side, install continuous rails that span the entire width of the array for a cleaner look and better alignment.
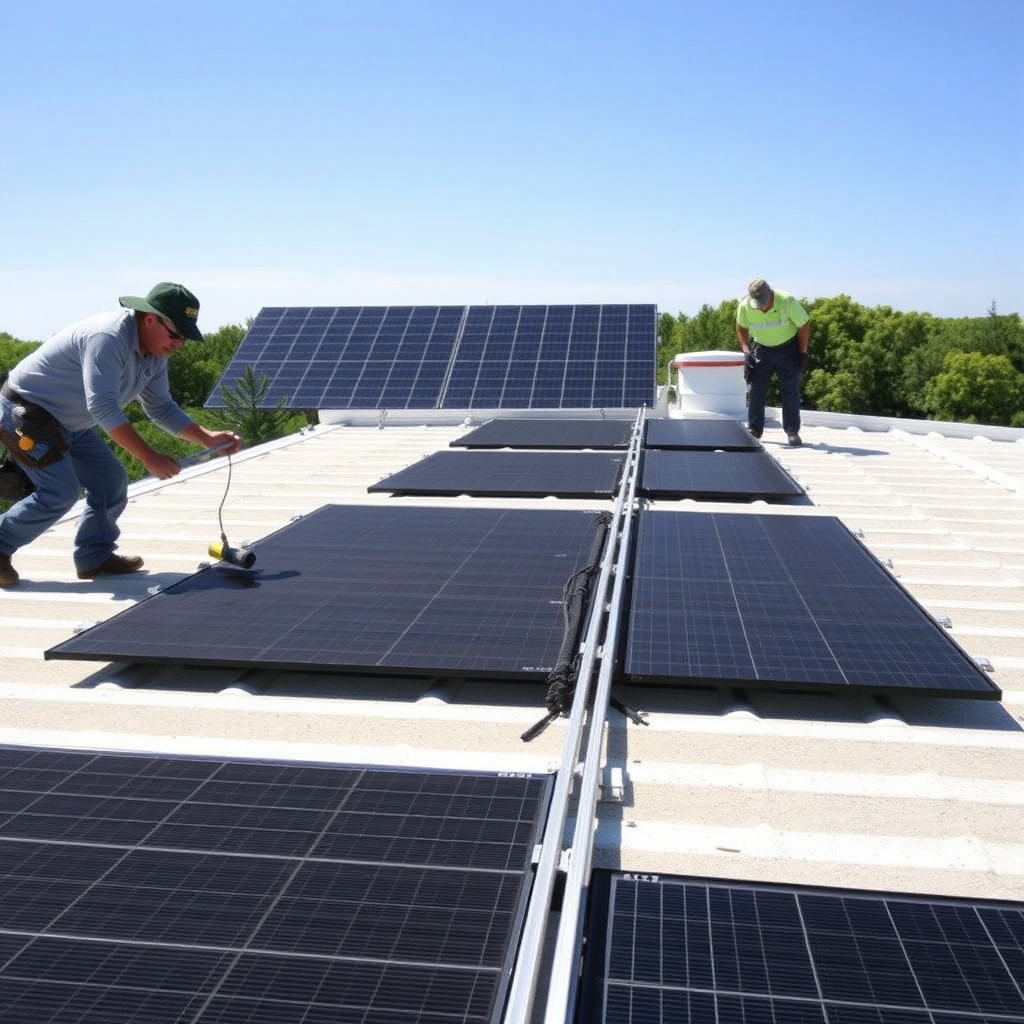
How Do You Install the Fafco Solar Bear Collector Panels on the Rails?
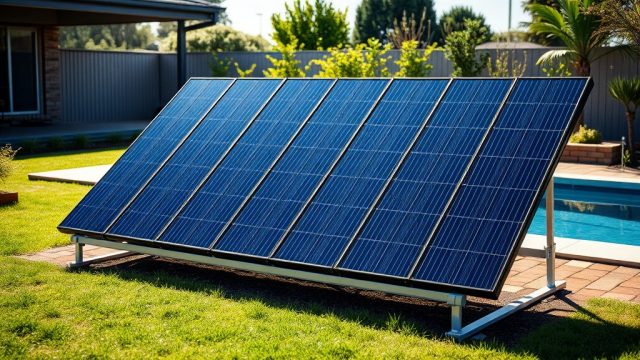
Once the rails are set, the Fafco Solar Bear panels (the heavy black rubber mats) slide into position. Lift one panel at a time—two people make this much easier because a 4×12-foot mat weighs roughly 35 to 40 pounds.
Slide each panel between the two rails so that the edges of the panel sit high enough that the aluminum rib on the rail catches the panel’s locking edge. Push the panel upward toward the ridge until it contacts the stop at the top of the rail. Then press down firmly—you should hear a distinct “snap” as the interlocking teeth engage. Some installers use a rubber mallet to tap the panel downward into place.
Secure each panel with the provided stainless steel end clips. These clips prevent the panel from lifting during high winds. Fafco specifies one clip per rail per panel, so a three-panel array needs six clips. Position the clips exactly over the locking rib and tighten with a 10mm socket.
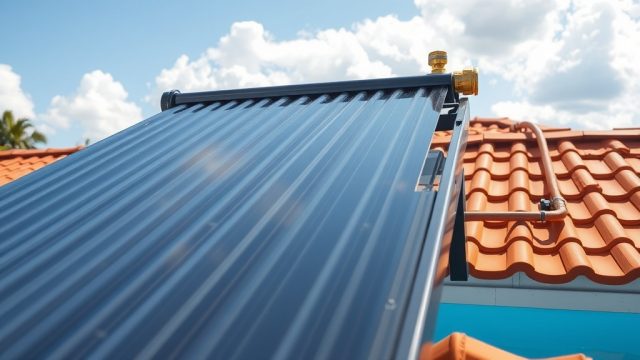
How Do You Achieve a Weatherproof Seal at the Roof Penetrations?
Every lag screw through the roof creates a potential penetration point—the Fafco Solar Bear Roof Mounting Kit is only as weatherproof as its seals. The rubber gasket provided with each screw must be compressed uniformly. Apply a generous pea-sized dab of marine-grade sealant into the pilot hole before inserting the screw. This fills any microscopic gaps.
After tightening, smooth a thin “donut” of sealant over the screw head and gasket flange. Check this seal every spring because temperature cycles can crack cheap sealants. For tile roofs, install a metal flashing over the tile gap and seal that flashing with roofing cement; do not rely solely on the rubber gasket under the screw.
Never skip the sealant step. A single compromised penetration can cause attic moisture or mold, and Fafco’s warranty explicitly requires proper sealing—see your Fafco Solar Bear Collector Panel Leak article for troubleshooting if you suspect a problem later.
What Are the Most Common Mistakes When Using the Fafco Solar Bear Roof Mounting Kit?
| Issue | Urgency |
|---|---|
| Incorrect rail spacing (more than 36 inches) — causes mat sagging and potential pooling of water that reduces solar efficiency. | Needs attention soon — can cause permanent mat deformation within one summer. |
| Overtightened lag screws — cracks the rubber gasket, creating a water path into the attic. | Needs attention soon — must be redone to avoid rot. |
| No sealant applied under screw head — the single most common failure point reported by installers. | Needs attention soon — inspect every screw. |
| Rails not level across entire run — panels slide poorly and may not lock. | Usually not urgent — can be corrected by shimming when sliding panels. |
| Panels not fully snapped into locking rib — wind lift can occur on high-wind days. | Needs attention soon — panel could detach. |
Do not hurry the rail alignment—it is the difference between a solid system and a liability. Use the Fafco Solar Bear Sizing Calculator to confirm you have enough panels for your pool before starting.
What Owners Say About Installing the Fafco Roof Mounting Kit
Pool owners who purchased the Fafco Solar Bear kit frequently mention the following in reviews and forum posts:
- “The rails are surprisingly sturdy for the price—I mounted 8 panels on a steep 8-pitch shingle roof and had zero issues with flex. The hardest part was finding rafters on my older house.”
- “My biggest regret was not buying the extra Fafco shims. My roof has a low spot near the ridge, and the rail rocks slightly. The system works, but I wish I had leveled it perfectly from the start.”
Owners also recommend replacing the included lag screws with longer ones if your roof decking is less than 5/8-inch thick. This alone prevents many future callbacks.
Frequently Asked Questions
Can the Fafco Solar Bear Roof Mounting Kit be used on metal roofs?
Yes, but you must use metal-roof-specific standoffs (sold separately by Fafco) to avoid piercing the metal panels. The standard kit is designed for asphalt shingle or tile roofs only.
What is the maximum number of panels the kit supports?
One standard mounting kit includes enough aluminum rails and hardware for up to 8 panels (4 feet wide each) on a single row. For larger arrays, buy a second kit or extension rails from Fafco.
How long does the sealant last before needing reapplication?
Marine-grade sealant used per Fafco instructions typically lasts 3 to 5 years. Inspect yearly—cracking or peeling means re-apply. Do not reuse old sealant over existing sealant.
Do I need a professional roofer for installation?
No, but if you are uncomfortable on ladders or near roof edges, hire a pro. The Fafco Solar Bear Controller Settings Guide covers the electronics side once the panels are mounted.
Will the mounting kit void my roof warranty?
Most roof warranties allow penetrations if properly sealed. Always check your specific shingle manufacturer’s warranty. Fafco’s kit includes butyl gaskets intended to comply with standard roofing guidelines.
How much does the Fafco Solar Bear Roof Mounting Kit cost in USD?
As of the latest pricing, the standard mounting kit retails for approximately $189 to $229 USD depending on the retailer. This includes rails, hardware, and gaskets for a single array. Additional rail extensions are about $45 each.