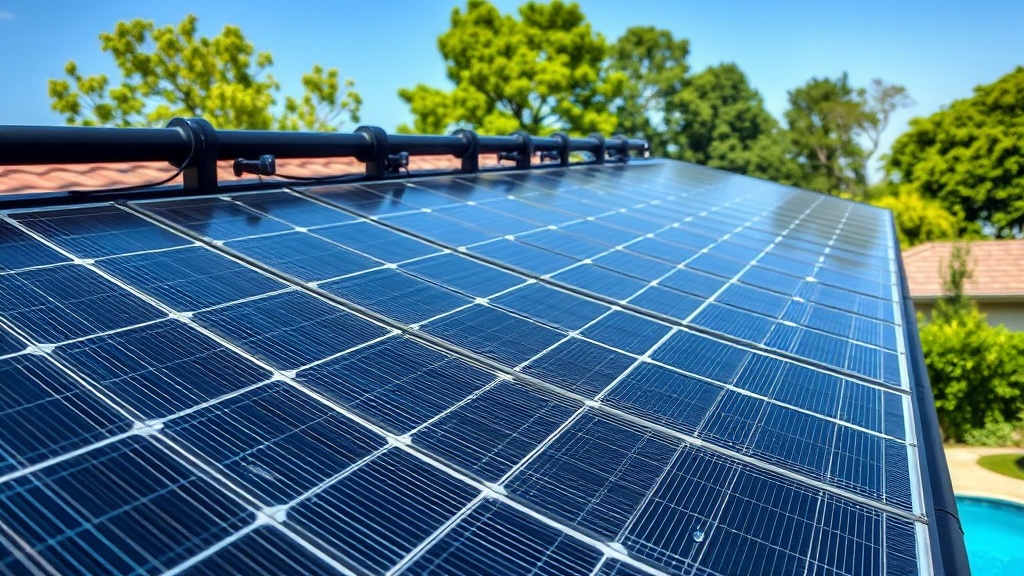
What Causes Cracks in Heliocol Solar Pool Heater Absorber Plates?
Heliocol solar pool heater absorber plates are engineered to endure high temperatures and UV exposure, but cracks do occur over time. The primary culprits include thermal stress from rapid temperature swings, manufacturing defects in the polypropylene material, and physical impact from debris during high winds. When an absorber plate cracks, it disrupts water flow, reduces heating efficiency, and can lead to system leaks that waste both water and energy.
Most cracks originate near the manifold connections or along the thin channel walls where water circulates. For Heliocol systems, which use a modular panel design, a single cracked plate often compromises the entire array’s performance. Seasonal freezing—especially in climates where pool owners don’t winterize properly—can cause water to expand and crack the plate from the inside out. Understanding the root cause helps you determine whether a repair is viable or if panel replacement is necessary.
How Do I Diagnose a Crack in My Heliocol Panel?
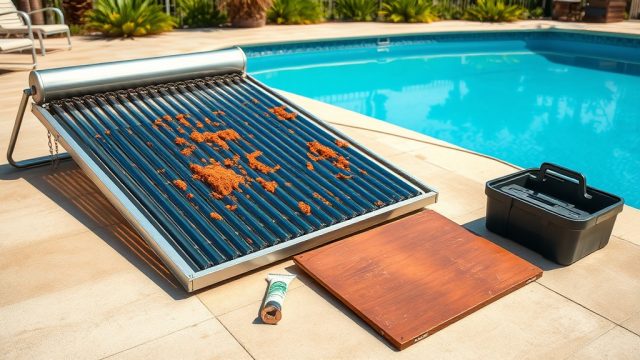
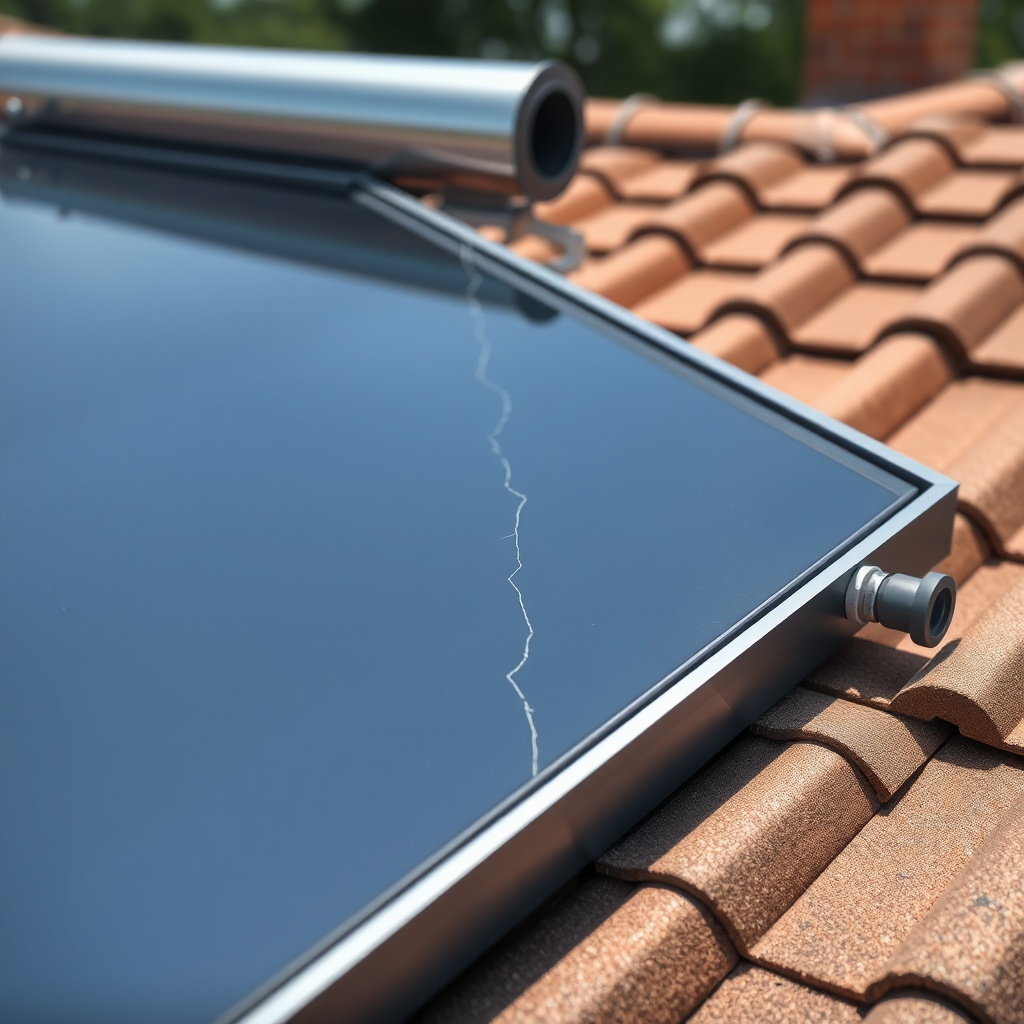
Diagnosing a crack in a Heliocol solar pool heater absorber plate begins with a visual inspection. Look for telltale signs like weeping water, white mineral deposits (calcium carbonate) along the plate surface, or a persistent drop in pool temperature despite full sun exposure. Another common indicator is an unexplained increase in water usage from the pool’s autofill system, as the crack allows pool water to escape as fast as it’s pumped through.
A simple pressure test can confirm your suspicion. Turn off the pump and close the diverter valve to isolate the solar array. Attach a pressure gauge to the outflow port and pressurize the system to around 10–15 psi. Monitor the gauge over 30 minutes; a steady drop indicates a leak somewhere in the absorber plate network. For a more targeted approach, use a thermal imaging camera on a sunny day—the cracked area will appear cooler on the infrared image because water escaping through the crack evaporates, cooling the surrounding plastic. This method works well for Heliocol’s black polypropylene panels, which absorb heat uniformly when intact.
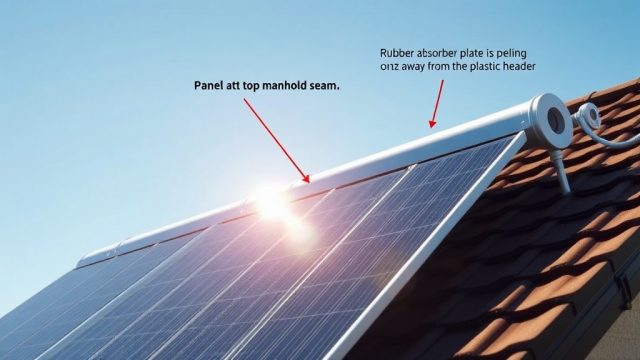
Keep in mind that cracks can also occur in the header tubes or manifold gaskets, not just the absorber plates themselves. A systematic check of all connections, especially where the roof mount attachment methods stress the panel edges, can save you time. If the crack is small and located away from high-stress zones, a repair may be possible. If it’s a long fissure crossing multiple channels, panel replacement is likely the better option.
| Crack Type | Length | Location | Leak Rate | Repair Feasibility | Estimated Cost (USD) |
|---|---|---|---|---|---|
| Hairline | < 1 inch | Channel edge | Slow drip | High: DIY patch | $15–$30 |
| Moderate | 1–3 inches | Mid-panel | Steady trickle | Medium: Requires welding kit | $50–$100 |
| Severe | > 3 inches | Near manifold | Continuous stream | Low: Panel replacement recommended | $150–$300 (panel cost) |
What Tools and Materials Do I Need for the Repair?
Repairing a cracked Heliocol absorber plate requires specific tools to bond the polypropylene material effectively. Polypropylene has a low surface energy, making it resistant to most adhesives—a plastic welding approach is far more reliable. Gather a polypropylene welding gun (or a heat gun with a narrow nozzle), plastic welding rods made from the same grade of polypropylene, a deburring tool or a sharp utility knife, and a pair of heavy-duty gloves. You’ll also need isopropyl alcohol (≥90%) and a lint-free cloth for cleaning the crack area.
For small hairline cracks, a polyethylene-based patch kit may work temporarily, but a weld is permanent and won’t degrade under constant UV exposure. Heliocol panels operate under moderate pressure (typically 5–10 psi), so the repair must hold against normal system pressure. Avoid using silicone or epoxy sealants—they can flex and peel off when the panel heats up to 160°F (71°C) on a hot day. A torque wrench and a set of Heliocol-compatible fasteners are useful if you need to remove the panel from its mounting frame.
Before you start, verify the orientation of the panel. If the panel is on a sloped roof, you may need to work from a ladder. For ground-mounted systems, refer to the ground mount tilt angle optimization guide to ensure your working position is safe. Additionally, have a small bucket and a rag handy to catch any residual water that drains from the panel when you disconnect it.
How Do I Perform the Plastic Welding Repair on a Heliocol Absorber Plate?
Start by shutting down the pool pump and closing the diverter valve to stop water flow. Drain the affected panel by loosening the union connections at both ends; you may need to wait a few minutes for gravity to empty the water from the panel channels. Dry the crack area thoroughly with a clean cloth, then clean it with isopropyl alcohol to remove any oils, dirt, or mineral deposits. Use the deburring tool to scrape away any sharp edges around the crack—this allows the weld to penetrate deeper into the material.
Preheat your plastic welding gun to the temperature specified for polypropylene, usually around 500–550°F (260–288°C). Hold the gun at a 45-degree angle about 0.5 inches from the crack. Begin by running a “tack weld” along the crack’s length to fuse the edges together, not yet adding filler rod. This step prevents the crack from growing when you apply heat. Allow this tack weld to cool for 30 seconds.
Now, feed the polypropylene welding rod into the welding gun’s nozzle. Apply steady pressure as you move the gun along the crack, melting the rod into the groove. Overlap each pass by about 50% to ensure a homogenous bond. For a crack wider than 1/16 inch, you may need two or three passes. Keep the weld area flat and avoid creating a mound higher than 1/8 inch above the plate surface, as this can create stress points when the panel expands during operation. After welding, let the panel cool naturally for at least 10 minutes.
Conduct a water pressure test before re-installing the panel. Fill the panel with water from a garden hose and cap one end. Pressurize to 10 psi and check for any bubbles or further leakage. If the weld holds, reconnect the panel to the array. For best results, align the repaired panel with the absorber plate delamination repair guidelines, as these issues often coexist after years of thermal cycling.
Can I Use an Epoxy Patch Kit Instead of Welding?
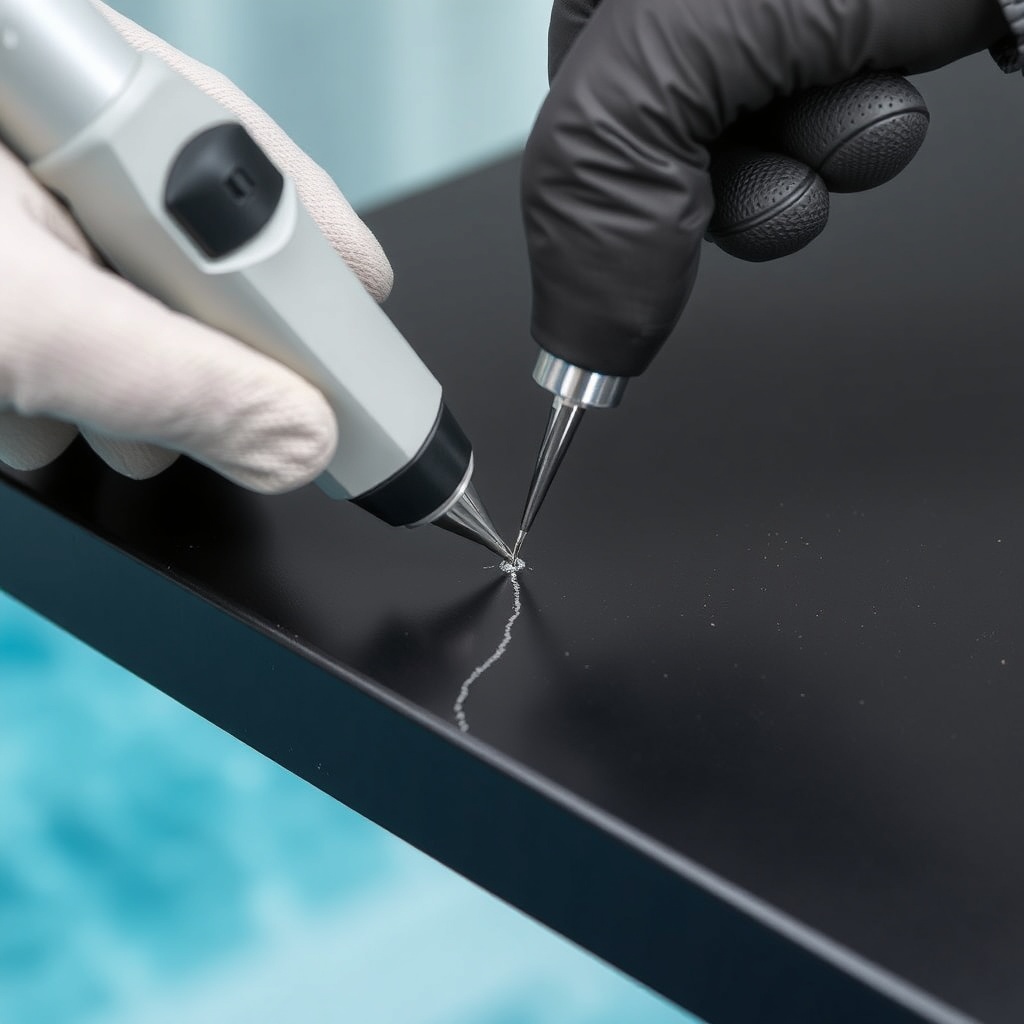
Epoxy patch kits designed for polypropylene are available on the market, but they are rarely a reliable long-term solution for Heliocol absorber plates. The core issue is thermal expansion mismatch: epoxy has a different coefficient of thermal expansion than polypropylene, so as the panel heats up in direct sunlight and cools down at night, the bond stresses and eventually fails—often within one season. Additionally, standard epoxies degrade under UV exposure, becoming brittle and prone to cracking themselves.
Specialized polypropylene repair epoxies, such as those containing a primer that chemically etches the plastic surface, perform somewhat better. They can be useful for emergency patches when you cannot access a welding gun immediately. However, even these epoxies typically have a tensile strength around 800 psi, compared to a plastic weld that matches the base material’s strength of over 3,000 psi. For a system operating at low pressure but high temperature, welding remains the recommended approach.
If you choose an epoxy patch, apply it only to a thoroughly cleaned and scored surface. Use a 2-part marine-grade epoxy or a UV-resistant construction adhesive labeled for polypropylene. Limit the patch to cracks under 1 inch long and monitor it weekly for signs of peeling. For any crack longer than 1 inch, or if the panel experiences direct sun for more than 6 hours daily, welding is non-negotiable to prevent future failures.
What Owners Say About Their Repairs
Pool owners with Heliocol systems consistently emphasize that plastic welding is the only method that holds up over time. “I tried three different epoxy brands in two summers,” says Mark D., a pool owner in Arizona. “Each time, by September, the patch was peeling and I was losing pressure. Finally, I borrowed a welding gun from a neighbor and fixed it properly. That was three years ago—no issues.” Many users on pool forums also note that replacing a single Heliocol panel (costing around $180 to $250 depending on size) is often easier than attempting a complicated repair for large cracks, especially if the weld area is near the manifold where pressure is highest.
Owners with ground-mounted systems also report that adjusting the tilt angle before performing the repair makes the job much easier. As one installer commented, “I always recommend tilting the panel to a 45-degree angle for winter sun, but for repairs, laying it flat on a cleaning table is best.” The consensus is that taking the time to properly drain, weld, and test the panel saves more money than repeated patch jobs. For those who lack confidence in their welding skills, hiring a professional solar pool heater technician typically costs $75–$150 for a repair, including the welding rod, and includes a 1-year warranty on the work.
Frequently Asked Questions
1. How long does a Heliocol absorber plate crack repair last?
A properly executed plastic weld on a Heliocol polypropylene panel can last the lifetime of the panel—typically 10–15 years—provided the crack was not caused by structural fatigue or delamination. Regular inspections every spring help catch small cracks early.
2. Can I repair a crack while the panel is still on the roof?
Yes, but it’s trickier due to access and water drainage. Draining the panel vertically can leave residual water in channels, compromising the weld. Ground-mounted panels are far easier to work on. For roof systems, consider removing the panel and working on a flat surface.
3. Will a crack repair affect the warranty on my Heliocol system?
It might. Heliocol typically offers a 10-year limited warranty on absorber plates against manufacturing defects. DIY repairs using non-approved methods can void the warranty. Contact Heliocol support or a certified dealer before proceeding.
4. How do I prevent future cracks in my Heliocol panels?
Proper system design is key. Ensure your pump sizing guide matches the flow rate to your array’s requirements. Avoid excessive pump pressure by using a bypass valve. Additionally, optimize your tilt angle settings to minimize thermal stress during seasonal transitions.
5. Is it cheaper to replace a panel or repair a crack?
For a small hairline crack, a DIY weld costs about $20–$50. For a panel with multiple cracks or damage near critical connections, replacement at $150–$300 is more cost-effective. The labor for removal and installation can add $50–$100 if you hire help.
6. Can I use a PVC repair kit on a Heliocol panel?
No. PVC repair kits are designed for a different plastic chemistry. PVC and polypropylene do not bond reliably. Always use polypropylene-specific welding rods or repair materials. Using the wrong kit can cause the patch to fail within hours of sun exposure.