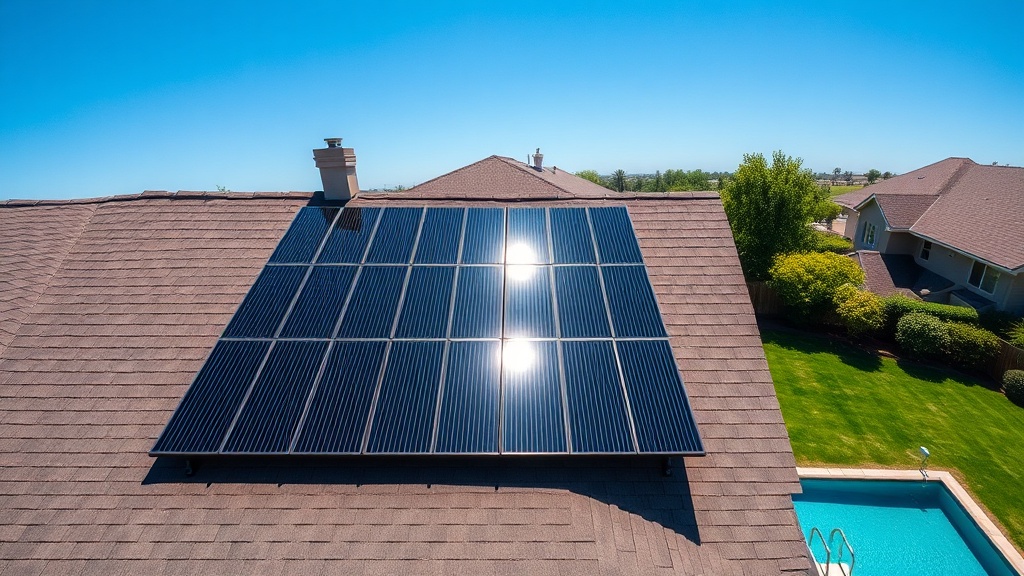
Why Mounting Method Matters for Your Heliocol Solar Pool Heater
Choosing the right roof mount attachment system for your Heliocol solar pool heater directly affects installation cost, roof integrity, and long-term performance. Two primary approaches dominate the market: aluminum rail systems and individual clip mounts. Each method carries distinct trade-offs in wind resistance, roof penetration points, and ease of tilt angle adjustment. Understanding these differences helps homeowners in the United States make informed decisions that balance durability with budget.
Heliocol panels, with their patented polymer absorber design, weigh roughly 1.5 pounds per square foot when full of water, placing moderate load on roof structures. The mounting method determines how this load distributes and whether the array can withstand gusts up to 100 mph or snow loads common in northern states. We will compare rail and clip systems using real-world installation data and owner experiences.
What Are the Core Differences Between Aluminum Rail Systems and Clip Mounts?
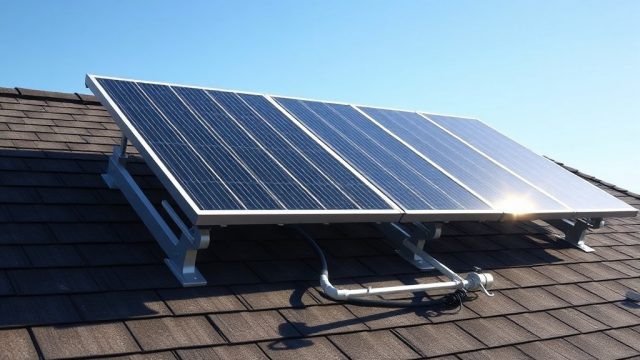
Aluminum rail systems use continuous extruded tracks that span the length of the mounting area, typically in 12- or 16-foot sections. Heliocol-certified installers attach these rails to roof rafters using lag bolts with rubber flashing boots. The panels then clip into the rails using stainless steel brackets. This approach creates a rigid subframe that distributes load evenly across multiple rafters.
Clip mounts, sometimes called direct-attach or point-mount systems, secure each panel individually to the roof surface. A single clip typically uses two lag bolts per roof penetration point, with about four clips per 4×8-foot panel. The clips engage the panel’s extruded aluminum side channels, holding the absorber in position without a continuous rail. This method reduces material cost but concentrates load at discrete points.
The most significant structural difference lies in shear strength. Rail systems allow panels to slide slightly during thermal expansion without transferring stress to roof penetrations. Clip mounts, being more rigid, may transmit expansion forces directly to fasteners, potentially loosening over time on composite shingle roofs. For a detailed examination of how mounting affects winterization, read Heliocol Solar Pool Heater Winterization: Drain-Back and Antifreeze Methods.
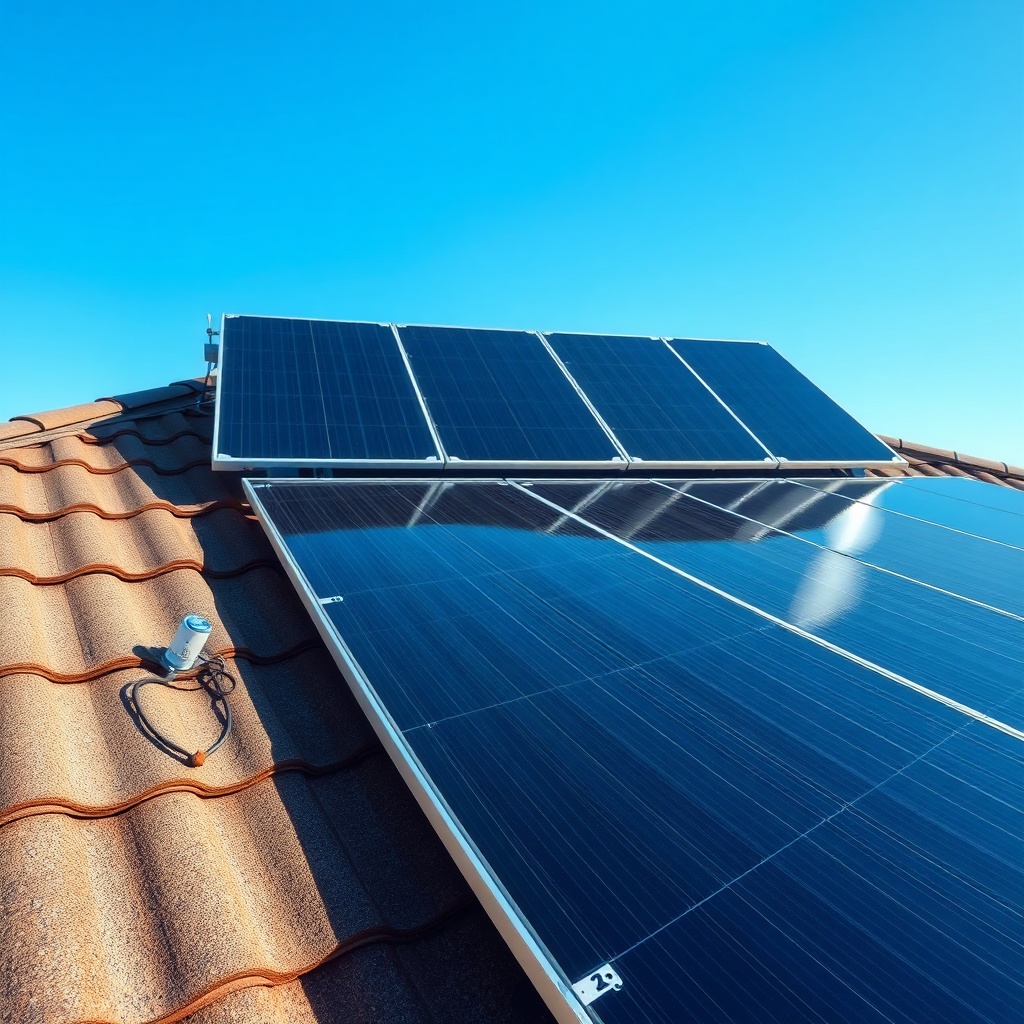
How Do Installation Costs Compare for Rails vs Clips on Heliocol Systems?
Material costs for a typical 40-panel Heliocol array (about 320 square feet) vary by region and installer pricing. Below is a cost comparison based on current market rates in the United States as of early 2025:
| Component | Rail System (per panel) | Clip System (per panel) | 40-Panel Array Total (Rail) | 40-Panel Array Total (Clip) |
|---|---|---|---|---|
| Mounting hardware | $18–$25 | $8–$12 | $720–$1,000 | $320–$480 |
| Flashing boots (per penetration) | $4–$6 | $3–$5 | $240–$360 | $180–$300 |
| Labor (roof prep and sealing) | $50–$70/hr (8 hrs) | $50–$70/hr (6 hrs) | $400–$560 | $300–$420 |
| Total estimated installed cost | — | — | $1,360–$1,920 | $800–$1,200 |
Labor time for clip mounts averages 25 percent less because installers work with smaller, lighter components. However, rail systems require fewer roof penetrations overall—typically one per 8-foot rail segment versus four per panel for clips. On a 40-panel array, rails demand about 10–12 penetration points, while clips need 160–200. Each penetration carries a slight leak risk, so owners with steep roof pitches or older roofing often prefer rails for reduced breach count.
Homeowners in wind-prone areas like Florida or the Gulf Coast may see higher rail system costs due to engineered wind-load documentation required by local building codes. Clip systems sometimes fail code reviews in high-wind zones because they lack the continuous load distribution that inspectors expect. For guidance on proper flow to support optimal heating post-installation, consult Heliocol Solar Pool Heater Pump Sizing Guide: Choosing the Right Flow Rate.
What Are the Pros and Cons of Rail Systems for Heliocol Panel Attachment?
Pros of Rail Systems
- Superior load distribution: Rails span multiple rafters, reducing point loads that can compress roofing materials over time. This is critical on homes with 24-inch rafter spacing common in older construction.
- Simplified tilt angle adjustment: Aftermarket tilt kits integrate easily with rails, allowing seasonal angle changes between 20 and 60 degrees. This flexibility maximizes solar gain year-round.
- Reduced roof penetrations: A 40-panel array on rails may require only 10–14 penetrations, compared to 160–200 with clips. Fewer holes mean lower long-term leak potential and easier re-roofing.
- Higher wind resistance: Continuous rails create a unified structural assembly tested to withstand 125 mph sustained winds when properly flashed. This exceeds typical residential building code requirements in most U.S. jurisdictions.
Cons of Rail Systems
- Higher material cost: Rail profiles and interconnecting brackets add $10–$15 per panel versus clip systems. For a 40-panel array, this premium ranges from $400 to $600.
- Heavier roof load: Aluminum rails add roughly 0.3 pounds per linear foot, increasing total dead load by 10–15 percent compared to clip systems. On older roofs, this may stress decking or trusses.
- More complex installation: Rail systems require precise leveling and alignment across the entire array. An inexperienced installer may struggle with thermal expansion gaps, causing panel binding in summer heat.
Owners who prioritize long-term roof integrity and the ability to optimize tilt angles for seasonal performance often favor rail systems despite the upfront premium. The trade-off is justified for homes with south-facing roofs exposed to coastal winds or heavy snow loads.
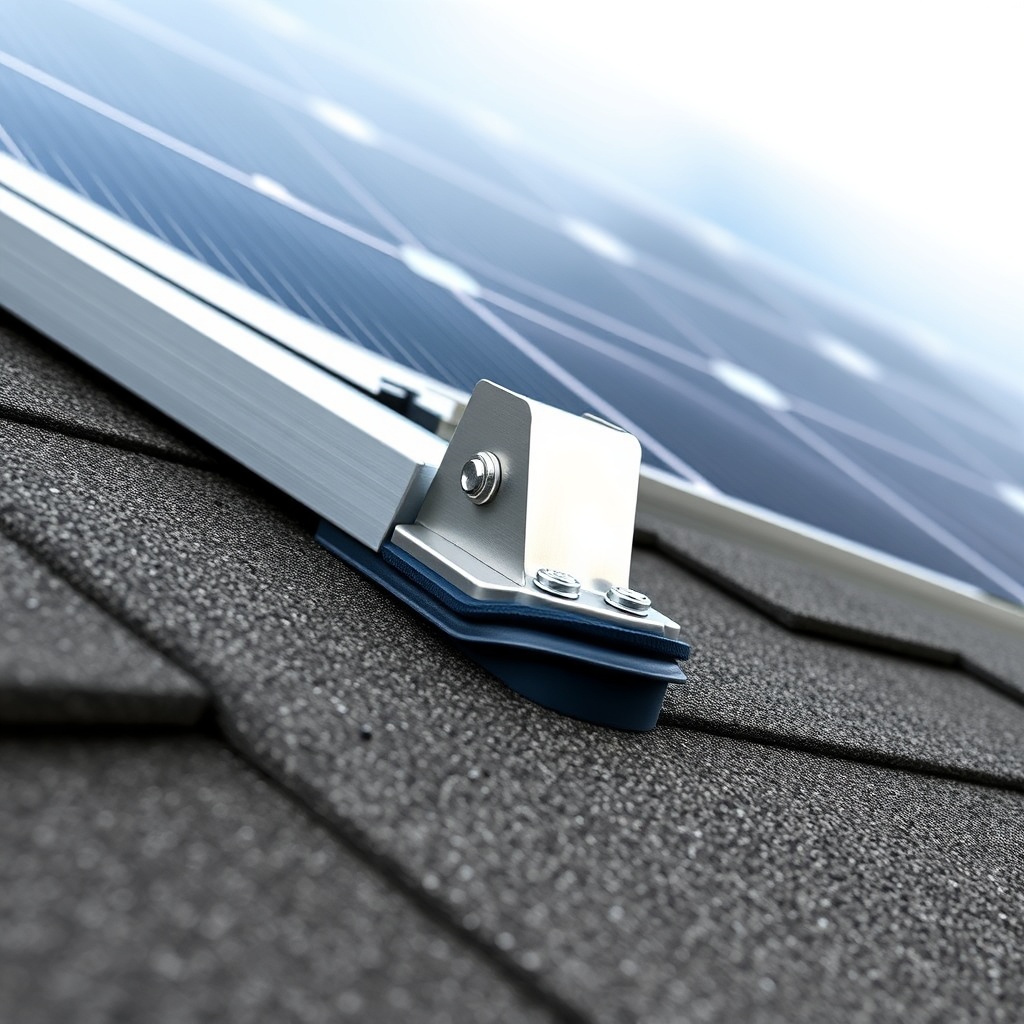
What Are the Pros and Cons of Clip Mount Systems for Heliocol Panels?
Pros of Clip Mounts
- Lower upfront cost: Direct-attach clips reduce material expenditure by 40–50 percent compared to rail systems. This makes Heliocol more accessible for budget-conscious homeowners.
- Faster installation: Experienced crews can place a 40-panel clip system in 4–6 hours versus 8–10 hours for rails. This translates to lower labor costs and less disruption to household routine.
- Easier retrofit on complex roofs: Clip mounts adapt to irregular roof planes, skylights, and vent pipe obstacles more readily than continuous rails. Individual panel positioning allows installers to work around roof features without cutting extruded rail sections.
- Lighter overall dead load: With no rail subframe, the total roof load reduces by approximately 50–75 pounds for a typical 40-panel array. This can be decisive for homes with marginal structural capacity.
Cons of Clip Mounts
- Higher penetration count: Each clip requires two lag bolts, meaning 160–200 roof penetrations for a 40-panel array. Each penetration is a potential leak path if flashing fails or sealant degrades over 10–15 years.
- Limited wind uplift performance: Clip mounts typically test to 100 mph sustained winds without additional tie-downs. In coastal hurricane zones or high-elevation mountain areas, this may not meet code requirements.
- No tilt angle adjustment: Clip systems fix each panel at a static angle matching the roof pitch. Seasonal angle optimization is impossible without removing and reinstalling clips, damaging shingles in the process.
- Greater thermal stress: Without a rail to absorb expansion, panels transfer movement directly to roof sheathing through clips. Over time, this can loosen fasteners or cause shingle distortion around penetration points.
Homeowners in mild climates with moderate wind exposure often choose clip mounts for their simplicity and cost savings. However, those planning to adjust tilt angles seasonally should note that clip systems lack this capability. For ground-mounted arrays, dedicated ground mount systems offer greater flexibility.
What Do Owners Say About Rail vs Clip Mounts for Heliocol Heaters?
Feedback from Heliocol owners across the United States reveals clear patterns. On solar pool heating forums and product review sites, owners with rail systems consistently report higher satisfaction with system longevity. A California owner on a 12-year-old installation noted: “Rails cost more upfront, but after two re-roofs in that time, the panels came off and went back on without any damage. A neighbor with clips had to replace three panels after his roofers broke the channels during a tear-off.”
Conversely, owners in mild climates like Atlanta or Phoenix praise clip mounts for low installation complexity. A Florida owner commented: “I installed a 32-panel clip system in a weekend with a buddy. Saved $1,200 in labor compared to rails. Five years in, no leaks, no loose panels. But I live in a neighborhood with mature trees that block the worst winds.” Owners who used rail systems for automatic diverter valve integration appreciated the stable platform for valve mounting.
Professional installers surveyed by SolarPoolWise indicate a 60/40 preference for rails over clips in their own property installations. The reasoning centers on serviceability: when a panel fails or needs winterization via vacuum break installation, rail-mounted panels swap out in 10 minutes versus 30 minutes for clip systems due to fastener access issues. For homeowners planning 10+ years of use, rails generally deliver better lifetime value despite higher initial outlay.
Frequently Asked Questions
1. Can I install Heliocol panels with clips on a tile roof?
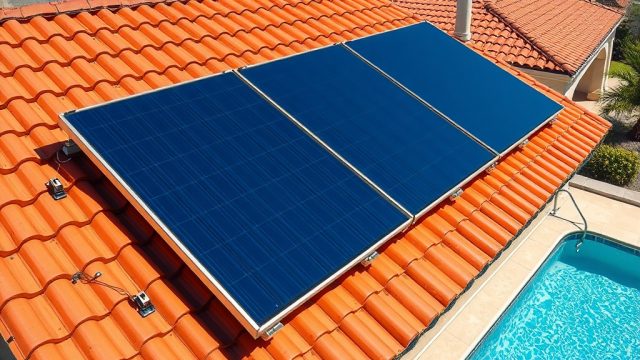
Yes, but tile roof clips require specialized tile hooks that replace individual tiles rather than penetrating them. This adds $3–$5 per clip in material cost and increases installation time by about 30 percent. Rail systems with tile-mount adapters are often more reliable for tile roofs because they distribute load across multiple tiles and reduce breakage risk.
2. Do rail systems void my roof warranty?
Most shingle and standing-seam metal roof warranties remain valid if the installer follows the manufacturer’s flashing requirements. Asphalt shingle warranties typically require roof penetrations to be sealed with compatible rubber boots or EPDM gaskets. Rails with fewer total penetrations (10–14 vs 160–200) generally present lower warranty risk. Always check with your roofer before installation.
3. How does mounting choice affect performance in snowy climates?
Snow sheds more easily from Heliocol arrays on rail systems because the continuous subframe allows the panels to slope more uniformly at the roof pitch angle. Clips can create tiny lips or gaps where snow accumulates and refreezes, blocking sunlight. Rail-mounted arrays also accommodate tilt kits that steepen the angle in winter for passive snow shedding. A tilt of 45 degrees versus a 20-degree roof pitch can reduce snow coverage by 60 percent, according to NREL field data.
4. What is the typical lifespan of Heliocol mounting hardware?
Aluminum rails and stainless steel clips both last 20–25 years with proper installation. The rubber flashing boots on roof penetrations typically need replacement at 10–15 years. Anodized or powder-coated aluminum rails resist corrosion better in coastal environments than bare aluminum clips. Owners near saltwater should specify marine-grade stainless clips and anodized rails to prevent galvanic corrosion.
5. Can I switch from clips to rails later?
Retrofitting clips to rails is possible but not cost-effective. The process requires removing all panels, patching 160–200 roof penetrations, and installing rail subframes. The labor cost typically exceeds $1,500 for a 40-panel array, plus $800 in new rail hardware. Most owners find it more economical to sell their clip-mounted system and buy a new rail-based installation, especially if roof repairs are needed.
6. Which mounting method is best for flat roofs with ballast?
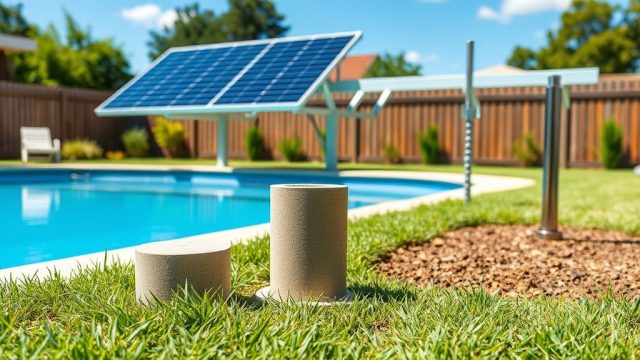
Neither rail nor clip systems are ideal for flat roofs. A ballasted mounting system using concrete pavers and aluminum stands is the standard approach for Heliocol on flat roofs. These systems eliminate roof penetrations entirely. Consult a structural engineer to ensure your roof can support the 8–10 pounds per square foot ballast load, especially in seismic zones or high-wind areas.