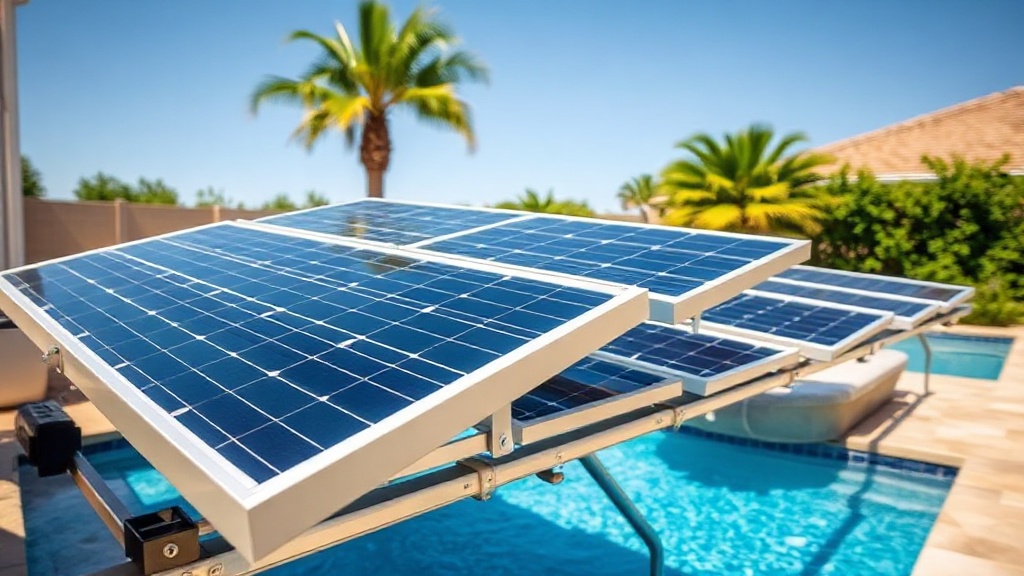
Introduction to Heliocol Ground Mount Bracket Spacing and Load Calculations
When installing a Heliocol solar pool heater on the ground, proper bracket spacing and accurate load calculations are critical to system longevity and performance. Inadequate spacing can lead to panel sagging, reduced water flow, and eventual structural failure, while incorrect load assessments risk damage to the mounting frame or foundation. This article provides detailed guidance on determining optimal bracket intervals and computing wind and snow loads for your Heliocol ground mount array, ensuring a safe and efficient installation that complies with local building codes in the United States.
What Is the Recommended Bracket Spacing for Heliocol Ground Mounts?
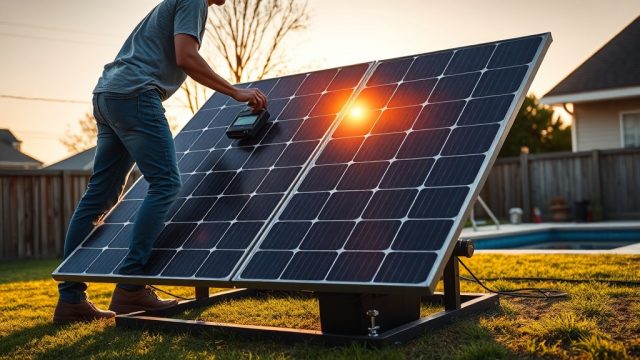
Heliocol solar pool heaters are typically supplied with aluminum rails and mounting brackets designed for either roof or ground installations. For ground mounts, the manufacturer specifies a maximum bracket spacing of 4 feet (48 inches) on center along the length of each collector panel. However, local wind zones and snow loads may require tighter spacing, often reducing this to 3 feet (36 inches) in regions with high wind speeds or heavy snow accumulation.
Each Heliocol collector measures approximately 4 feet wide by 8 feet long, so a standard ground mount array uses two rails per row. Brackets should be placed at the ends of each panel and at intervals not exceeding 4 feet. For a three-panel system (12 feet long), you would need a minimum of four brackets per rail: one at each end and two equally spaced in between. Always refer to the Heliocol installation manual for your specific model year, as bracket design may vary slightly.
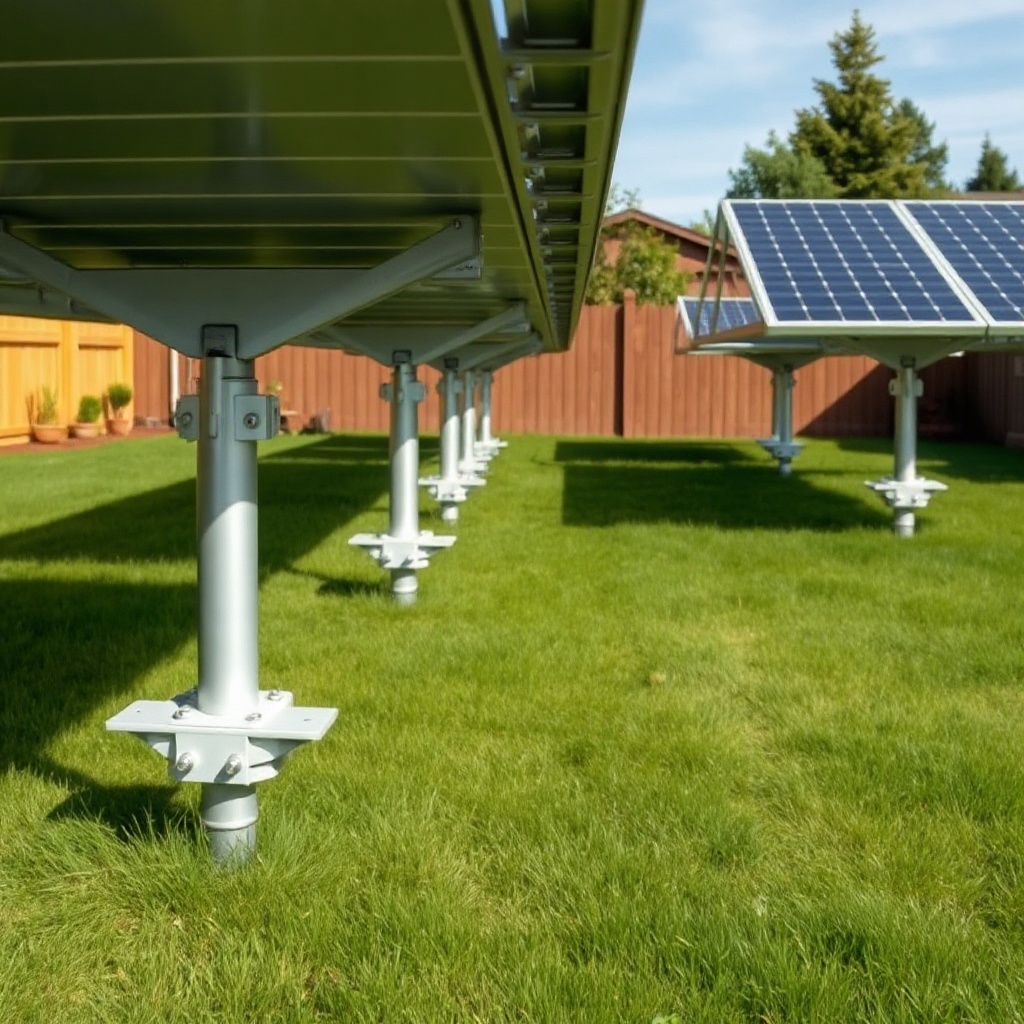
To ensure lateral stability, cross-bracing is recommended at every 8-foot interval along the length of the array. This prevents racking in high winds. When using the standard Heliocol ground mount kit, bracket spacing is pre-drilled, but custom installations require careful measurement. Use a laser level to maintain precise alignment, as misaligned brackets can cause uneven load distribution and panel twisting over time.
How Do You Calculate Wind Load for Heliocol Ground Mounts?
Wind load calculation is essential for ground-mounted solar pool heaters, especially in open areas where gusts can reach high speeds. The basic formula used in the United States is the simplified ASCE 7 method: Wind Load (psf) = 0.00256 × (Basic Wind Speed)^2 × Exposure Coefficient × Topographic Factor. For Heliocol panels, which have a low profile (approximately 2 inches thick), the effective wind area is the projected surface area of the panel, typically 32 square feet per collector.
In a region with a basic wind speed of 120 mph (e.g., coastal Florida), the calculated wind load on a single panel can exceed 25 psf. This means each bracket must resist a force of over 100 pounds. To verify your local requirements, consult the Heliocol Solar Pool Heater Roof Mount Bracket Spacing and Load Calculations article for parallel rooftop methods, though ground mounts often have different exposure categories.
Ground installations typically have an Exposure C (open terrain) or D (coastal) coefficient, which increases wind loads by 20-30% compared to suburban Exposure B. Therefore, brackets should be rated for at least 150% of the calculated load to provide a safety margin. Using stainless steel fasteners and corrosion-resistant brackets is strongly advised, as ground mounts are more susceptible to moisture and debris.
| Wind Speed (mph) | Exposure C Load (psf) | Exposure D Load (psf) | Required Bracket Rating (lbs per bracket) |
|---|---|---|---|
| 90 | 14.4 | 17.3 | 150 |
| 110 | 21.5 | 25.8 | 200 |
| 130 | 30.0 | 36.0 | 275 |
| 150 | 40.0 | 48.0 | 350 |
Note: Bracket rating based on 32 sq ft panel with 4-bracket per rail arrangement. Add 20% margin.
What Snow Loads Should Be Considered for Ground-Mounted Heliocol Systems?
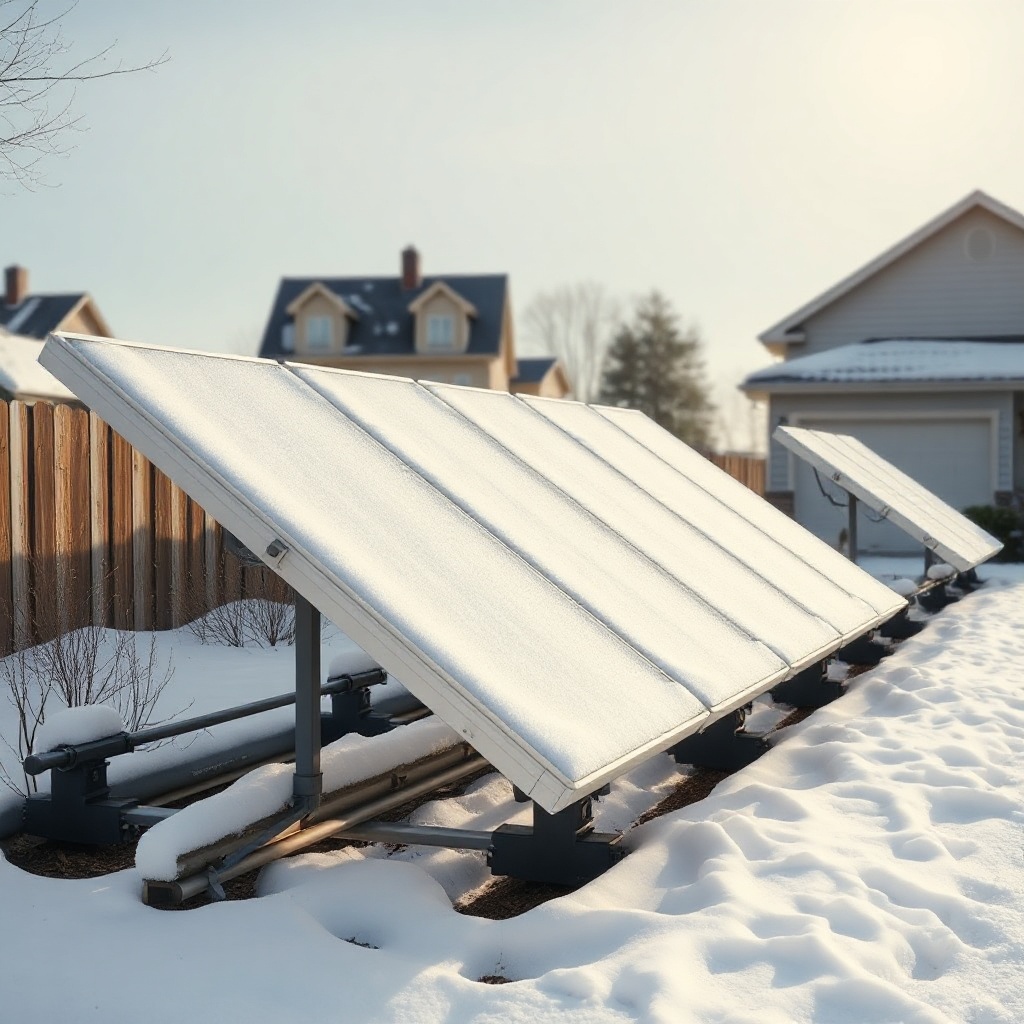
In northern states like Minnesota or New York, snow accumulation on ground-mounted solar collectors can exceed 50 psf. Heliocol panels have a smooth, sloped surface that sheds snow naturally, but heavy, wet snow can cling and add significant weight. The ground mount structure must be designed for the ground snow load specified by local building codes, typically ranging from 30 psf in moderate climates to 70 psf in mountainous regions.
Each Heliocol panel weighs approximately 12 pounds dry, but with snow load, the total can exceed 100 pounds per panel. Brackets and rails must be rated for this combined dead and live load. The manufacturer recommends using heavy-duty ground mount kits with 2-inch schedule 40 aluminum pipe for rails in snow-prone areas. Bracket spacing should be reduced to 3 feet or less if the snow load exceeds 50 psf.
To simulate snow loading, use the formula: Snow Load (psf) = 0.7 × Ground Snow Load × Exposure Factor (typically 1.0 for ground mounts). For a 50 psf ground snow load, the collector sees 35 psf. With a 32 sq ft panel, that adds 1,120 pounds to the array. Ensure your concrete footings or ground anchors are sized accordingly. The Heliocol Solar Pool Heater Collector Freeze Damage: Inspection and Repair Guide offers additional tips for cold-climate maintenance, but structural preparation is key before winter.
How Do You Choose the Right Ground Mount Attachment Method for Heliocol?
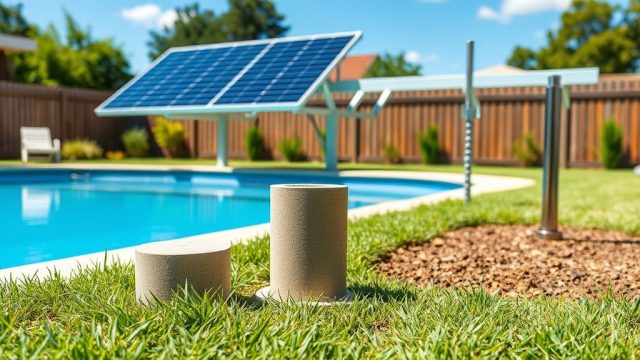
Heliocol offers several mounting attachment methods for ground installations, primarily rails with sliding brackets or heavy-duty clips. The choice affects bracket spacing and load distribution. Rail-based systems use continuous aluminum channels with pre-drilled holes, allowing fixed bracket placement. Clip systems use fewer components but require precise alignment and may not handle extreme loads as well.
For a detailed comparison, review the Heliocol Solar Pool Heater Ground Mount Attachment Methods: Pros and Cons of Rails vs Clips article. In summary, rails with bolted brackets are recommended for areas with wind loads above 120 mph or snow loads above 40 psf. Clips are suitable for mild climates and smaller arrays (up to four panels). Bracket spacing for clips is typically fixed at 4 feet, while rails allow adjustable spacing down to 2 feet.
When using clips, verify that each clip is rated for at least 200 pounds of uplift and 150 pounds of lateral load. Heliocol’s standard clip kit includes neoprene gaskets to prevent metal-to-metal contact and thermal expansion issues. For rail systems, use stainless steel bolts with lock washers to maintain torque over time, as ground mounts experience vibration from wind.
What Do Owners Say About Heliocol Ground Mount Bracket Reliability?
Long-term Heliocol owners frequently praise the system’s durability when installed with proper bracket spacing. On forums like Solar Pool Heating Forum, users report that following the 4-foot spacing rule results in trouble-free operation for 10-15 years. However, several owners in coastal Texas noted that after Hurricane Harvey, some arrays with 5-foot spacing suffered panel warping, while those with 3-foot spacing survived intact.
One owner in Arizona shared that their ground mount array, installed with 3-foot bracket spacing and cross-bracing, endured 60 mph dust storms with no damage. Conversely, a user in Illinois who used clip mounts at 4-foot spacing experienced bracket creep over three winters, requiring replacement. The consensus is that while Heliocol components are robust, bracket spacing cannot be compromised in harsh climates. Many recommend investing in the heavy-duty rail kit for ground mounts, even if it costs an extra $200–$300, to avoid future repairs.
Another owner emphasized the importance of Heliocol Solar Pool Heater Controller WiFi Integration: Step-by-Step Setup Guide for monitoring temperature and flow, but noted that structural stability is the foundation of any successful installation. Overall, owners who performed proper load calculations reported fewer maintenance issues and longer panel life.
How Do You Verify Bracket Installation Quality on a Heliocol Ground Mount?
After mounting, inspect each bracket for levelness and secure attachment to the rail. Use a torpedo level to check that all panels are tilted at the recommended angle (typically 15-30 degrees for ground mounts). Measure bracket spacing with a tape measure; any deviation of more than 0.5 inches should be corrected to prevent stress points. Torque all bolts to manufacturer specifications—usually 25–30 foot-pounds for aluminum fasteners.
For ground mounts on concrete pads, verify that anchor bolts are embedded at least 4 inches and are rated for the calculated loads. If using ground screws, test pull-out resistance with a torque wrench. The Heliocol Solar Pool Heater Absorber Plate Crack Repair: Step-by-Step Guide can help if damage occurs due to poor mounting, but prevention is far simpler. A final check: walk the array and listen for any rattling or movement—if present, tighten brackets further or add supplemental cross-bracing.
Frequently Asked Questions
What is the maximum bracket spacing for Heliocol ground mounts?
Heliocol recommends a maximum of 4 feet on center for standard ground mount rails. In high-wind or heavy-snow regions, reduce to 3 feet.
How do I calculate the number of brackets needed?
Divide the total length of each rail by the desired spacing (e.g., 12 feet ÷ 3 feet = 4 brackets per rail). Add one bracket for each end, plus intermediate ones.
Can I use the same bracket spacing for roof and ground mounts?
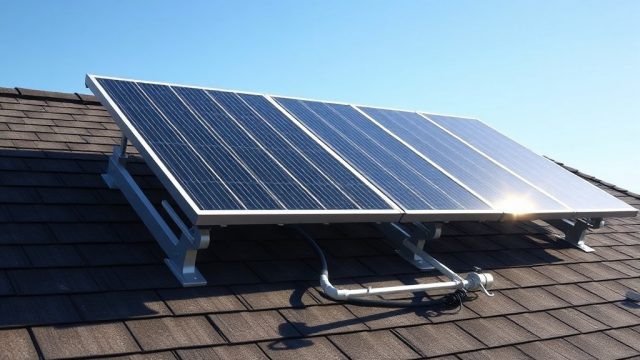
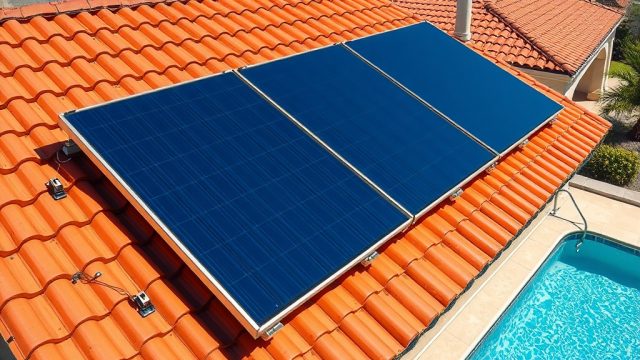
No. Ground mounts often have higher exposure factors (C or D) than roof mounts (typically B), so ground brackets may need closer spacing or higher load ratings. See our roof mount article for roof-specific guidance.
What tools do I need for bracket installation?
You will need a torque wrench, socket set, laser level, measuring tape, and a drill with bits for anchor bolts. For concrete pads, a hammer drill and masonry bits are required.
How often should I inspect ground mount brackets?
Annually, and after major storms. Check for corrosion, loose bolts, and any shifting of the array. Replace damaged brackets immediately.
Are there Heliocol-approved ground mount kits?
Yes, Heliocol sells ground mount kits with pre-drilled rails and brackets. These are designed to meet the spacing and load requirements discussed in this article.
Temperature Sensor Compatibility and Integration
While bracket spacing is structural, integrating a temperature sensor ensures the system operates efficiently. The Heliocol Solar Pool Heater Temperature Sensor Replacement Guide provides step-by-step instructions for swapping out faulty sensors, which is critical for automation. Position the sensor on a stable part of the ground mount frame to avoid false readings from wind or direct sun reflection.