
Why Is the Temperature Sensor on My Heliocol Solar Pool Heater Important?
A properly functioning temperature sensor is the brain of your Heliocol solar pool heating system. This small component communicates with the controller to determine when to circulate pool water through the solar collectors. If the sensor fails, the system may not engage, or worse, it could run at the wrong time, wasting energy and potentially damaging components. In many cases, a faulty sensor mimics symptoms of other issues such as a malfunctioning pump or clogged collectors. Understanding how to diagnose and replace the sensor can save a homeowner between $150 and $300 in service calls and parts markup. This guide walks through the replacement process for the standard Heliocol thermistor sensor, which typically costs $35 to $60 from authorized dealers in the United States.
What Are the Symptoms of a Failing Temperature Sensor?
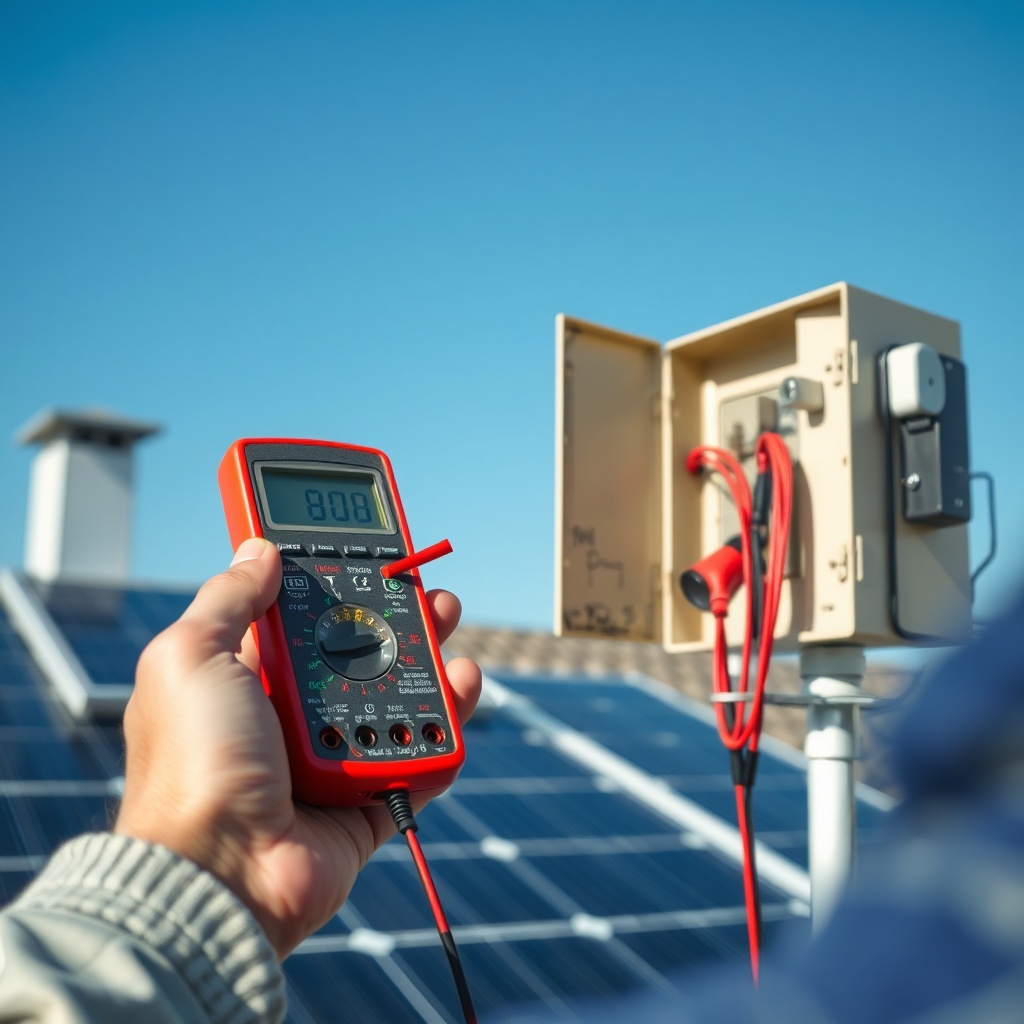
Homeowners often notice erratic system behavior before the sensor completely dies. The most common signs include the pump running continuously even when the pool water is already warm, or the system failing to start on sunny days. A digital controller may display error codes such as “SEN” or “Err” on models like the Heliocol HC‑100 or HC‑200. Another indicator is the temperature reading on the controller showing values that fluctuate wildly—for example, jumping from 50°F to 120°F within seconds. If the sensor wire has been chewed by rodents or pinched during a roof mount installation, the resistance will be out of spec. A multimeter check is the quickest way to confirm: a healthy sensor should read approximately 10,000 ohms at 77°F (25°C).
| Symptom | Likely Cause | Severity Level |
|---|---|---|
| System runs all day, pool overheats | Sensor stuck reading low resistance (cold) | Medium – can waste energy and damage equipment |
| System never starts on sunny days | Sensor stuck reading high resistance (hot) or wiring open | High – pool stays cold, components may freeze |
| Temperature reading fluctuates ±20°F | Intermittent short in wire or corroded connector | Medium – unreliable system, pump cycling damage |
| Controller shows “SEN” error | Sensor circuit open (broken wire or failed thermistor) | Critical – system disabled until replacement |
| Pool heats unevenly | Sensor not contacting collector outlet pipe correctly | Low – may be a placement issue rather than sensor failure |
How Do I Access the Temperature Sensor on a Heliocol System?
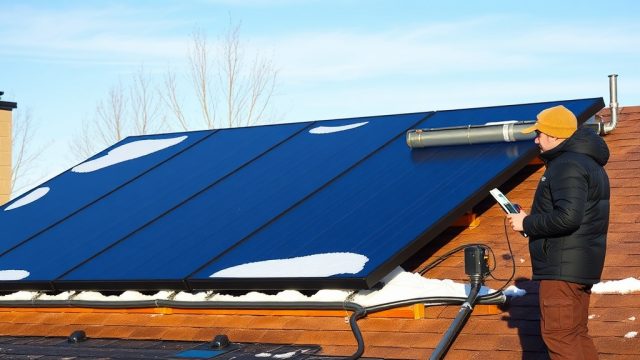
The sensor is typically mounted at the outlet of the last solar collector in the array, where it clips onto a copper compression fitting. On most residential Heliocol installations, this outlet is on the roof, near the return header. Safety is paramount: use a sturdy ladder and have a second person present. Turn off the pool pump and the controller before climbing. For roof-mounted systems, follow the return pipe from the collectors down to where it passes through a junction box—the sensor wire often enters this box. If your array is ground-mounted, the sensor location is similar but at ground level. For detailed instructions on securing panels during roof work, refer to the article on roof mount bracket spacing and load calculations.
Once you locate the sensor, you will see a small black or white plastic housing with two wires exiting. In some installations, the sensor is threaded into a brass or stainless steel well that inserts into the pipe. To access the sensor element itself, you may need to unscrew a retaining nut or pry open a clip. Never pull on the wires—gently wiggle the housing free. Photograph the wiring arrangement before disconnecting. The sensor connector is usually a two-pin waterproof plug that mates with the controller harness. If the connector is fused with corrosion, cut it cleanly and use a waterproof splice kit rated for outdoor use.
What Tools and Parts Do I Need for a Sensor Replacement?
Before starting, assemble the following items: a replacement Heliocol thermistor sensor (genuine part recommended, approximate cost $45–$60), a multimeter with resistance (ohms) function, a small flathead screwdriver, a 10mm wrench (for sensor well removal if applicable), wire strippers, a waterproof butt connector kit or heat-shrink connectors, silicone dielectric grease, and a utility knife. Having a spare sensor on hand is wise, as shipping delays can leave you without heat for days. The replacement sensor should match the original resistance curve—most Heliocol systems use a 10K ohm NTC (negative temperature coefficient) thermistor. Aftermarket sensors exist for $20, but they may drift in accuracy, causing the system to run inefficiently. For controllers that support WiFi, see the controller WiFi integration guide for configuration adjustments after replacement.
If your sensor is embedded in a pipe well, you may need Teflon tape to reseal the threads. A small tube of thermal conductive paste can improve sensor response time if the sensor fits loosely inside the well. Always test the new sensor with a multimeter before installing: place the probes on the two sensor pins and verify you see roughly 10,000 ohms at room temperature. A reading of infinite ohms indicates a defective sensor.
What Are the Step-by-Step Steps to Replace the Sensor?
Follow these steps carefully to avoid damaging the new sensor or the controller. Start by shutting down the entire pool system at the breaker box to eliminate any risk of electric shock. Climb to the sensor location with your tools. If the sensor is in a well, unscrew the well from the pipe fitting—be ready for a small amount of water to spill out. Remove the old sensor from the well and discard it. Clean the inside of the well with a dry cloth.
Next, disconnect the old sensor wires from the controller. Trace the wire back to the controller enclosure, typically mounted on a wall near the pump. Open the controller cover and locate the two terminals labeled “SENSOR” or “THERM.” Loosen the screws and remove the old wires. Attach the new sensor wires, matching polarity is not required for a thermistor. Tighten the screws and close the controller cover. Back at the sensor location, apply a small dab of thermal paste inside the well, then insert the new sensor. Screw the well back into the pipe fitting hand-tight plus a quarter turn with a wrench. Route the sensor wires cleanly so they do not touch hot pipes or sharp edges—use cable ties to secure them. For roof-mounted systems, ensure the wire path does not create a trip hazard; review the absorber plate delamination repair guide for tips on handling panels near the sensor area.
Finally, restore power to the system. Turn on the pump and the controller. Watch the display—the temperature reading should stabilize within two minutes. If the reading is off by more than 5°F, recheck the connection and the resistance value. A common rookie error is leaving the sensor hanging in the air instead of contacting the pipe; this causes the system to read ambient air temperature instead of water temperature.
What Do Owners Say About Heliocol Temperature Sensor Replacement?
Heliocol owners frequently share their experiences on forums and product review sites. Many note that the sensor is reliable for three to five years before needing replacement, especially in areas with harsh sunlight. One owner from Arizona reported that after replacing the sensor himself, his system’s efficiency returned to original levels, saving him an estimated $40 per month in pump runtime. A Florida homeowner with a ground-mounted array emphasized checking the wire for nicks from trimmer string, which caused intermittent failures. Another common theme is that genuine Heliocol sensors outperform generic 10K thermistors—generic units often led to inaccurate temperature readings and erratic pump cycling. Several users recommend installing a spare sensor in the controller enclosure to speed up future swaps, particularly for systems that experienced absorber plate cracks and needed extensive repairs. Overall, the DIY replacement is rated as “moderate difficulty” by most owners, with a average completion time of 45 minutes.
Frequently Asked Questions
1. Can I use a standard pool temperature sensor on my Heliocol system?
No. Heliocol systems use a 10K ohm NTC thermistor with a specific resistance curve. Generic sensors may not communicate correctly with the Heliocol controller, leading to errors or inefficient operation. Always source a genuine Heliocol replacement.
2. How often should I replace the temperature sensor?
There is no set schedule, but inspect the sensor annually. If you notice a temperature discrepancy of more than 3°F between the controller and a separate thermometer, replace the sensor. Typical lifespan is three to seven years.
3. Why does my new sensor read 32°F when it is 80°F outside?
This indicates the sensor is short-circuited (wires touching each other or a ground) or the sensor is not contacting the water pipe. Check for wire damage and ensure the sensor is fully inserted into the well. Use a multimeter to test resistance—should be around 10K ohms at room temperature.
4. Do I need to bleed air from the system after sensor replacement?
No, but if you removed a sensor well from a pressurized pipe, you may have introduced a small air pocket. Run the pump for a few minutes with the vent valve open (if present) to purge air. This is standard after any plumbing work.
5. Can I extend the sensor wire if it is too short?
Yes, but use a waterproof splice and keep the total length under 100 feet to avoid voltage drop. Use 18 AWG or thicker, UV-resistant cable. Splicing too close to the sensor head can introduce resistance errors.
6. Will replacing the sensor void my Heliocol warranty?
No, as long as you use genuine parts and follow the manufacturer’s instructions. Improper installation (e.g., overtightening the well, using excessive sealant) can void the warranty on that component. Document the steps with photos for your records.