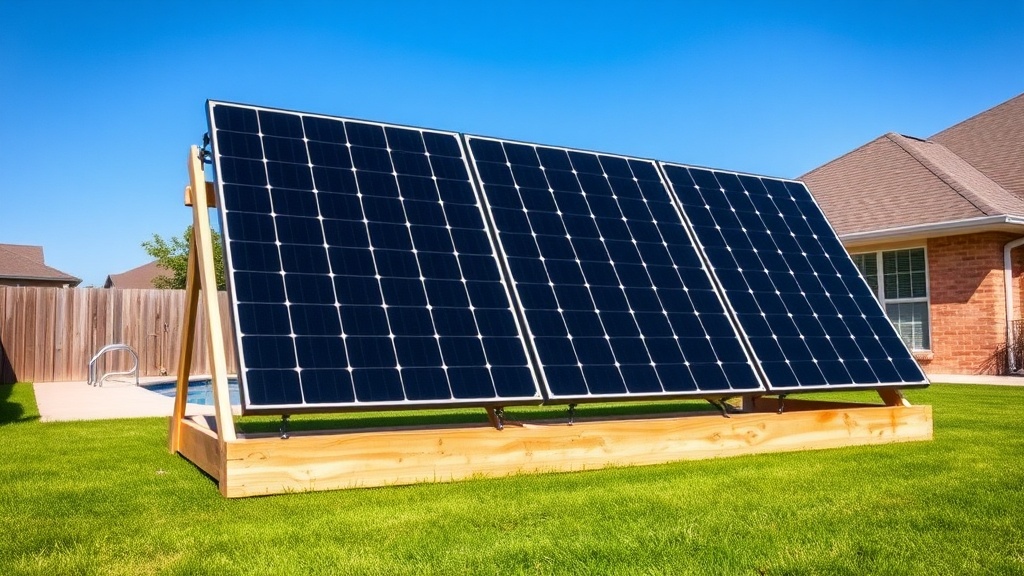
Why Choose a Ground Mount Installation for Your Generic Solar Pool Heater?
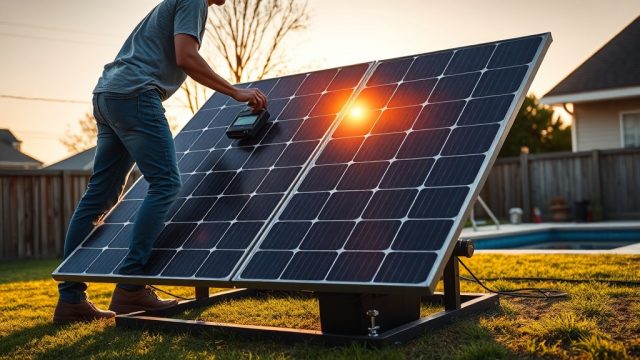
Installing a Generic solar pool heater on a ground mount is often the most practical and cost-effective solution for homeowners with ample yard space or those who cannot or do not wish to roof-mount the panels. This guide provides a clear, step-by-step walkthrough for a safe and efficient DIY ground mount installation, ensuring you maximize your pool heating investment. By following these instructions, you can harness the sun’s energy to extend your swimming season without the structural concerns or safety risks of a roof installation.
A properly installed ground mount not only protects your panels from wind damage but also allows for optimal sun exposure and easier maintenance access. This guide covers everything from site selection to final plumbing connections, ensuring your Generic solar pool heater performs at its peak for years to come.
What Tools and Materials Do I Need for a Generic Ground Mount Install?
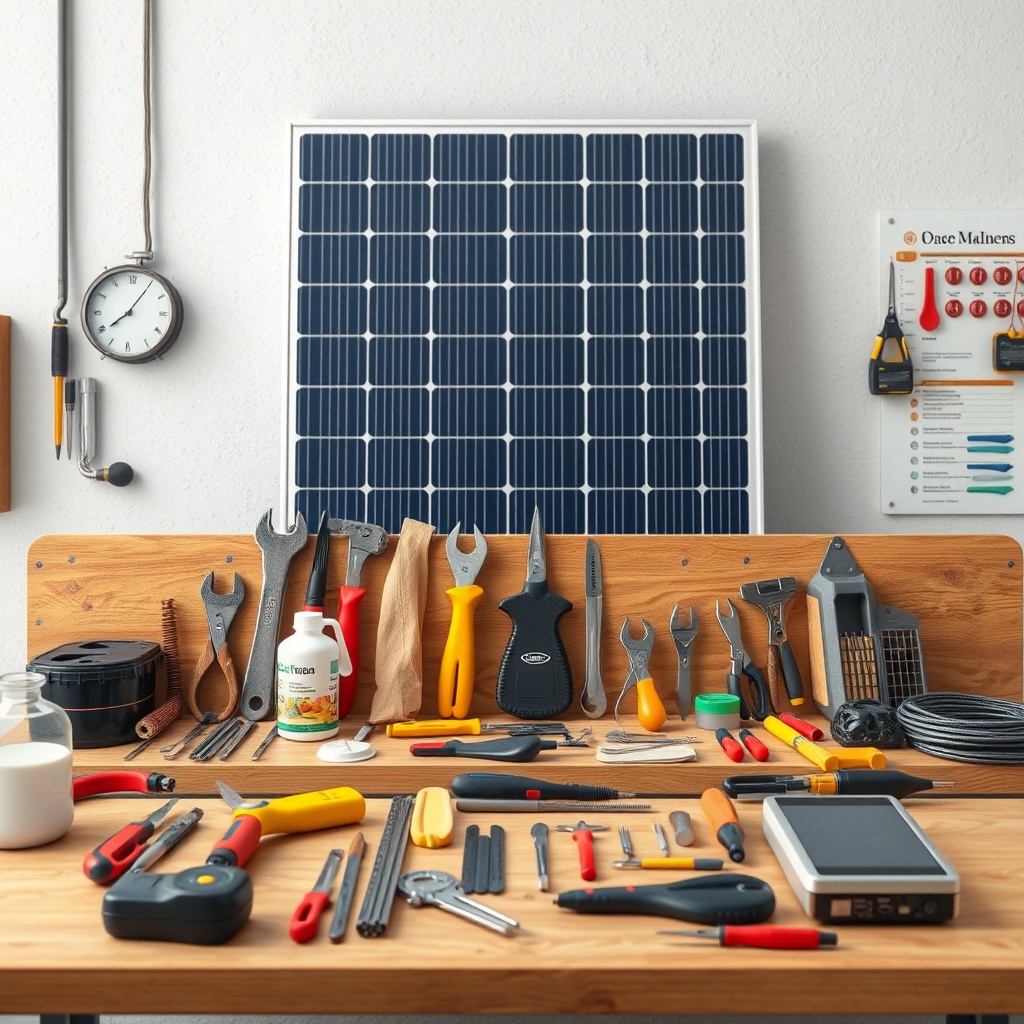
Before you begin, gather all necessary tools and materials. Having everything on hand will streamline the process and prevent frustrating interruptions. Below is a comprehensive list based on a typical 4-panel, 4×12-foot Generic collector array.
- Generic Solar Panels: Your chosen number of collectors (e.g., 4 panels of 4×12 ft).
- Ground Mount Racking Kit: Includes aluminum rails, stainless steel bolts, and mounting clamps. Ensure it is compatible with your Generic panels.
- Concrete Footing Materials: 80-lb bags of concrete mix (approximately 3-4 per post), rebar (for reinforcement), and sonotubes (12-inch diameter).
- Pressure-Treated Lumber: For the base frame (e.g., 4×4 posts and 2×6 rails).
- PVC Piping and Fittings: 2-inch schedule 40 PVC for supply/return lines, plus ball valves, unions, and a vacuum breaker.
- Pool Pump and Filter: Ensure your existing pump meets the minimum flow rate for the array. See the Generic Solar Pool Heater Pump Requirements: GPM Guide for Optimal Performance for specific flow recommendations based on your panel count.
- Tools: Shovel, post-hole digger, level, tape measure, power drill, socket set, PVC primer and cement, hacksaw, and a rubber mallet.
- Safety Gear: Safety glasses, work gloves, and sturdy boots.
Optional but highly recommended: a solar controller or actuator valve to automate system operation. For troubleshooting later, bookmark the Generic Solar Pool Heater Overheating: Causes and Solutions guide.
How Do I Select the Perfect Site for the Ground Mount?
Site selection is critical for performance and safety. You want a location that receives unobstructed sunlight for at least 6-8 hours per day, ideally from 10 a.m. to 4 p.m. during your primary swimming season. Avoid areas shaded by trees, buildings, or fences, even partially, as shade can drastically reduce heat output. The ground should be level and well-drained to prevent water pooling around the concrete footings.
Consider proximity to the pool equipment pad for shorter plumbing runs, which reduces heat loss and pumping costs. Allow at least 3 feet of clearance around all sides of the array for maintenance and airflow. Also, verify local building codes and Homeowners Association (HOA) rules for any setback or height restrictions—setbacks typically require 10-15 feet from property lines. If your site has significant slope, you may need to excavate or use adjustable mounting feet to achieve a level mounting surface.
What Is the Step-by-Step Ground Mount Assembly Process?
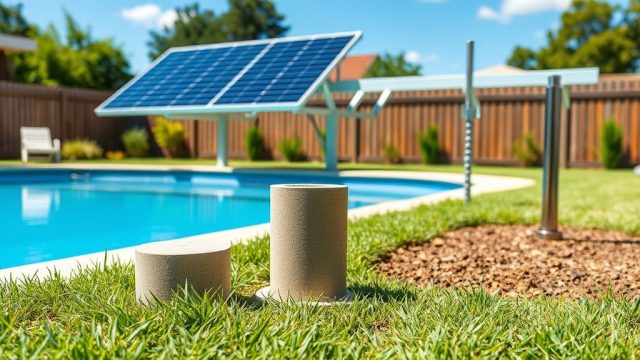
Once you have your site and materials, follow this precise sequence for a rock-solid installation. A typical 4-panel array will require four concrete footings, each 12 inches in diameter and 24-36 inches deep, depending on frost line and soil type. Always call 811 before digging to locate underground utilities.
Step 1: Dig and Pour Concrete Footings
- Mark the four corners of the mounting frame layout on the ground.
- Dig holes using a post-hole digger or auger, with a diameter of 12 inches and a depth of 24 inches (or deeper per local frost depth).
- Place sonotube forms in the holes, ensuring they are vertical and level with each other.
- Place a 2-foot length of rebar vertically in the center of each tube.
- Mix and pour concrete into each tube, filling to the top. Tap the sides to remove air pockets.
- Insert a galvanized anchor bolt (J-bolt) into the wet concrete, leaving 2-3 inches exposed. Use a level to ensure all bolts are perfectly aligned and at the same height.
- Allow concrete to cure for 48-72 hours before attaching the frame.
Step 2: Build the Mounting Frame
- Cut pressure-treated 2×6 lumber to span the distance between footings for the base rails. Typically, two parallel rails run the length of the array.
- Bolt the 2×6 rails to the concrete anchor bolts using washers and nuts.
- Attach aluminum mounting brackets (supplied with your racking kit) to the 2×6 rails at each panel connection point. Ensure the brackets are spaced according to your panel’s manufacturer specs (usually every 48 inches along the rail).
- Lay the aluminum cross-rails onto the brackets, securing them with stainless steel bolts.
- Use a level to check that the entire frame is perfectly level in both directions. Use shims if needed.
Step 3: Mount the Generic Solar Panels
- Carefully position the first Generic solar collector onto the frame, aligning its mounting slots with the brackets.
- Secure the panel using the provided clamps and bolts. Do not overtighten, as thermal expansion requires some movement.
- Repeat for each panel, leaving a ¼-inch gap between panels for expansion.
- Once all panels are mounted, use a long level to ensure the entire array is tilted at the proper angle (usually equal to your latitude minus 10-15 degrees for year-round use, or your latitude for seasonal use). Adjust by shimming the bottom of the frame.
Step 4: Connect Plumbing and Install Vacuum Breaker
- Run 2-inch PVC supply and return lines from your pool pump/filter pad to the array. Use a union at the array connection point for easy future disconnection.
- Install a vacuum breaker at the highest point of the array to prevent air locking. This is mandatory for above-ground collectors to allow water to drain when the pump stops. See the How to Vacuum Bleed Air from Solar Pool Collectors: A Step-by-Step DIY Guide for after-installation bleeding steps.
- Connect the supply line to the bottom header of each panel and the return line to the top header. Use a header kit or manifold that matches your panel count.
- Install a ball valve on both the supply and return lines for isolation.
What Are the Critical Specifications for a Successful Ground Mount?
The following table compares essential specifications for two common Generic ground mount configurations. Always verify with your specific panel model.
| Specification | 4-Panel Array (4×12 ft panels) | 6-Panel Array (4×12 ft panels) |
|---|---|---|
| Total Collector Area | 192 sq ft | 288 sq ft |
| Minimum Pump Flow Rate | 20 GPM | 30 GPM |
| Recommended Pipe Size | 2-inch PVC | 2.5-inch PVC |
| Footing Depth (frost line) | 24 inches | 30 inches |
| Concrete per Footing | 1.5 cubic ft (2x 80-lb bags) | 2 cubic ft (3x 80-lb bags) |
| Mounting Angle (latitude 35°) | 20-25° tilt | 20-25° tilt |
| Estimated Cost (materials only) | $950 – $1,250 | $1,400 – $1,800 |
| Typical Heat Rise (20,000-gallon pool) | 8-10°F per sunny day | 12-15°F per sunny day |
What Do Owners Say About Ground Mounting Their Generic Heaters?
Feedback from pool owners who have completed a Generic ground mount installation is overwhelmingly positive, especially regarding simplicity and long-term savings. Many highlight the ease of maintenance compared to roof-mounted systems. One owner in Texas reported, “I installed a 4-panel array in my backyard in a weekend. The instructions were straightforward, and after bleeding the air (How to Vacuum Bleed Air from Solar Pool Collectors: A Step-by-Step DIY Guide), my 18,000-gallon pool went from 68°F to 82°F in three sunny days. The total cost of materials was under $1,200, which I recouped in two years of reduced gas heating bills.”
Another Florida owner noted the noise reduction: “I had a rooftop system before, and the water hammer was annoying. With a ground mount, I can easily inspect and even paint the panels. Plus, no more Generic Solar Pool Heater Noise Troubleshooting: Squealing, Groaning, and Gurgling Fixes because I can see the airflow immediately. It’s a game-changer.”
However, some owners caution about ground mount visibility. “It takes up yard space, but I built a wooden privacy screen around it. Works great, and my pool hits 86°F even in spring,” said a user in California. For larger pools, consult the Sizing Helio Solar Pool Heater for Above Ground vs Inground Pools guide to ensure your array size matches your pool volume.
Frequently Asked Questions
What is the ideal tilt angle for a ground-mounted Generic solar pool heater?
For optimal year-round performance, tilt the panels at an angle equal to your local latitude minus 10-15 degrees. For seasonal summer use only, use your latitude. For example, at 35° latitude, a 20-25° tilt works best for summer pool heating.
How deep should I dig the concrete footings for a Generic ground mount?
Footings should be a minimum of 24 inches deep, but go deeper if your area has a frost line below that depth. Always check local building codes, as some areas require 36 inches or more. Use 12-inch diameter sonotubes for stability.
Can I install a Generic ground mount on sloped ground?
Yes, but you must create a level platform. This often involves excavation or using adjustable mounting feet with concrete piles. Ensure the slope does not exceed 10 degrees; otherwise, consult a structural engineer to prevent the array from shifting.
Does the Generic ground mount array need a special pump?
Not necessarily—your existing pool pump is often adequate. However, the pump must deliver the required GPM for the array size. A 4-panel array needs at least 20 GPM; a 6-panel array needs 30 GPM. See the Generic Solar Pool Heater Pump Requirements: GPM Guide for Optimal Performance for detailed pump sizing.
How do I prevent air from getting trapped in the ground mount system?
Install a vacuum breaker at the highest point of the array. This allows air to escape and water to drain when the pump stops, preventing air locks. After installation, you may still need to bleed the system manually—our guide How to Vacuum Bleed Air from Solar Pool Collectors: A Step-by-Step DIY Guide covers this in detail.
What is the typical lifespan of a Generic ground mount installation?
With proper installation and maintenance (e.g., annual cleaning, checking for leaks), the Generic solar panels themselves can last 15-20 years. The mounting frame, especially pressure-treated lumber, may need replacement every 10-15 years if exposed to harsh weather, but aluminum rails can last much longer.