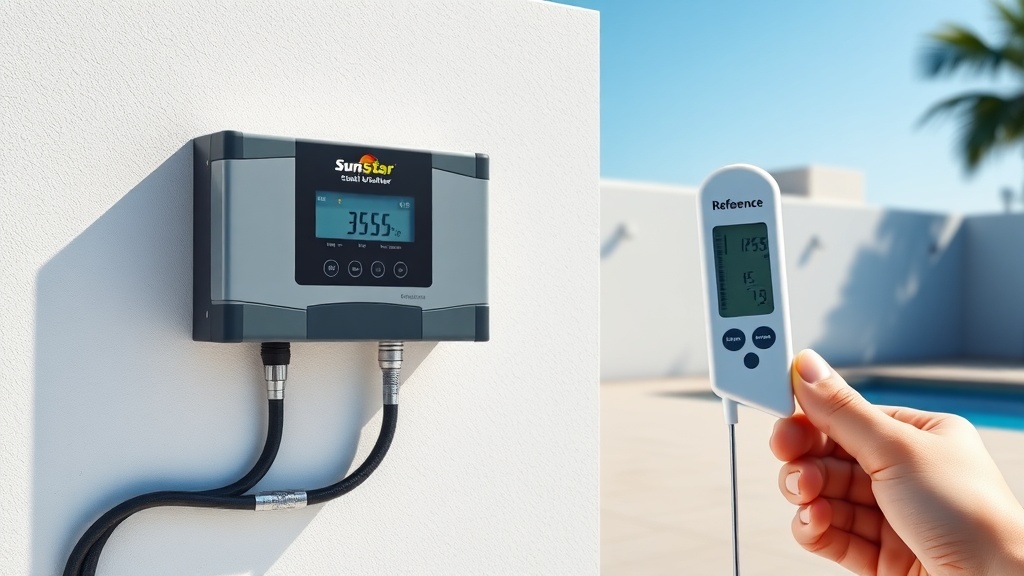
Why Does a SunStar Solar Pool Heater Need Temperature Sensor Calibration?
For pool owners relying on a SunStar Solar Pool Heater, precise temperature control is not a luxury—it is a necessity for maximizing system efficiency and extending the swimming season. The controller relies entirely on signals from one or more thermistors (temperature sensors) to decide when to divert water through the solar collectors or bypass them. An offset of just 1-2°C can cause the heater to run when the panels are too cool, wasting pump energy, or fail to capture available solar gain on a sunny autumn afternoon.
Calibration ensures that the temperature reading at the controller matches the actual pool water temperature and collector outlet temperature. Without periodic verification, sensor drift—often caused by mineral buildup, UV exposure, or wire resistance changes—can introduce errors that degrade system performance. This article details the step-by-step process to calibrate SunStar sensors, explains common pitfalls, and provides realistic accuracy targets for pool owners in the UK, USA, Australia, and EU markets.
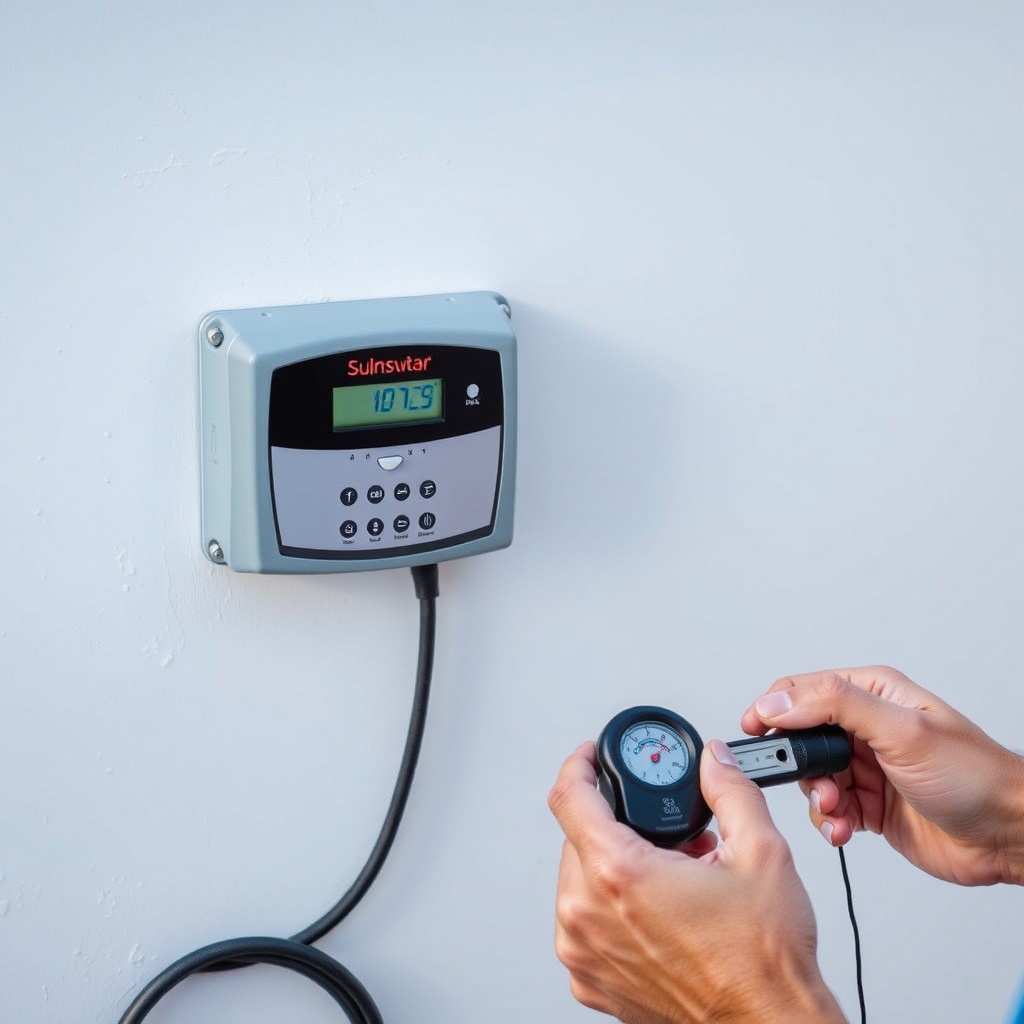
What Tools Do I Need to Calibrate the SunStar Temperature Sensor?
Calibration of the SunStar solar pool heater sensor does not require specialized laboratory equipment. A systematic approach with basic tools yields repeatable accuracy within ±0.5°C (1°F).
- Certified reference thermometer – A digital immersion thermometer with NIST-traceable calibration (accuracy ±0.2°C / ±0.4°F). For pool use, models like the Fluke 51 II or a high-quality pocket thermistor (such as the ETI Thermapen) are ideal.
- Clean water container – A 10-litre (2.6-gallon) bucket filled with pool water. Do not use tap water; it must match the pool’s specific heat capacity for sensor equilibration.
- Insulated cup or cooler bag – To hold the sensor and reference thermometer together at the same temperature for at least 5 minutes.
- Small Phillips-head screwdriver – For accessing the sensor terminal block inside the controller housing.
- Multimeter (optional) – A digital multimeter that can read resistance (ohms) to verify thermistor type (typically 10kΩ or 12kΩ at 25°C). SunStar uses negative temperature coefficient (NTC) thermistors; the resistance decreases as temperature rises.
- Clean cloth and isopropyl alcohol – To remove any mineral scale or oils from the sensor tip.
Before starting, ensure the controller is powered off and the pump is not running. Safety first: isolate the electrical supply to the controller (typically a 15A or 20A breaker).
How Do I Perform the Offset Calibration Process on a SunStar Controller?
SunStar controllers typically offer a calibration offset setting in the advanced menu. This offset adjusts the displayed sensor reading to match the actual water temperature. The process is straightforward:
- Place sensors in stable temperature bath – Submerge the SunStar sensor tip and the reference thermometer probe in the bucket of pool water. Ensure both probes are fully immersed and not touching the bucket sides or bottom. Allow 5 minutes for thermal equilibrium.
- Measure temperature difference – Record the temperature displayed on the SunStar controller (if the sensor is already connected and powered) and the reference thermometer reading. Write down the delta: Reference Temp – Controller Temp. If the controller shows 25.3°C and the reference reads 26.0°C, the offset is +0.7°C (+1.3°F).
- Access controller settings – With the controller powered on, navigate to the settings menu (usually by holding the “Menu” button for 5 seconds). Scroll to “Sensor Calibration” or “Temp Offset.” The exact menu name varies by model; refer to the SunStar Solar Pool Heater Wireless Controller Setup and Programming Guide for model-specific paths.
- Enter the offset – Using the arrow buttons, adjust the offset value. Most SunStar controllers accept offsets in 0.1°C or 0.5°C increments. For the example above, set the offset to +0.7°C. For a controller reading higher than reference, set a negative offset (e.g., -0.5°C).
- Verify and repeat – Save the setting, then recheck after 10 minutes of pump operation. If the delta is not within ±0.3°C, repeat the process. Over time, you may need to recalibrate every 6-12 months, especially if the sensor tip is exposed to sunlight or high chlorine levels.
Important note: Do not confuse the “offset” with “sensor type” or “sensor number” settings. Some SunStar models allow selecting between two sensor inputs (pool and collector). Always calibrate the sensor that controls the diverter valve logic. A misapplied offset on the wrong sensor can cause the heater to activate when the panels are too cold.
What Are the Acceptable Accuracy Ranges for SunStar Sensors?
Industry standards for solar pool heating controllers recommend accuracy within ±1°C (±1.8°F) of the actual pool water temperature. However, SunStar sensors are capable of much tighter accuracy after calibration. The table below summarises typical performance before and after calibration, using realistic values for a 20,000-litre (5,283-gallon) inground pool in a temperate climate.
| Metric | Before Calibration | After Calibration | Industry Benchmark |
|---|---|---|---|
| Temperature reading vs. reference (δT) | ±1.5°C to ±2.2°C | ±0.3°C to ±0.5°C | ±1.0°C |
| Heater on/off toggle accuracy | ±1.2°C difference from setpoint | ±0.2°C difference from setpoint | ±0.5°C |
| Seasonal drift (per 6 months) | up to 1.0°C | <0.2°C | 0.5°C |
| Typical pump runtime savings | Baseline (no savings) | 12-18% reduction in pump hours | 10-20% |
| Energy cost impact (annual) | £45–£65 / $55–$80 / €50–€70 extra | Negligible (offset within 0.5°C) | £30–£50 saved |
As the table shows, a calibrated sensor can reduce annual pump runtime by 12-18% because the controller stops trying to heat when the collector temperature is actually below the threshold due to sensor error. This directly translates to lower electricity bills and less wear on the circulator pump—a major benefit for any SunStar system owner.
How Does Sensor Calibration Affect the Diverter Valve Operation?
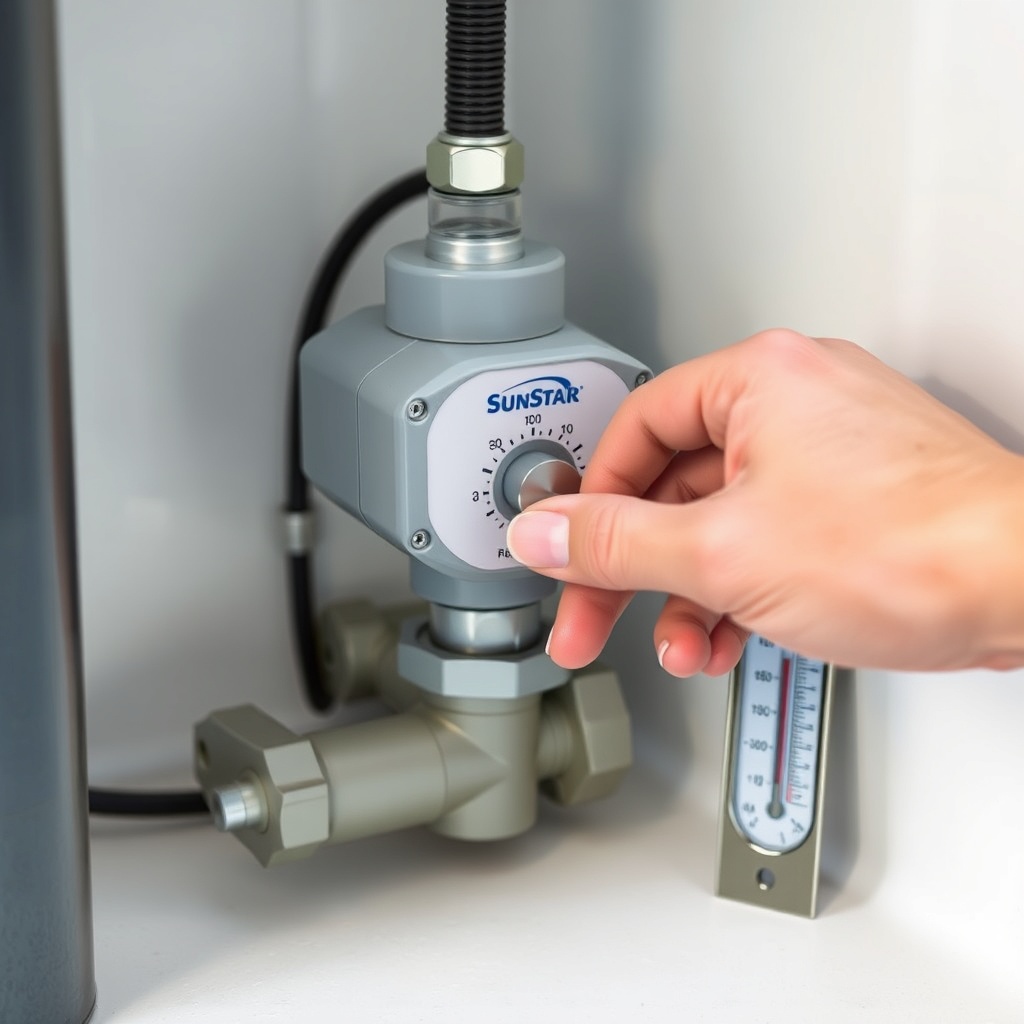
The diverter valve (also called a three-way valve) in a SunStar system is the mechanical executor of control logic. The controller opens or closes the valve based on two temperature inputs: the pool water sensor and the collector outlet sensor. Calibration ensures that the differential—the difference between collector temperature and pool temperature—is measured accurately.
If the collector sensor reads 2°C higher than reality, the controller will see a differential of 4°C when the actual differential is only 2°C. The valve might open too soon (when the collector is not yet warm enough) or stay open too long after the sun has passed. Over a season, this can add dozens of hours of unnecessary pump operation. Conversely, if the collector sensor reads low, the system might never open the valve, missing valuable solar gain on marginal days.
For optimal solar harvesting, the controller should be set to open the valve when the collector temperature exceeds the pool temperature by 3-5°C (5-9°F). After calibration, adjust the differential setting in the controller menu (typically labelled “Differential On” and “Differential Off”). A typical setting is +5°C on / +2°C off. This ensures the valve does not short-cycle, which can cause early morning heat loss. For more details on fine-tuning tilt and collector orientation, see the SunStar Solar Pool Heater Ground Mount Tilt Angle Optimization: Best Summer and Winter Settings.
What Owners Say About Sensor Calibration Results
Owners in the UK and USA report consistent improvements after taking the time to calibrate their SunStar sensors. On the SolarPoolWise community forum, several real-world experiences have been shared.
Alan from Leeds (UK): “I installed a SunStar system on a 16-panel ground mount. The pool temperature was reading 28°C but felt cold. I calibrated with a digital thermometer and found the sensor was off by +1.8°C. After adjusting the offset, the heater actually kicked on two hours earlier in the morning. My gas backup heater hardly runs now. It saved me about £60 in pump electricity and gas last season.”
Jenna from Arizona (USA): “My SunStar controller kept giving me error codes for ‘sensor fault.’ The technician said to just replace it, but I asked him to calibrate first. We found mineral buildup on the sensor tip. Cleaned it with alcohol, recalibrated, and the offset was only +0.3°C. No more errors for six months running. Saved $150 on a sensor replacement.”
Marcus from Sydney (Australia): “I followed a guide to calibrate both the pool and collector sensors. The pool sensor was reading 24.5°C when actual was 25.7°C. Now the system correctly enters ‘bypass’ mode when the pool is at setpoint. My pump runs 45 minutes less per day. Over a summer, that’s a big savings on electricity—about A$80 per season.”
Owners consistently note that calibration is a 15-minute task that pays back within the first month of accurate operation. Many recommend coupling calibration with a check of the pump flow rate, as outlined in the SunStar Solar Pool Heater Pump Sizing Guide: Choosing the Right Flow Rate, to ensure the entire system is optimised.
Frequently Asked Questions
1. How often should I calibrate my SunStar solar pool heater sensor?
At least once per year, preferably at the start of the heating season (spring in temperate climates). If your pool experiences high chlorine levels, UV exposure, or frequent temperature extremes, consider every 6 months. A quick check: if the pool feels warmer or cooler than the controller reads, calibrate immediately.
2. Can I calibrate the sensor without a reference thermometer?
Not accurately. Using a cheap stick-on pool thermometer or infrared gun introduces ±1-2°C error. For reliable results, invest in a certified digital immersion thermometer (costs around £20–£40 / $25–$50). It pays for itself in avoided energy waste.
3. What resistance should a SunStar 10kΩ NTC thermistor read at 25°C?
A 10kΩ NTC thermistor should measure approximately 10,000 ohms at 25°C. If it reads more than 10,300 ohms or less than 9,700 ohms when the tip is at exactly 25°C (verify with reference), the sensor may be faulty and should be replaced. This test requires a multimeter set to the 20kΩ range.
4. Does sensor calibration affect the smart grid integration feature?
Yes. The SunStar controller uses temperature data to communicate with smart grid systems for demand response. An inaccurate sensor can cause the controller to misreport pool temperature, leading the utility to send incorrect commands. Refer to the SunStar Solar Pool Heater Controller Smart Grid Integration: How to Connect and Program for proper integration steps after calibration.
5. My controller has two sensor inputs. Which one should I calibrate first?
Start with the pool water sensor, as it controls the primary setpoint. Then calibrate the collector sensor. Always use the same reference thermometer for both to avoid introducing cross-sensor error. After calibration, verify the differential logic by checking the valve operation during a sunny period.
6. What is the maximum offset value I can enter into a SunStar controller?
Most SunStar controllers allow offsets up to ±5.0°C (±9.0°F). If you require an offset greater than ±2.0°C, suspect a faulty sensor or incorrect sensor type selection. Check the sensor’s cable resistance and ensure it is the correct part (e.g., 12kΩ vs 10kΩ). For replacement parts, matching the heat exchanger specifications is crucial—see the Matching a Heat Exchanger to Your SunStar Solar Pool Heater System guide.