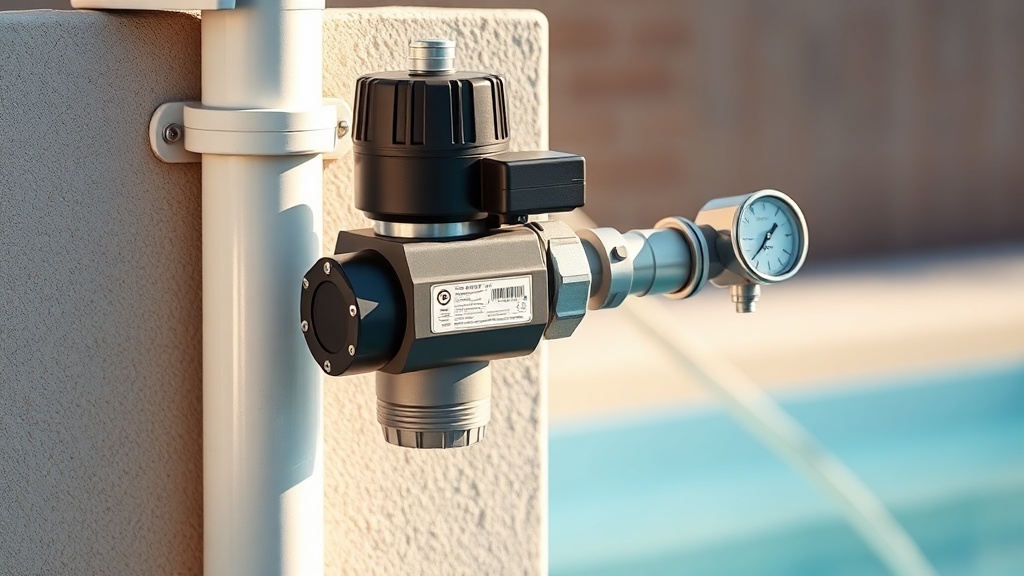
Why Does the Automatic Diverter Valve Matter for Heliocol Solar Pool Heater Installation?
Installing a Heliocol solar pool heater correctly hinges on one critical component: the automatic diverter valve. This valve directs water flow between the solar collectors and the pool return line, ensuring the system operates efficiently during sunny hours and bypasses the collectors when heating is not desired. Without a properly mounted diverter valve, the Heliocol system cannot maintain optimal heating performance or protect the pump from excessive backpressure.
The automatic diverter valve installation-mounting process for Heliocol differs from other solar heaters due to the brand’s proprietary valve design and specific plumbing requirements. This guide provides a step-by-step approach to mounting the diverter valve correctly, incorporating the necessary pressure relief and vacuum break components for a complete, code-compliant setup.
Where Should the Heliocol Automatic Diverter Valve Be Physically Mounted?
The mounting location for the Heliocol automatic diverter valve is not arbitrary—it requires careful consideration of both hydraulic flow and physical access. Ideally, mount the valve on a vertical section of 2-inch PVC pipe that is within 10 feet of the pool pump and filter setup. The valve must sit between the filter outlet and the return line leading to the solar panels, and it should be installed after any pressure relief valve to prevent premature wear.
Key Mounting Position Guidelines
- Height: Mount the diverter valve at least 12 inches above the pump discharge to allow gravity drainage when the system is off.
- Orientation: The valve actuator must be installed with the motor housing facing upwards or horizontally—never pointing down where moisture can enter the electrical compartment.
- Clearance: Allow 6 inches of unobstructed space around the valve body for future maintenance or actuator replacement.
For homeowners with limited wall space, a mounting bracket can be fabricated from stainless steel or UV-resistant PVC. Secure the bracket to a concrete block wall or wooden structure using ¼-inch stainless steel lag bolts. The valve must be easily accessible for manual override operations.
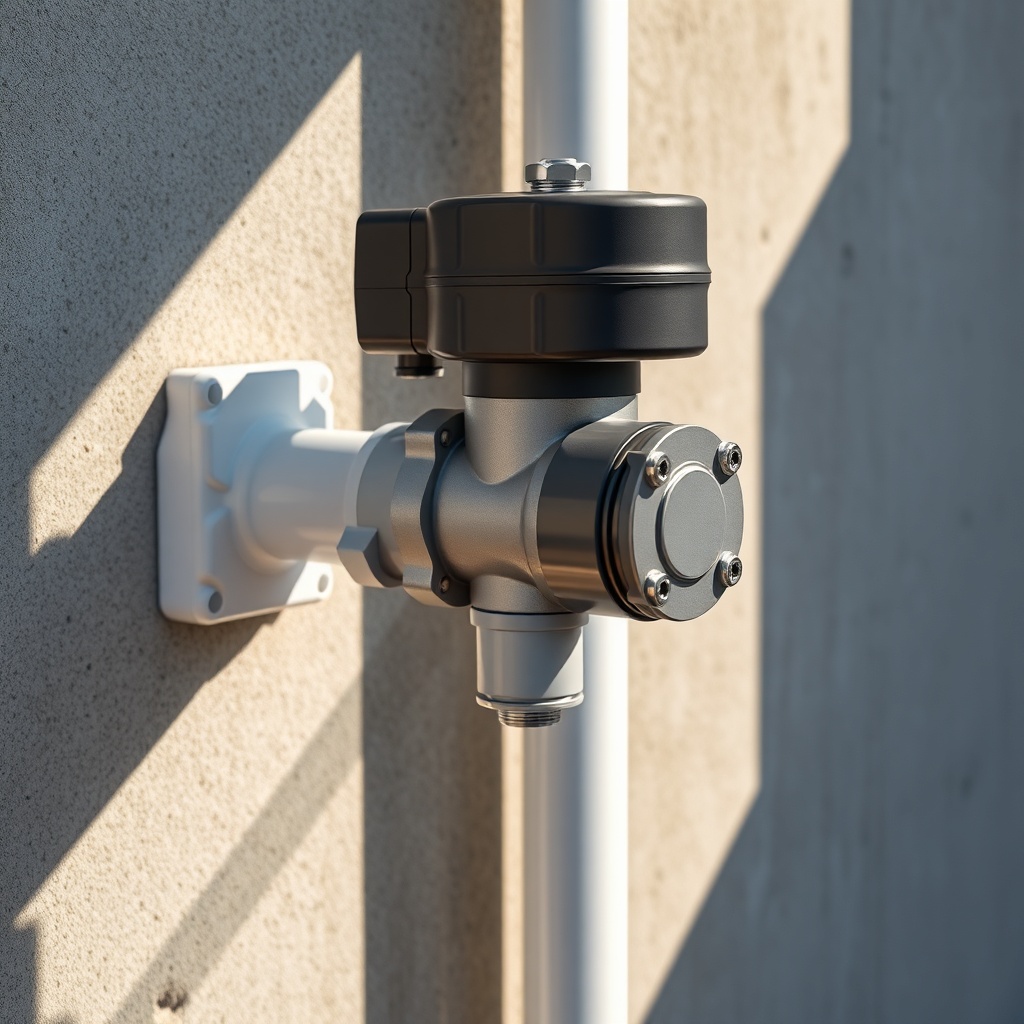
What Tools and Materials Are Needed for Heliocol Diverter Valve Mounting?
A successful Heliocol automatic diverter valve installation requires specific tools to handle the proprietary fittings and electrical connections. The valve itself comes as a preassembled unit, but the mounting hardware and PVC plumbing must be sourced separately. Below is a complete bill of materials for a typical residential Heliocol system with three to six collectors.
| Item | Quantity | Estimated Cost (USD) | Notes |
|---|---|---|---|
| Heliocol automatic diverter valve (12V or 24V) | 1 | $245.00 | Includes actuator and valve body |
| 2-inch PVC schedule 40 pipe (10-foot length) | 2 | $18.00 | For inlet and outlet plumbing |
| 2-inch PVC primer and cement | 1 kit | $12.00 | Use purple primer for code compliance |
| Stainless steel mounting bracket (¼-inch thick) | 1 | $35.00 | Custom fabricated if needed |
| ¼-inch stainless steel lag bolts with washers | 4 | $8.00 | For wall attachment |
| Wire nuts and 18-gauge outdoor-rated wire | 10 ft | $15.00 | For actuator power connection |
| Vacuum break assembly | 1 | $22.00 | Install near high point of collectors |
| Pressure gauge (0-60 psi) | 1 | $14.00 | For system monitoring |
| Teflon tape or pipe thread sealant | 1 roll | $5.00 | For threaded connections |
Labor time for mounting the diverter valve typically runs 1.5 to 2 hours for a DIY installer with basic plumbing experience. Professional installation by a licensed contractor may add $150 to $300 to the total project cost. Always verify that the actuator voltage matches your controller output—most Heliocol systems use either 12V DC or 24V AC.
How to Mount the Heliocol Automatic Diverter Valve Step by Step
The mounting process involves more than just screwing the valve to a wall—it requires precise alignment of the PVC piping and electrical wiring to ensure reliable operation. Follow these steps carefully to avoid common errors that can lead to air locks or actuator failure.
Step 1: Prepare the Mounting Surface
Choose a location that provides structural support and access to the pool pump electrical source. Mark the bracket’s centerline on the wall, then drill pilot holes using a 5/16-inch masonry bit for concrete or a 3/16-inch bit for wood. Insert stainless steel lag bolts with washers, leaving them finger-tight to allow bracket adjustment later. Ensure the surface is perfectly level, as a tilted valve can cause premature wear on the internal seals.
Step 2: Assemble the PVC Plumbing
Dry-fit the 2-inch PVC pipe sections from the filter outlet to the diverter valve inlet, then from the valve outlet to the solar collectors’ return line. Cut the pipe using a ratchet cutter or hacksaw, deburring the edges with a file. Apply PVC primer to both pipe and fitting surfaces, followed by cement. Join the pipe with a twisting motion to ensure even distribution and hold for 30 seconds. Allow the joints to cure for at least 30 minutes before pressurizing.
Step 3: Secure the Valve Body to the Bracket
Slide the Heliocol automatic diverter valve onto the bracket’s mounting studs or screws. Tighten the nuts evenly with a socket wrench, but avoid overtightening—the valve body is durable plastic and can crack if overstressed. Connect the vacuum break assembly to the high-point port on the valve, as per the vacuum break installation guide, to prevent siphoning during pump shutdown.
Step 4: Wire the Actuator
Run the 18-gauge outdoor-rated wire from the solar controller to the actuator’s terminal block. Connect the common wire to the COM terminal, the open wire to the OPEN terminal, and the close wire to the CLOSE terminal. Seal all wire connections with weatherproof wire nuts and wrap the entire junction with electrical tape. Verify polarity by temporarily powering the actuator—it should rotate 90 degrees in the desired direction.
Step 5: Test the System
Turn on the pool pump and watch for leaks around the valve body and PVC joints. Activate the solar controller to trigger the diverter valve. Listen for a distinct click as the valve shifts position, confirming proper function. Check the pressure gauge—the reading should not exceed 35 psi when the valve is open to the collectors. If pressure spikes above 40 psi, inspect for blockages in the piping.
What Owners Say About Heliocol Automatic Diverter Valve Mounting
Owners who have tackled the Heliocol automatic diverter valve installation themselves report that the most challenging part is aligning the PVC piping to the valve without introducing stresses that cause leaks. Many recommend using a union fitting near the valve body for easier future replacement. “The bracket that comes with the kit is flimsy—I built my own from 1/8-inch aluminum and it holds much better,” shares one owner from Arizona. Another notes that wiring the actuator backwards is a common mistake, leading to the valve closing when it should open. “Follow the wiring diagram exactly. I had to swap two wires to make it work right,” they advise. Overall, users praise the valve’s reliability once properly mounted, with most systems running for 5 to 7 years without actuator failure.
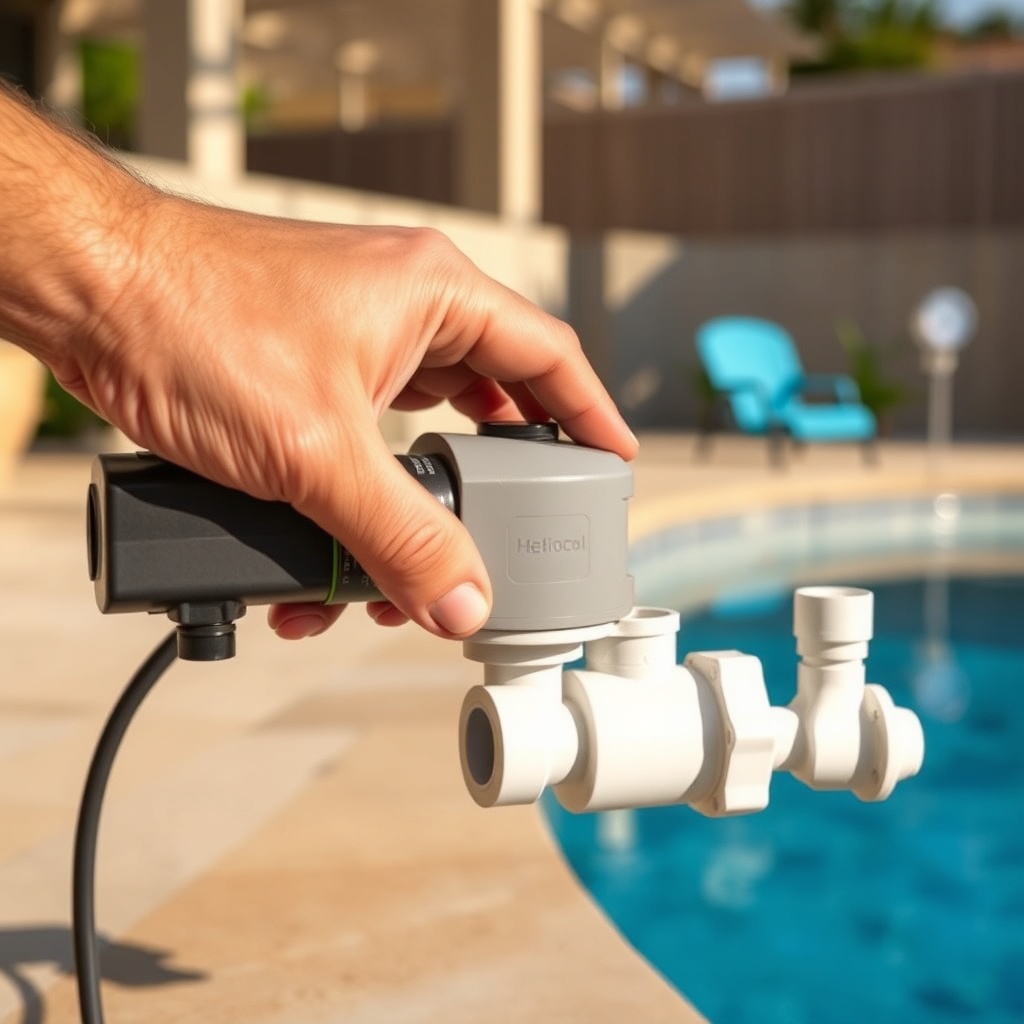
How Does Mounting the Diverter Valve Relate to System Sizing and Pump Selection?
The automatic diverter valve mounting process cannot be separated from overall system sizing. A valve that is too small for the collector array creates excessive backpressure, while an oversized valve may not close completely against high flow rates. Refer to the guide on sizing Heliocol solar pool heater passive vs active collectors explained to match your valve capacity to the total collector surface area. For example, a system with six 4×10-foot active collectors requires a 2-inch diverter valve to handle the 30-50 GPM flow rate without restriction. Additionally, the pump must be capable of overcoming the valve’s pressure drop—consult the pump sizing guide for flow rate recommendations based on head height. A properly sized pump paired with a correctly mounted diverter valve ensures that the solar system operates at peak efficiency, maximizing heat transfer without sacrificing pump longevity.
How to Winterize the Diverter Valve After Mounting
Once the Heliocol automatic diverter valve is mounted, winterization becomes a straightforward process if the valve is positioned correctly. The valve body itself does not require removal, but the actuator should be protected from moisture and freezing temperatures. Disconnect the electrical wiring and store the actuator indoors for the winter months. Cover the valve body with a waterproof enclosure or heavy-duty plastic bag secured with zip ties. Then, implement a drain-back method by opening the manual bypass valve to allow water to drain from the collectors. Detailed instructions for this process can be found in the winterization drain-back methods guide. Owners in freeze-prone climates report that following this procedure prevents cracking of the valve body and extends the unit’s life by several seasons.
What Are the Most Common Mounting Mistakes to Avoid?
Even experienced DIYers can make errors that compromise the Heliocol automatic diverter valve mounting. The most frequent issues include mounting the valve too low, which prevents proper drainage and leads to frozen water in the valve cavity during cold snaps. Another major mistake is failing to install a tilt angle optimization best summer and winter settings, which over time causes the valve to leak from the shaft seal. Finally, skimping on the electrical protection—such as using indoor-rated wire outside—can cause the actuator to fail from corrosion. A summary of these pitfalls can be found in the troubleshooting section of the pressure relief valve guide.
Frequently Asked Questions
1. Can I mount the Heliocol diverter valve indoors near the pump?
Yes, indoor mounting is preferred because it protects the actuator from weather extremes. Ensure the valve is within 50 feet of the solar controller for reliable signal transmission.
2. What size PVC pipe should I use for the diverter valve connections?
Heliocol recommends 2-inch schedule 40 PVC for all residential installations. Larger pipe reduces friction loss but may not fit standard valve fittings without reducers.
3. Does the diverter valve require a separate power supply?
No, the valve actuator draws power from the solar controller. Most Heliocol controllers provide a dedicated 12V or 24V output for the valve.
4. How tight should I fasten the valve to the mounting bracket?
Snug the bolts to 20 inch-pounds of torque. A quarter turn past hand-tight is sufficient—do not use power tools as they can crack the plastic housing.
5. Can I use a manual diverter valve instead of the automatic one?
While possible, a manual valve requires you to physically turn it each time you want to heat the pool. The automatic valve integrates with the solar controller for hands-free operation.
6. How do I know if my diverter valve is mounted correctly?
Activate the system and listen for a distinct click when the valve shifts. Then check the return line temperature—it should rise by 2-5 degrees within 10 minutes of solar operation. A drop in pressure indicates proper flow direction.