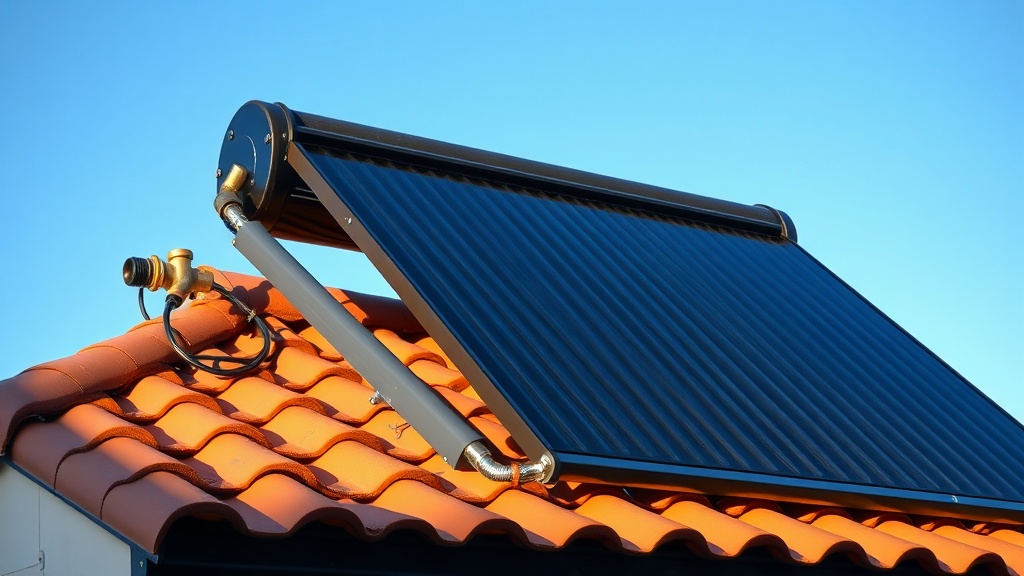
Why Install a Vacuum Break on a Heliocol Solar Pool Heater?
A vacuum break—often a small brass or plastic valve—prevents a siphon from forming in the collector array when the pump shuts off. Without it, water can drain back from the roof through the collectors, potentially emptying the system and causing structural collapse or freeze damage in colder climates. For the Heliocol solar pool heater, which uses lightweight polypropylene tubes, a properly installed vacuum break is essential to protect the investment and avoid costly repairs.
This guide covers the critical steps, common pitfalls, and best practices for installing a vacuum break on a Heliocol system, ensuring the array drains correctly and no siphon develops during the pump-off cycle.
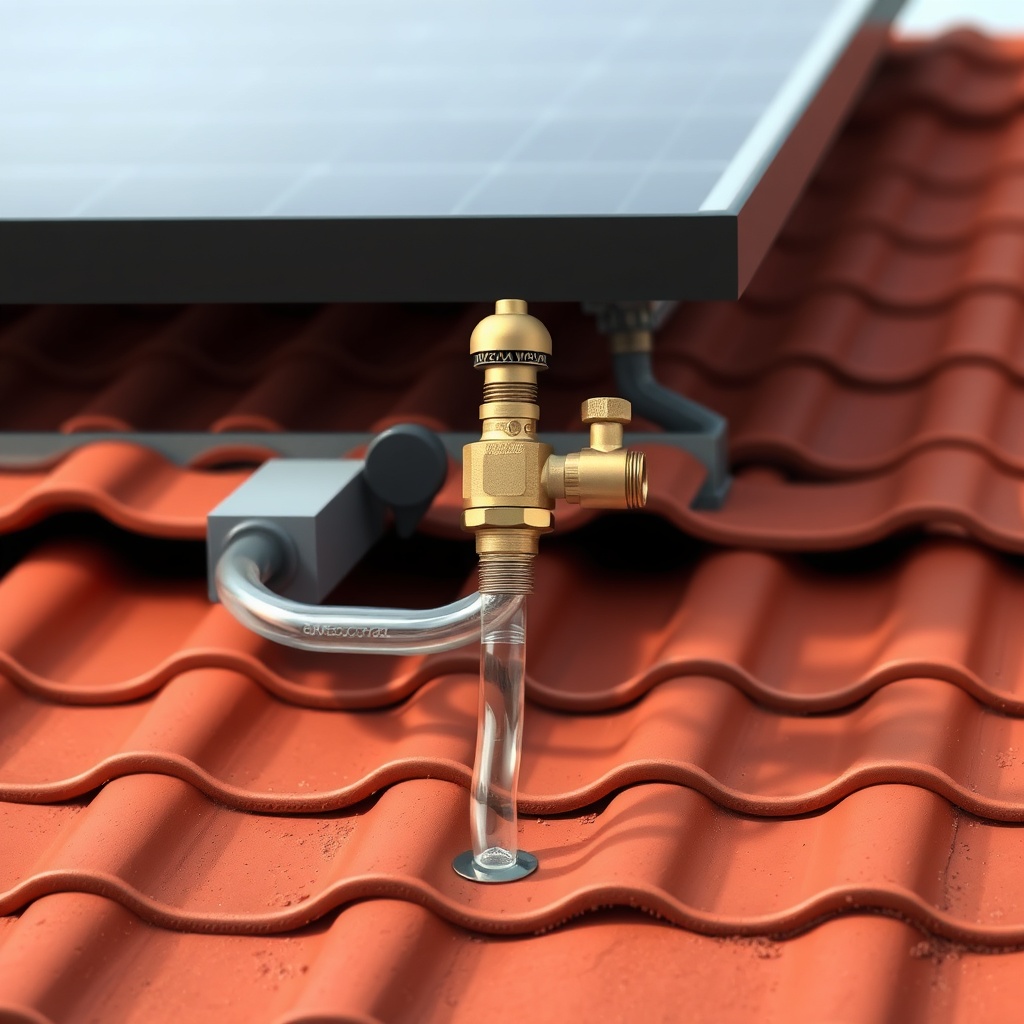
What Is the Correct Vacuum Break Location for Heliocol Panels?
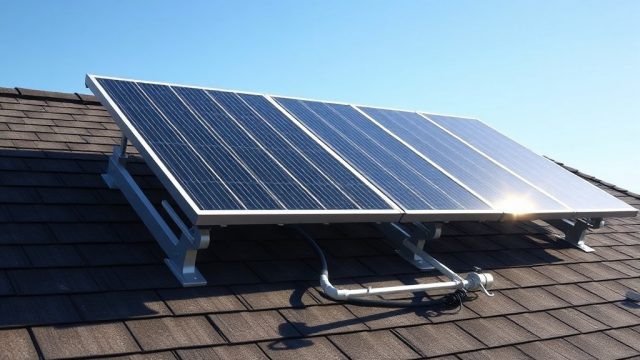
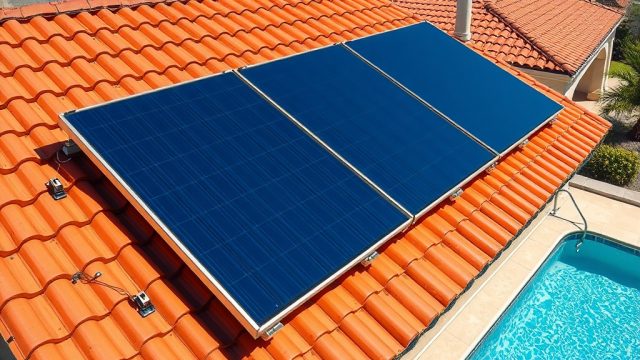
The vacuum break must be placed as close to the highest point in the collector loop as possible. For rooftop installations, this is typically on the hot return line just after the last collector, within 0.3 meters of the highest header. If the vacuum break is lower, water may still siphon back, leaving air trapped in the upper collectors.
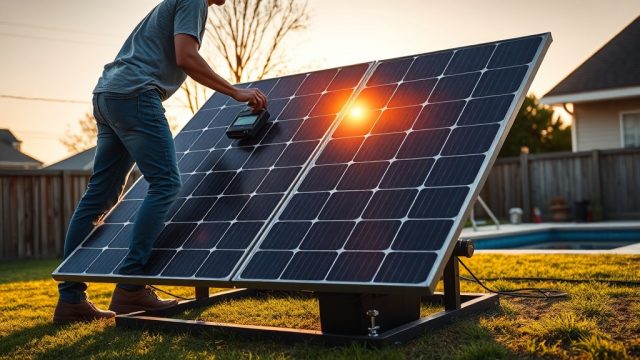
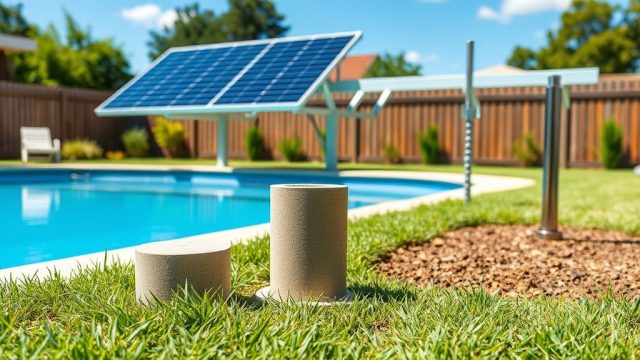
For ground-mount arrays, the highest point is at the top of the frame, often a foot above the top row. Install the vacuum break on the return side, oriented vertically with the air inlet facing downward to prevent debris ingress. Avoid installing it on the supply side, as that can trap air and reduce flow.
Refer to the Heliocol Solar Pool Heater Ground Mount Installation: A Step-by-Step Guide for mounting considerations on flat surfaces.
How Does a Vacuum Break Prevent Siphon Damage in Heliocol Systems?
When the pump stops, water in the collectors drains back toward the pool. If the return pipe runs downhill without an air break, a siphon can pull water from the pool continuously, emptying the collectors and potentially creating a vacuum that collapses the thin-walled polypropylene tubes. The vacuum break opens automatically when system pressure drops below a threshold (typically 2–5 psi), admitting air into the line and breaking the siphon.
On a Heliocol system, this is especially critical because the panels are not rated for full negative pressure. A sustained siphon can cause the tubes to flatten or crack, leading to leaks. The table below outlines the severity of siphon scenarios based on system height and pipe diameter.
| Scenario | Head Height (meters) | Pipe Diameter (mm) | Risk Level | Recommended Action |
|---|---|---|---|---|
| Rooftop, single story | 3–5 | 50 | High | Install vacuum break on return line |
| Rooftop, two stories | 6–9 | 63 | Critical | Dual vacuum breaks on each header |
| Ground mount, <2m tall | 1–2 | 40 | Moderate | Single vacuum break sufficient |
| Ground mount, >2m tall | 2–4 | 50 | High | Install vacuum break on highest point |
What Tools and Materials Are Needed for Installation?
For a standard Heliocol vacuum break installation, the following items are required:
- Vacuum break valve (brass or plastic, 1/2-inch or 3/4-inch NPT threads)
- Teflon tape or pipe thread sealant
- Adjustable wrench (two wrenches for tight spaces)
- PVC pipe cutter or hacksaw
- PVC primer and cement (for socket connections)
- Mounting bracket or strap (to secure the valve)
- Small length of 1/2-inch PVC pipe (if extending the valve location)
- Pressure gauge (optional, for verifying system pressure after installation)
Ensure the vacuum break is rated for potable water and UV exposure—brass units with nickel plating are common. Plastic units are cheaper but may degrade faster in direct sunlight. Heliocol panels typically use 50mm headers, so a reducing bushing may be needed to adapt to the valve size.
For more on pressure-related components, see the Heliocol Solar Pool Heater Pressure Relief Valve: Installation and Maintenance Guide to understand how vacuum breaks and relief valves work together.
Step-by-Step Installation Process for a Heliocol Vacuum Break
Follow these steps to install the vacuum break correctly:
- Shut off the pump and drain the system if needed. Ensure no water is flowing through the collectors.
- Identify the highest point on the return line. On a Heliocol roof array, this is often at the top header of the last collector.
- Cut the PVC return pipe at the chosen location. Use a PVC cutter or hacksaw, then deburr the edges.
- Dry-fit the valve with a tee fitting. The vacuum break should point vertically downward to allow air in and debris out. Use a 90-degree elbow if needed.
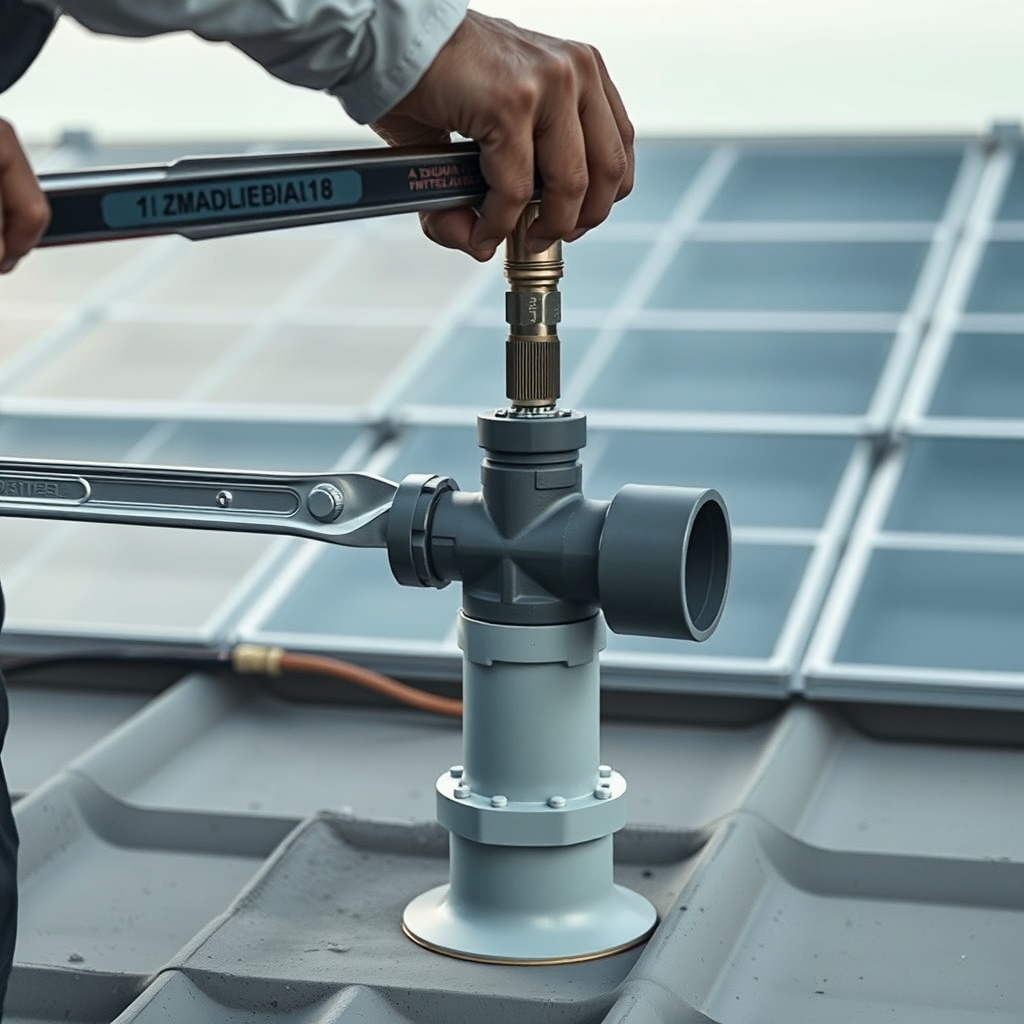
- Apply Teflon tape to the valve threads (3–4 wraps clockwise). Hand-tighten the valve into the tee, then snug with a wrench—do not overtighten brass into plastic fittings.
- Prime and cement all PVC connections according to manufacturer instructions. Allow 15 minutes cure time.
- Secure the valve with a mounting bracket to prevent vibration or accidental rotation.
- Restart the pump and check for leaks. The vacuum break should hiss briefly as air escapes, then close once pressure builds. After pump shutdown, you should hear a quick gurgle as air re-enters.
If the vacuum break sticks open, clean the internal diaphragm or replace the unit. For systems with multiple banks of collectors, consider installing separate vacuum breaks on each bank—see the Heliocol Solar Pool Heater Pressure Drop Analysis: Understanding System Restrictions for how pressure differences affect multiple arrays.
For tilt adjustments that affect drainage, refer to the Adjusting Heliocol Solar Pool Heater Tilt Angle: Seasonal Efficiency Guide to ensure proper sloping.
What Are Common Installation Mistakes to Avoid?
Even experienced installers make errors with vacuum breaks. The most frequent issues include:
- Installing on the supply line—this traps air and reduces flow, defeating the purpose.
- Mounting the valve too low—water will still siphon from collectors above the valve.
- Using a valve not rated for UV—plastic units crack in 1–2 seasons under strong sun.
- Overtightening brass into plastic—stresses the PVC tee and may cause cracks later.
- Skipping the mounting bracket—the valve can rotate over time, allowing debris into the air inlet.
- Not bleeding the system after installation—air trapped in the collectors reduces heating efficiency.
To troubleshoot, check the vacuum break after a pump cycle: if it does not hiss on startup or gurgle on shutdown, it may be stuck closed. Clean or replace the internal spring and diaphragm annually.
What Heliocol Owners Say About Vacuum Break Failures
Heliocol system owners on pool forums report a few consistent patterns related to vacuum break issues:
- Freeze damage risk: Several owners in regions like Texas or Arizona (where hard freezes are rare but possible) mentioned that a failed vacuum break led to water remaining in the panels, causing freeze cracks. Cost of replacement panels ranged from AUD 400 to AUD 800 per 12-panel set.
- Noise complaints: A vacuum break that chatters or whistles during pump operation often indicates a worn diaphragm. Replacing the valve (around AUD 30–60) solved the issue.
- Debris blockage: Owners with trees near the pool reported insects or seeds clogging the valve. A simple mesh screen over the air inlet prevented recurrence.
- Leaks at threads: A common repair quote was AUD 150–250 for a plumber to reseal a vacuum break after overtightening dripped water onto the roof.
- Drain-back cooperation: Many owners noted that pairing the vacuum break with a Heliocol Solar Pool Heater Winterization: Drain-Back and Antifreeze Methods ensured complete system draining in cold climates.
The consensus is that installation cost (typically AUD 80–120 for parts and labor) is cheap insurance compared to repairing a collapsed collector array.
Frequently Asked Questions About Heliocol Vacuum Break Installation
1. Can I install a vacuum break myself, or should I hire a professional?
A confident DIYer with basic PVC plumbing skills can install a vacuum break in under an hour. However, if the roof pitch is steep or access is difficult, hiring a licensed plumber (cost around AUD 100–200) is recommended to ensure proper placement without leaks.
2. Does the vacuum break size matter for Heliocol panels?
Yes. Use a 1/2-inch NPT valve for standard residential systems with up to 20 panels. For commercial arrays or long pipe runs (over 50 meters), a 3/4-inch valve may be needed to handle higher flow rates. Check the Sizing Heliocol Solar Pool Heater: Passive vs Active Collectors Explained for guidance on collector count.
3. How often should I replace the vacuum break?
Replace the valve every 3–5 years, or immediately if it shows rust, sticking, or cracking. Annual inspection during spring startup is ideal.
4. Will a vacuum break affect my pool pump’s performance?
No. The valve only opens when the pump is off. During operation, it remains closed and adds negligible restriction—less than 0.5 psi pressure drop in most cases.
5. Can I install a vacuum break on a ground-mount Heliocol system?
Absolutely. Install it at the highest point of the return line, which is typically the top of the frame. For a two-row ground mount, place it on the upper row’s return header.
6. What happens if my vacuum break leaks when the pump is running?
A slow drip indicates a failed internal seal or loose threads. Tighten gently; if leaking persists, replace the valve. A steady stream of water means the valve is stuck open—turn off the pump and repair immediately to avoid losing pressure and heating capacity.